Gifts For Teachers

We are coming to that time of year where we show appreciation to our teachers and administrators. They have such important jobs and are a part of our extended family. Besides teaching, when we are not with our children, they are the ones that continue the raising and shaping of our children. They are an essential part of the person our children will grow to be one day.

Having two daughters, I struggled the first couple years to come up with unique gifts for the holidays and teacher appreciation week. Having many teacher friends, I knew that teachers have received tons of mugs, ornaments, candles, etc. So I wanted to come up with something a bit different and/or helpful. With budgets cuts, many teachers buy classroom supplies with their own money. I have come to realize that helping them stock their classroom is really appreciated as one type of gift.

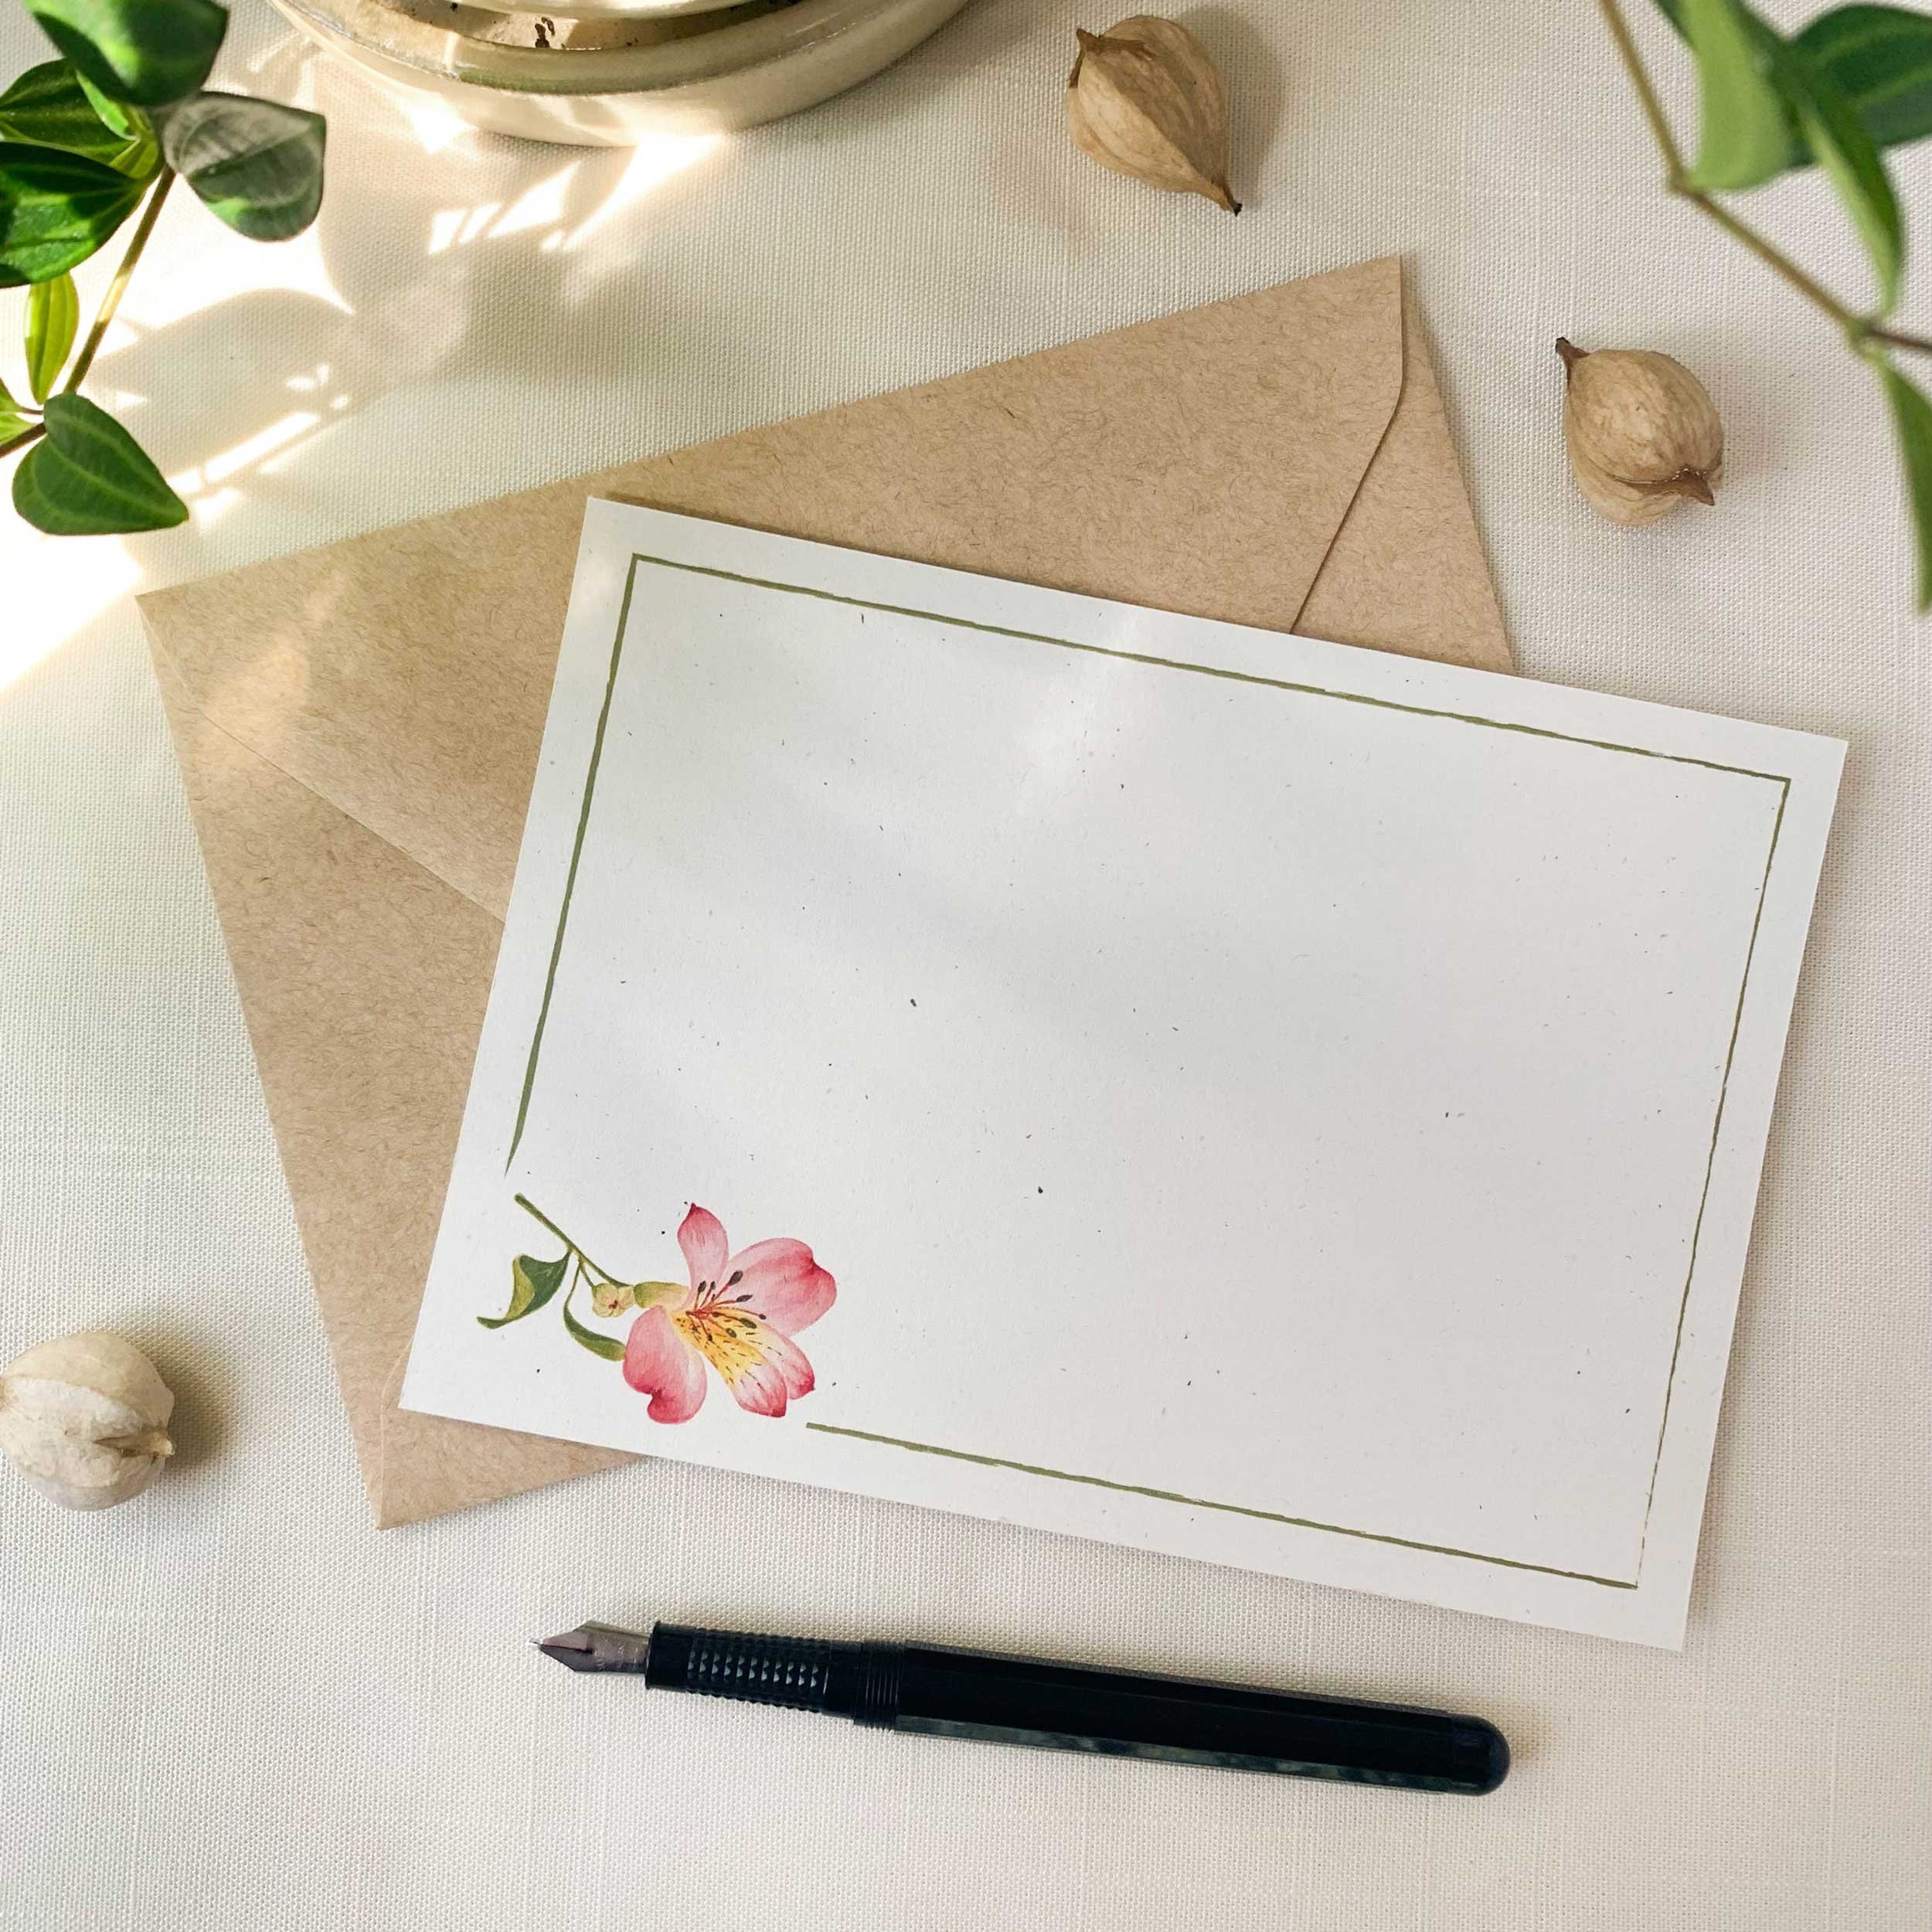
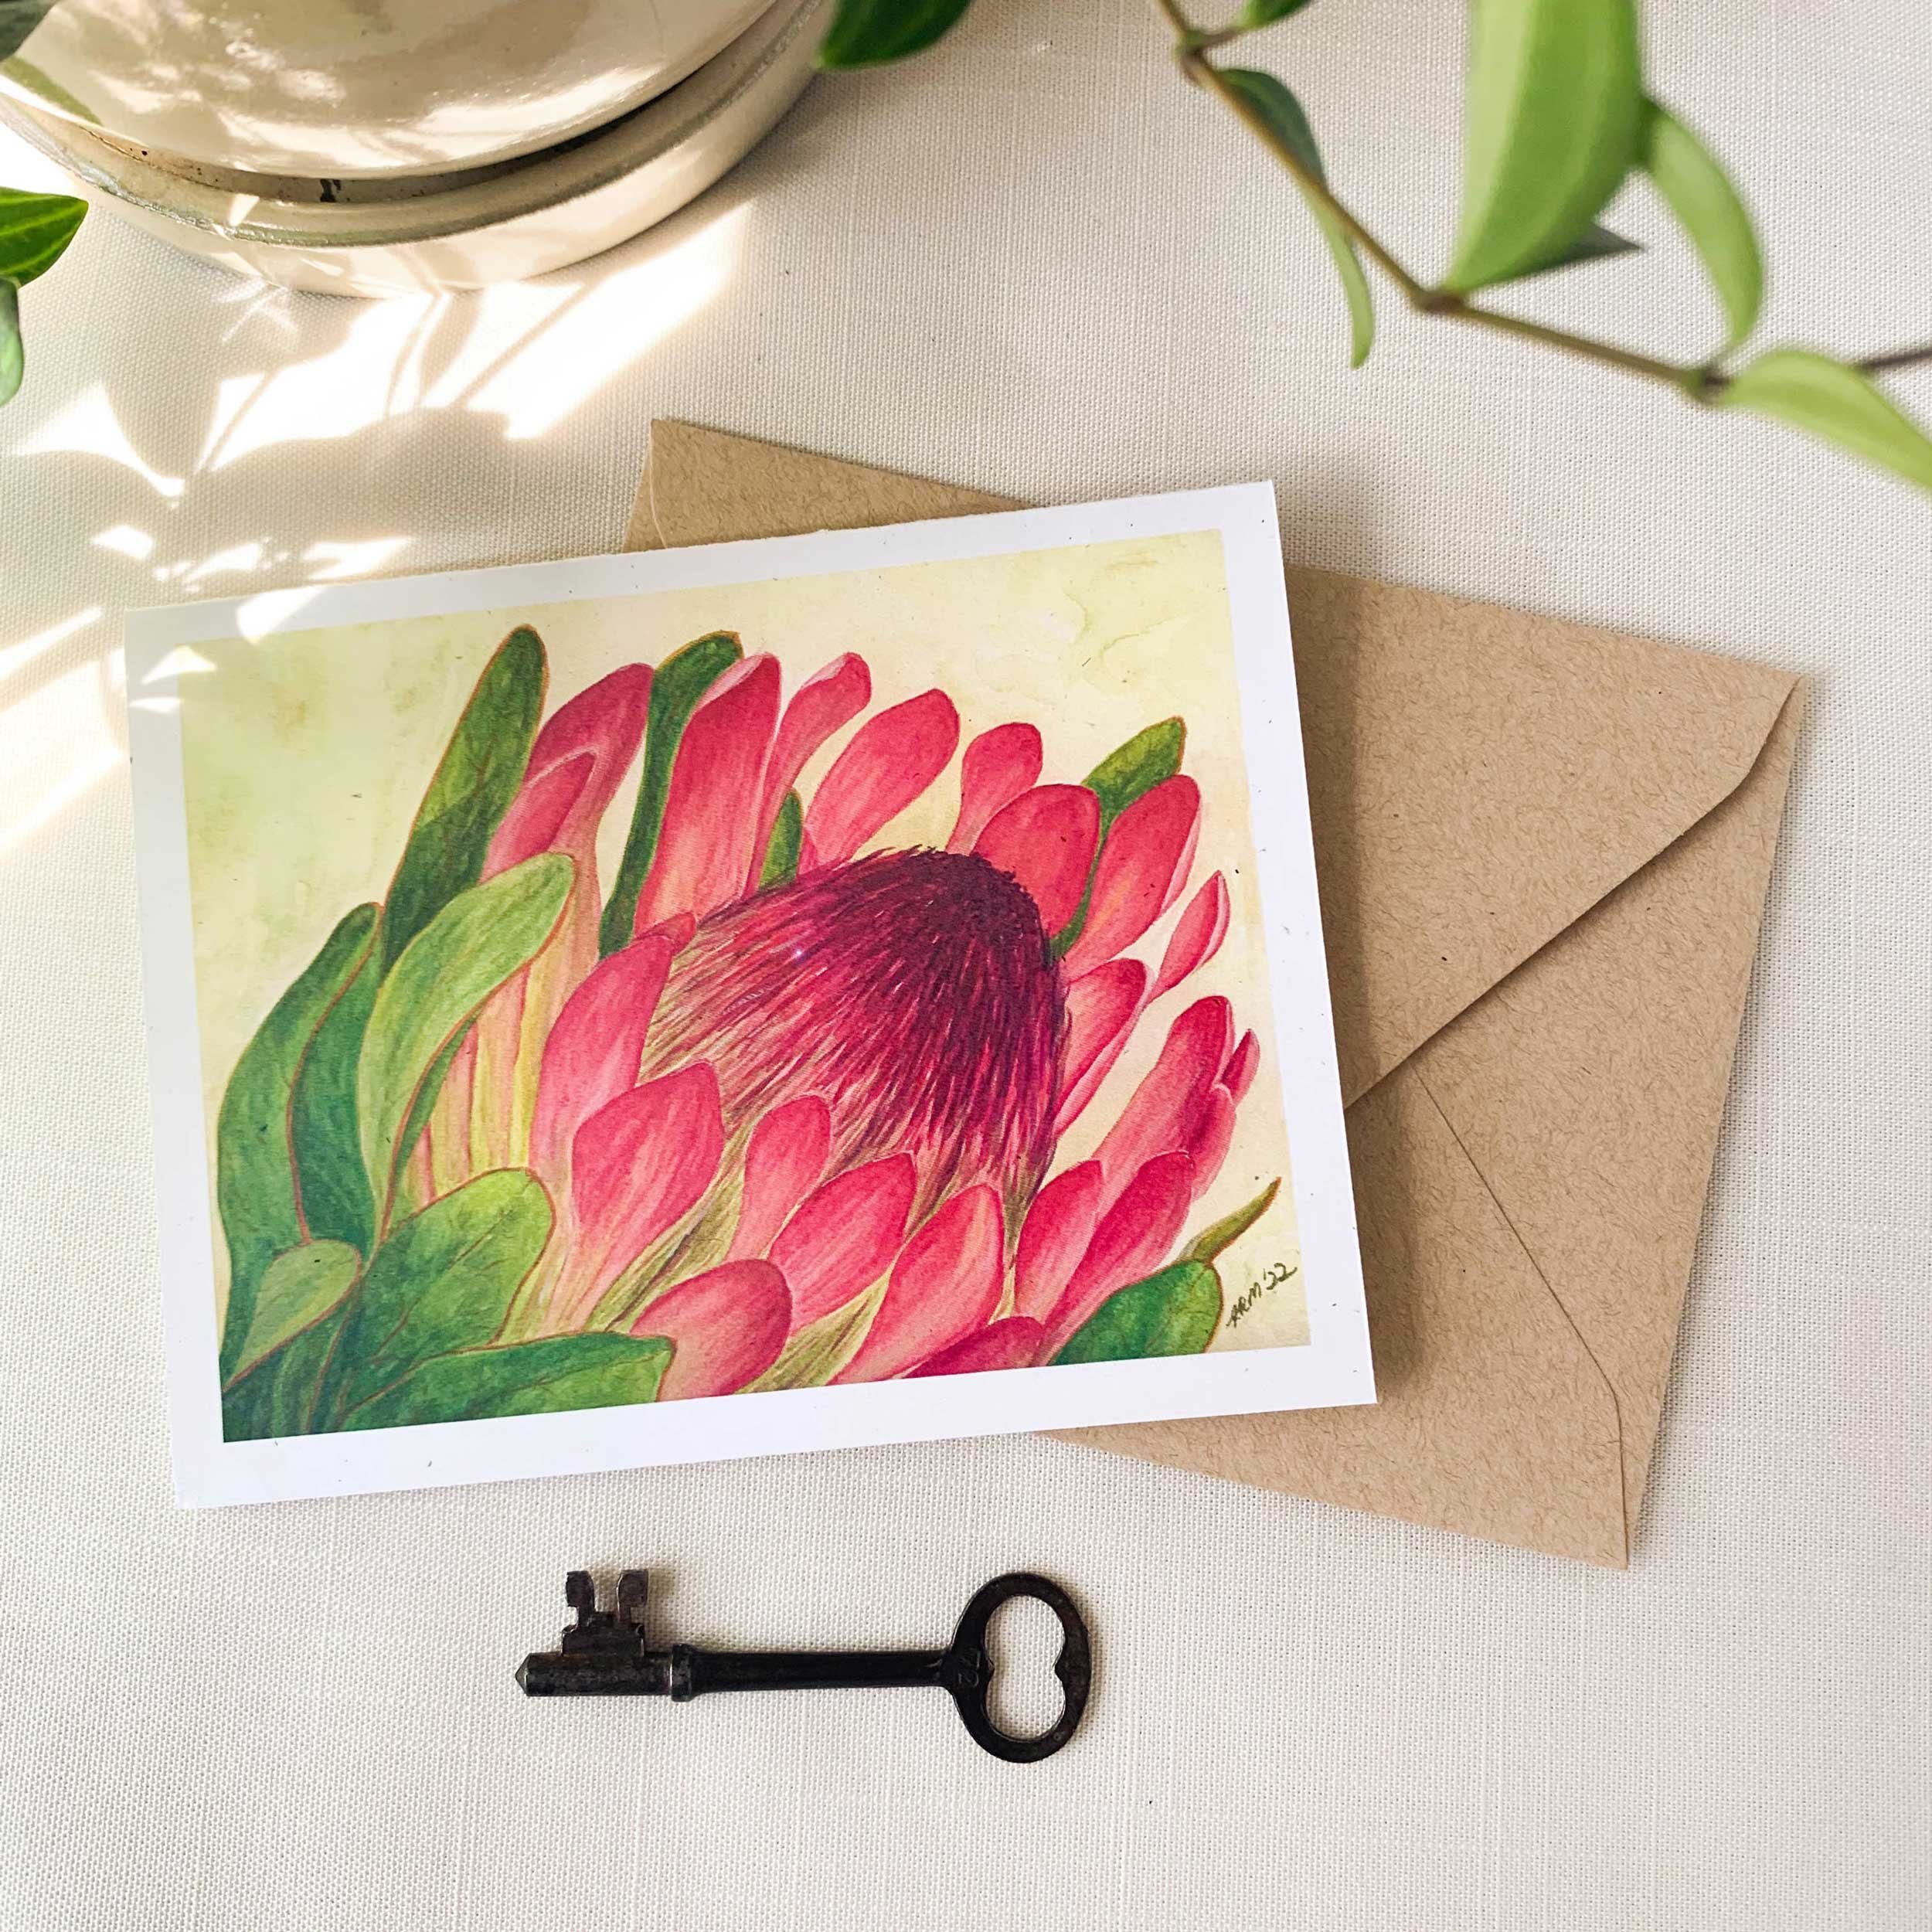
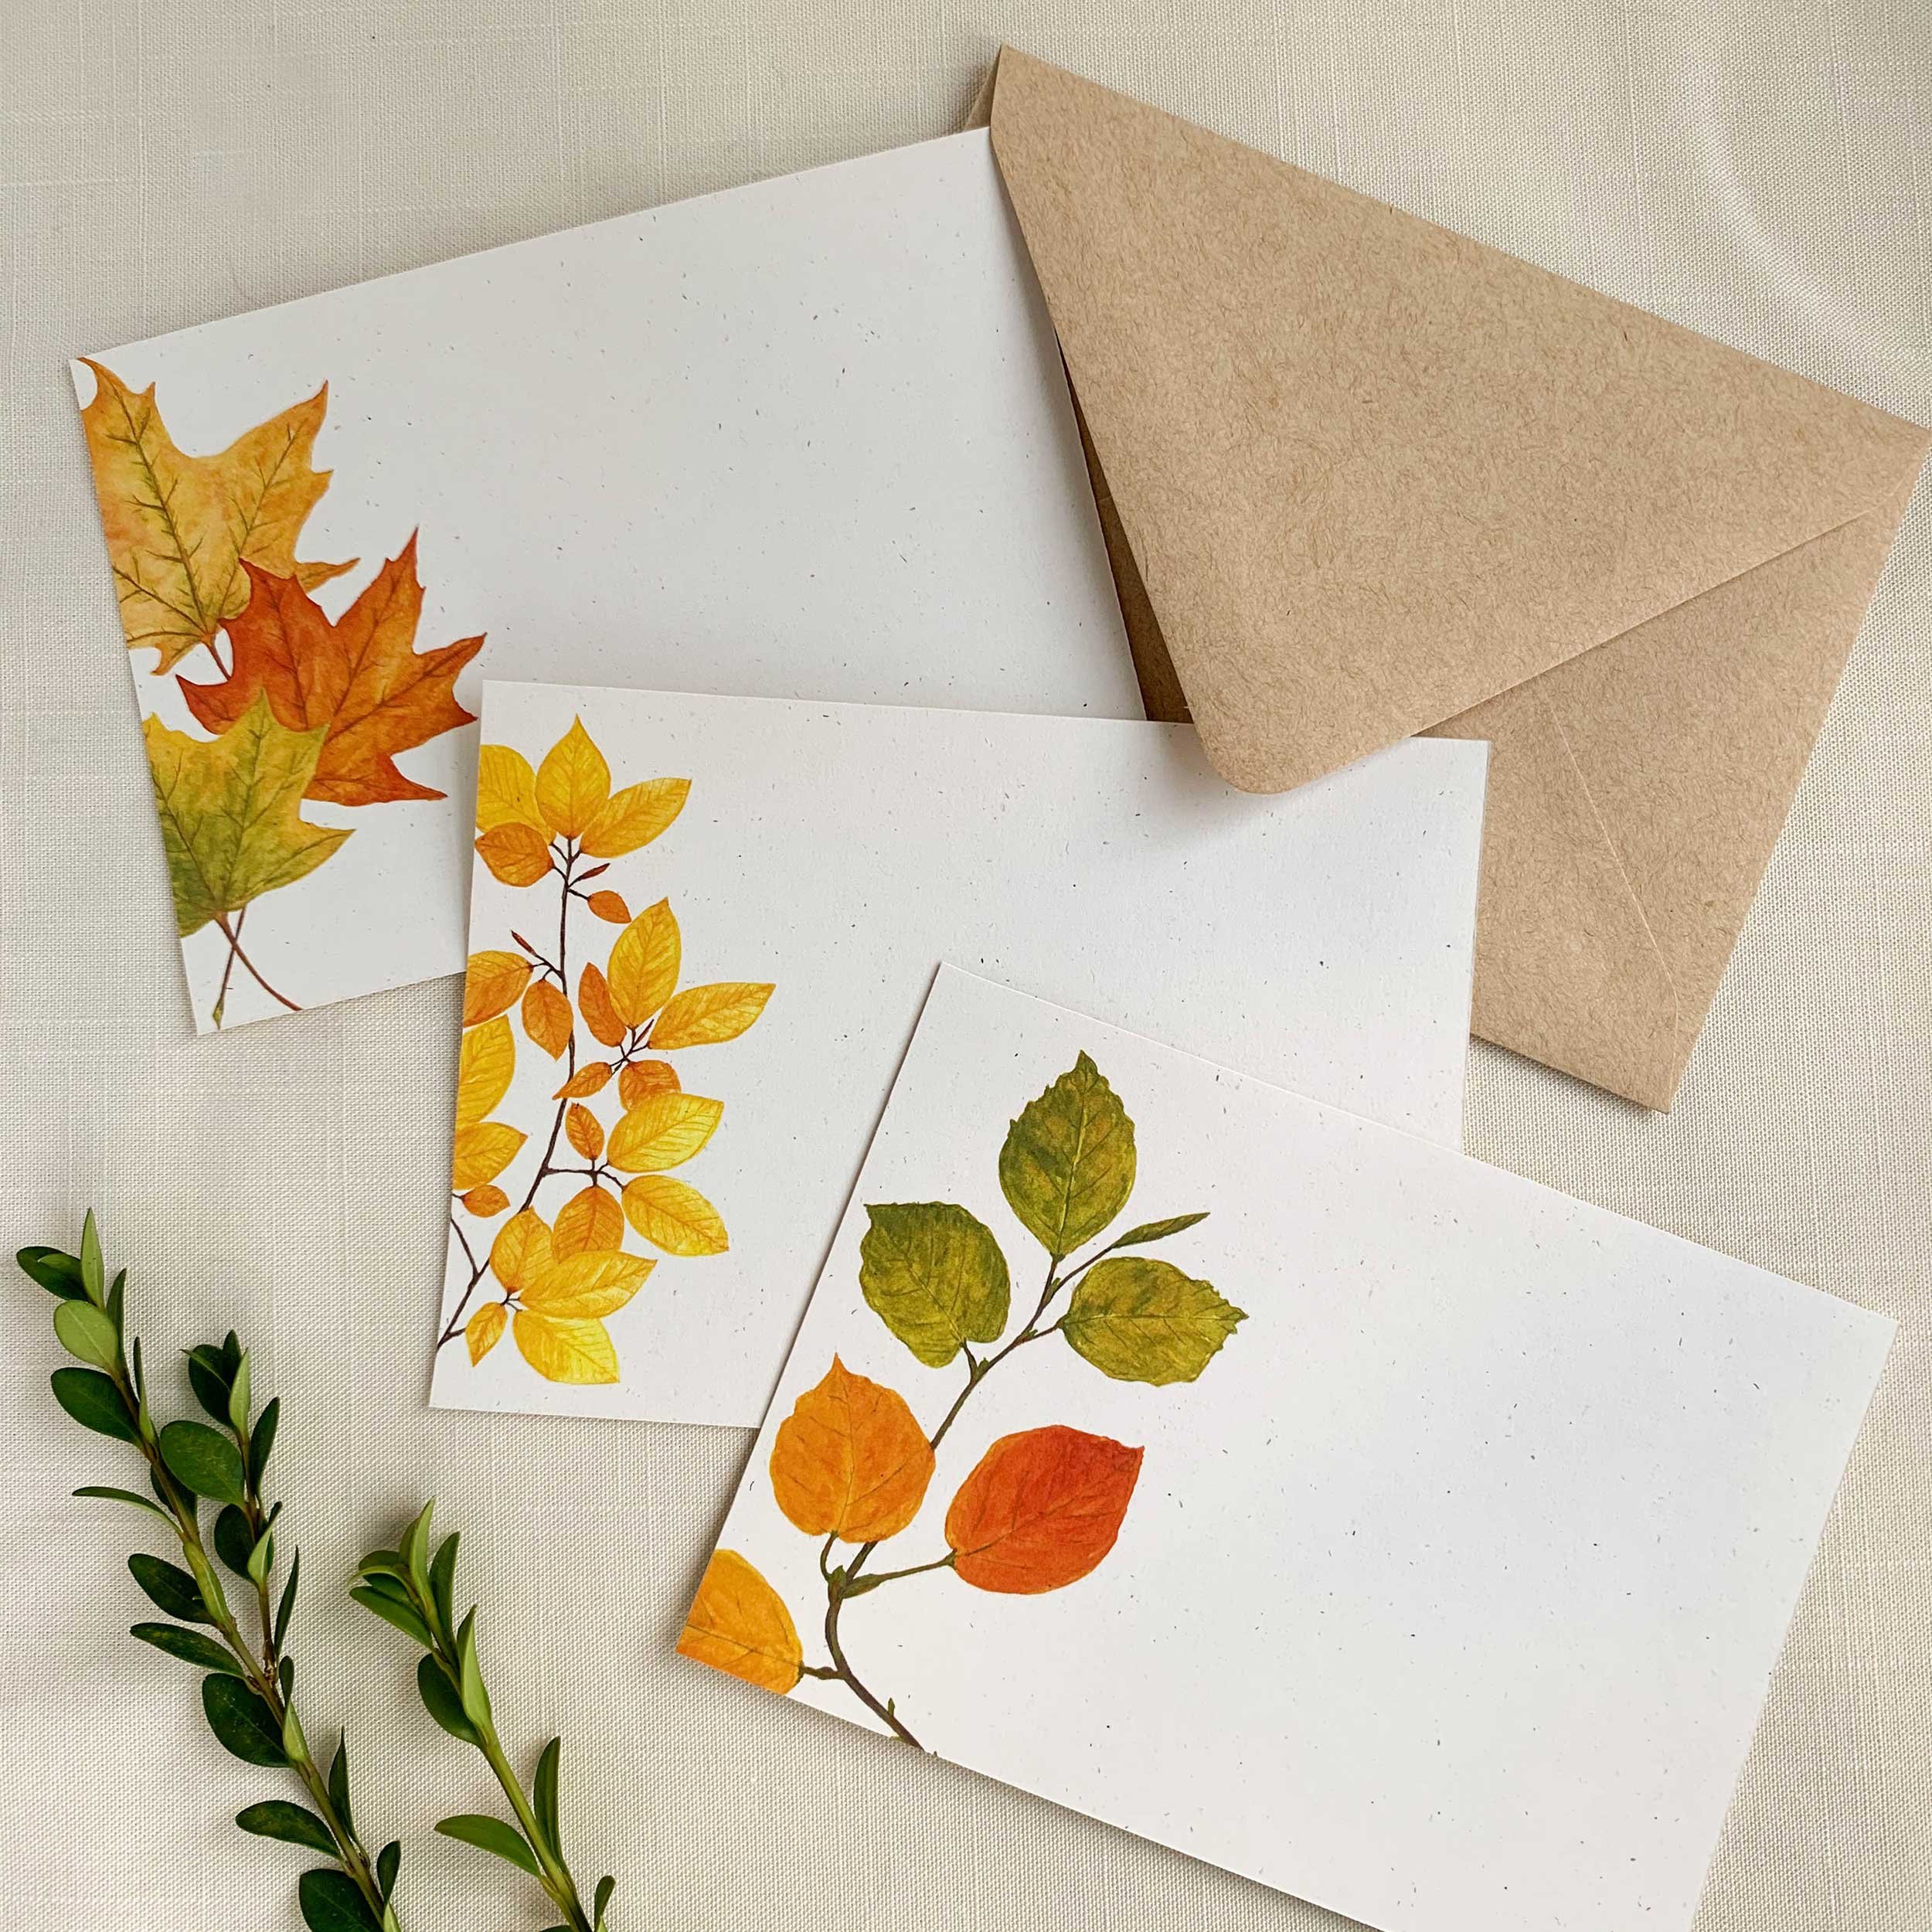
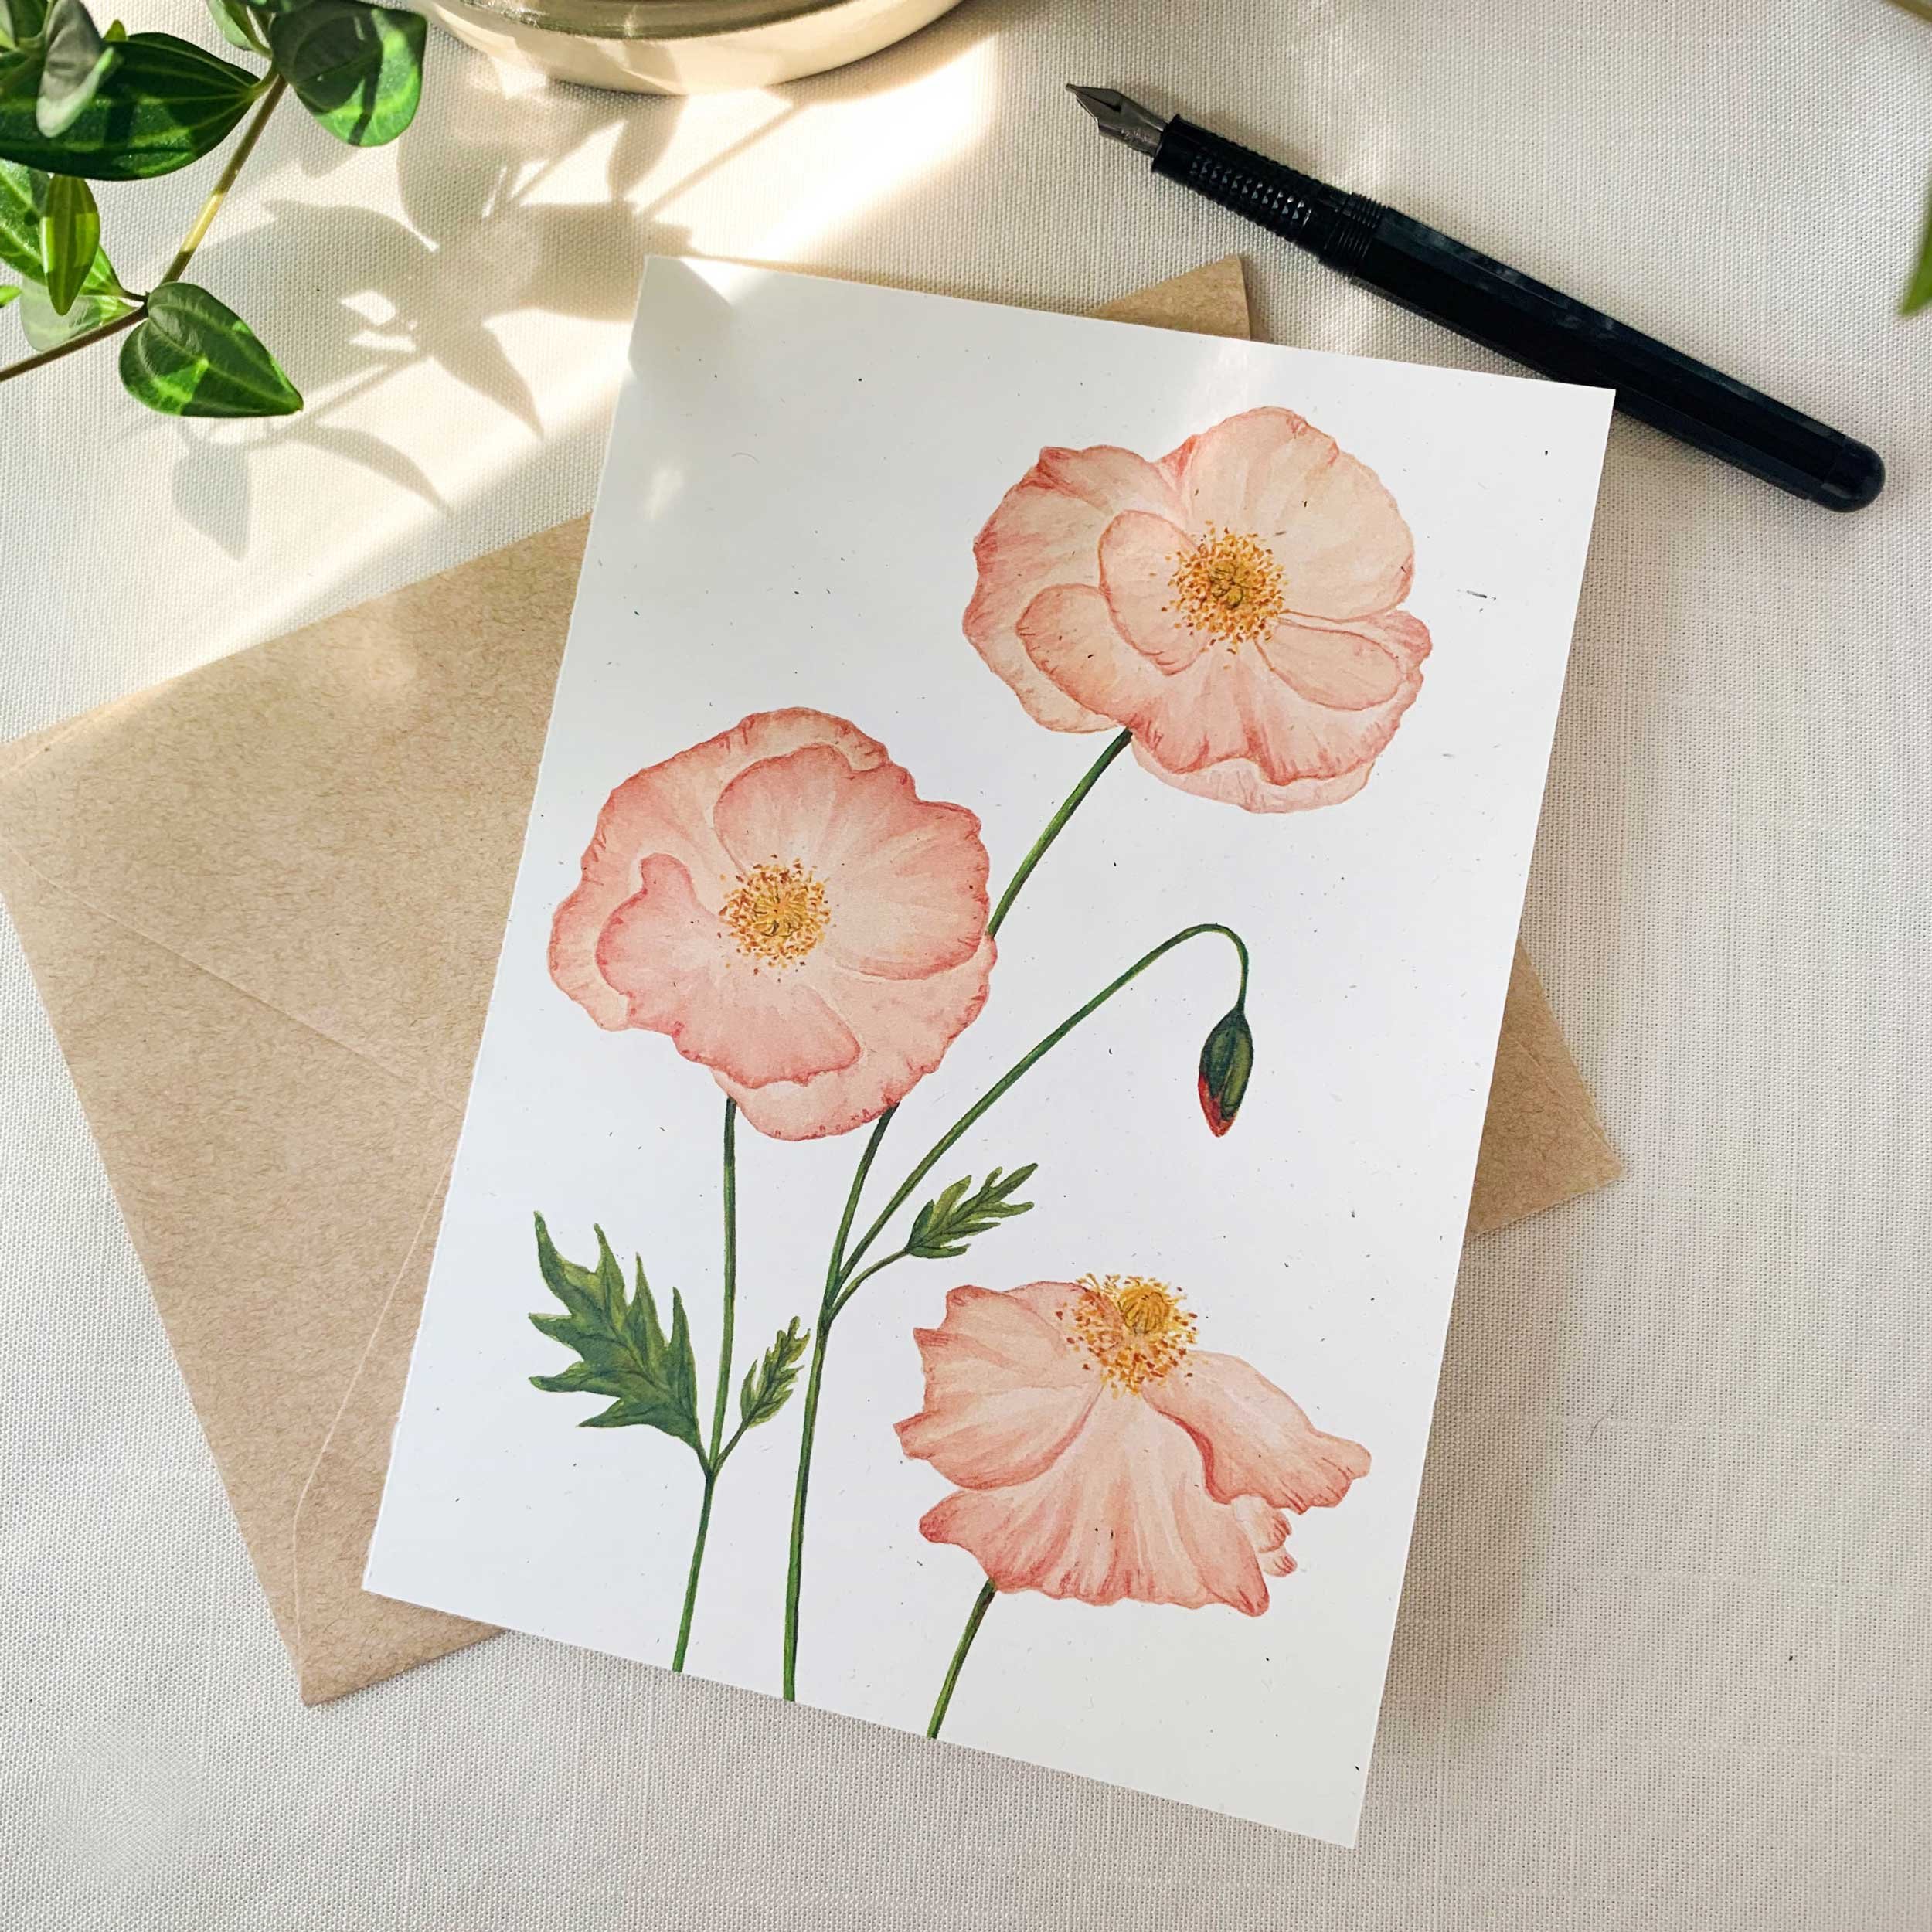
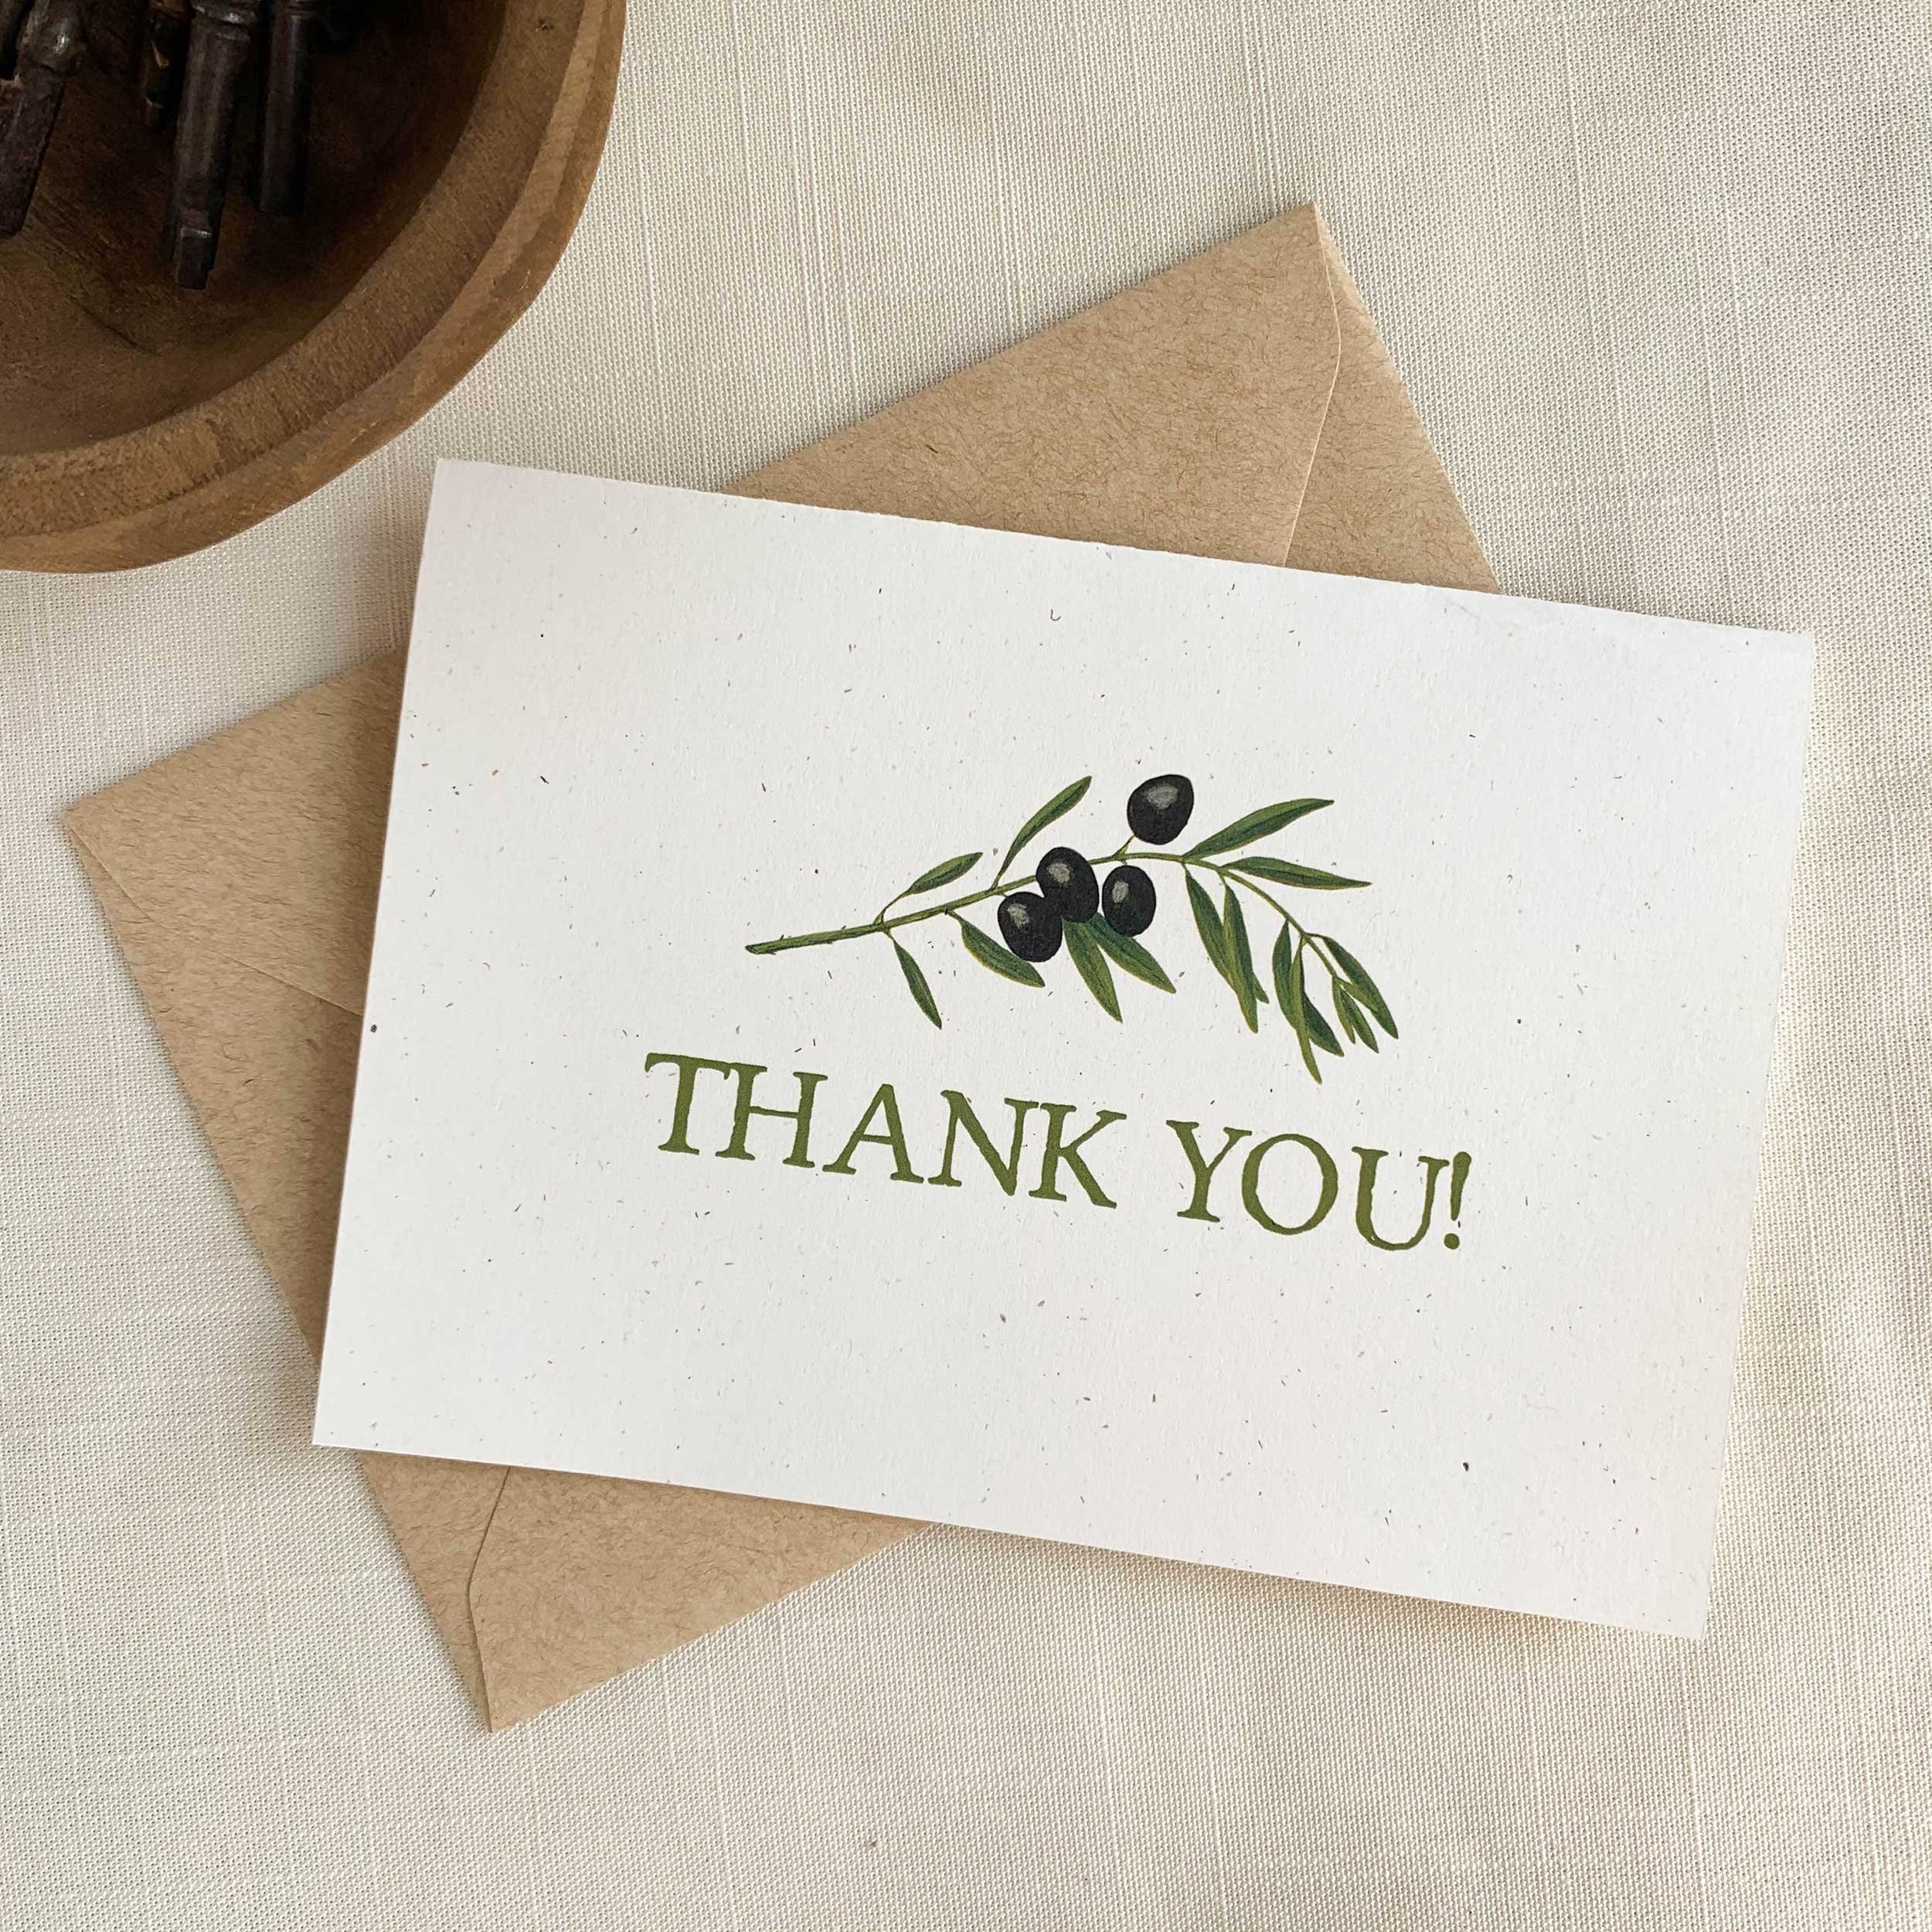
However, once I started my stationery business I realized that teachers love to receive a set of personalized notecards or thank you cards. Teachers are always sending home a quick message or thank you notes for their gifts. So why not provide them with a cute or pretty stationery set to do this. I try find out a little about the teachers. Maybe favorite color, flower or animal. Your kids are great in helping with this information. From there I can pick the perfect stationery set for their gift.

Here are some holiday favorites:

Here are some everyday favorites:

Here is my breakdown for the year. In the beginning of the year I always send in some classroom essentials; tissues, pencils, zip bags, sticky notes, highlighters, to name a few. During the holidays I do the same, but include something personal. This may include something sweet and a stationery set. Also, I love to crochet, so depending on the teacher I might make a scarf, coasters, or trivets. Handmade gifts go a long way. For the teachers who teach specials like Gym, Music, Art, etc, I like to send a small gift bag with some chocolates, a couple sticky pads and highlighters tied with a bow. This way they are not forgotten about. During teacher appreciation week I like to send in another stationery set along with flowers and maybe some more school supplies. To close out the year I always send a gift card. This way they can either buy themselves something or use it to stock up on the next years supplies. But whatever you give teachers will always appreciated you thinking of them.
10 Musts For Running A Small Stationery Business

You wear many hats when running your small stationery business. Here are ten important tips and items you need to make sure your stationery business is successful.

1) Branding
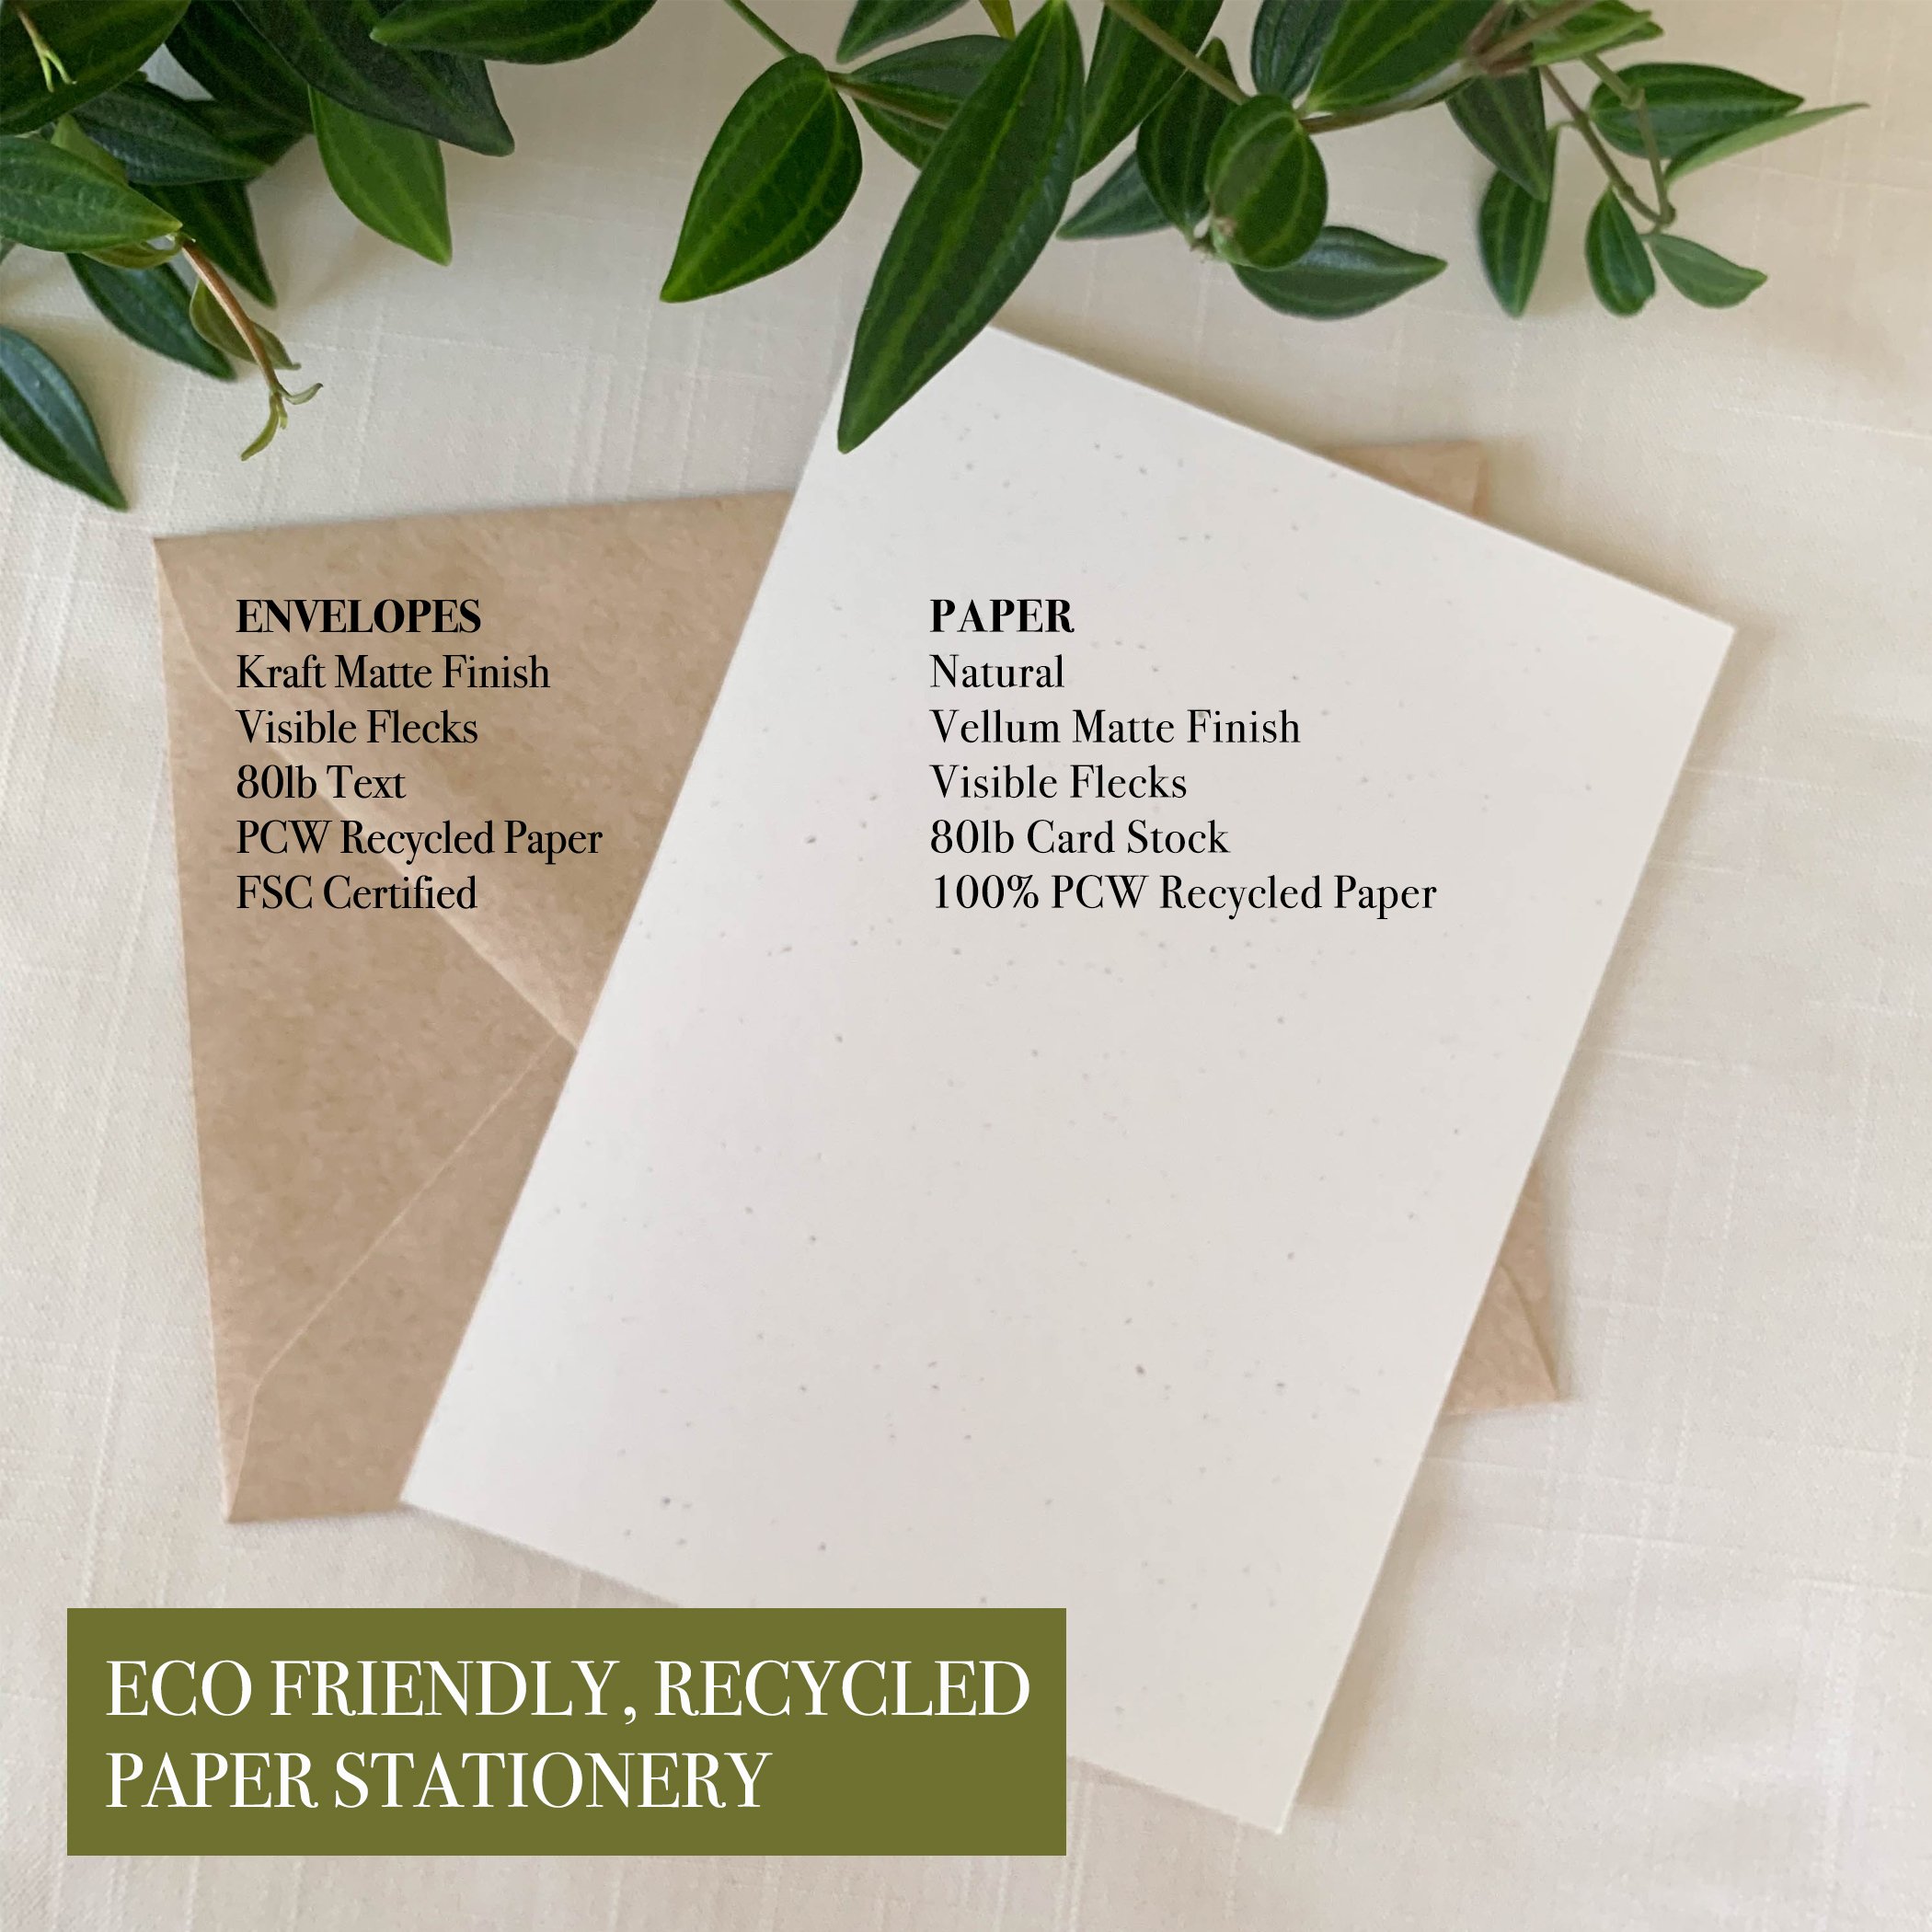
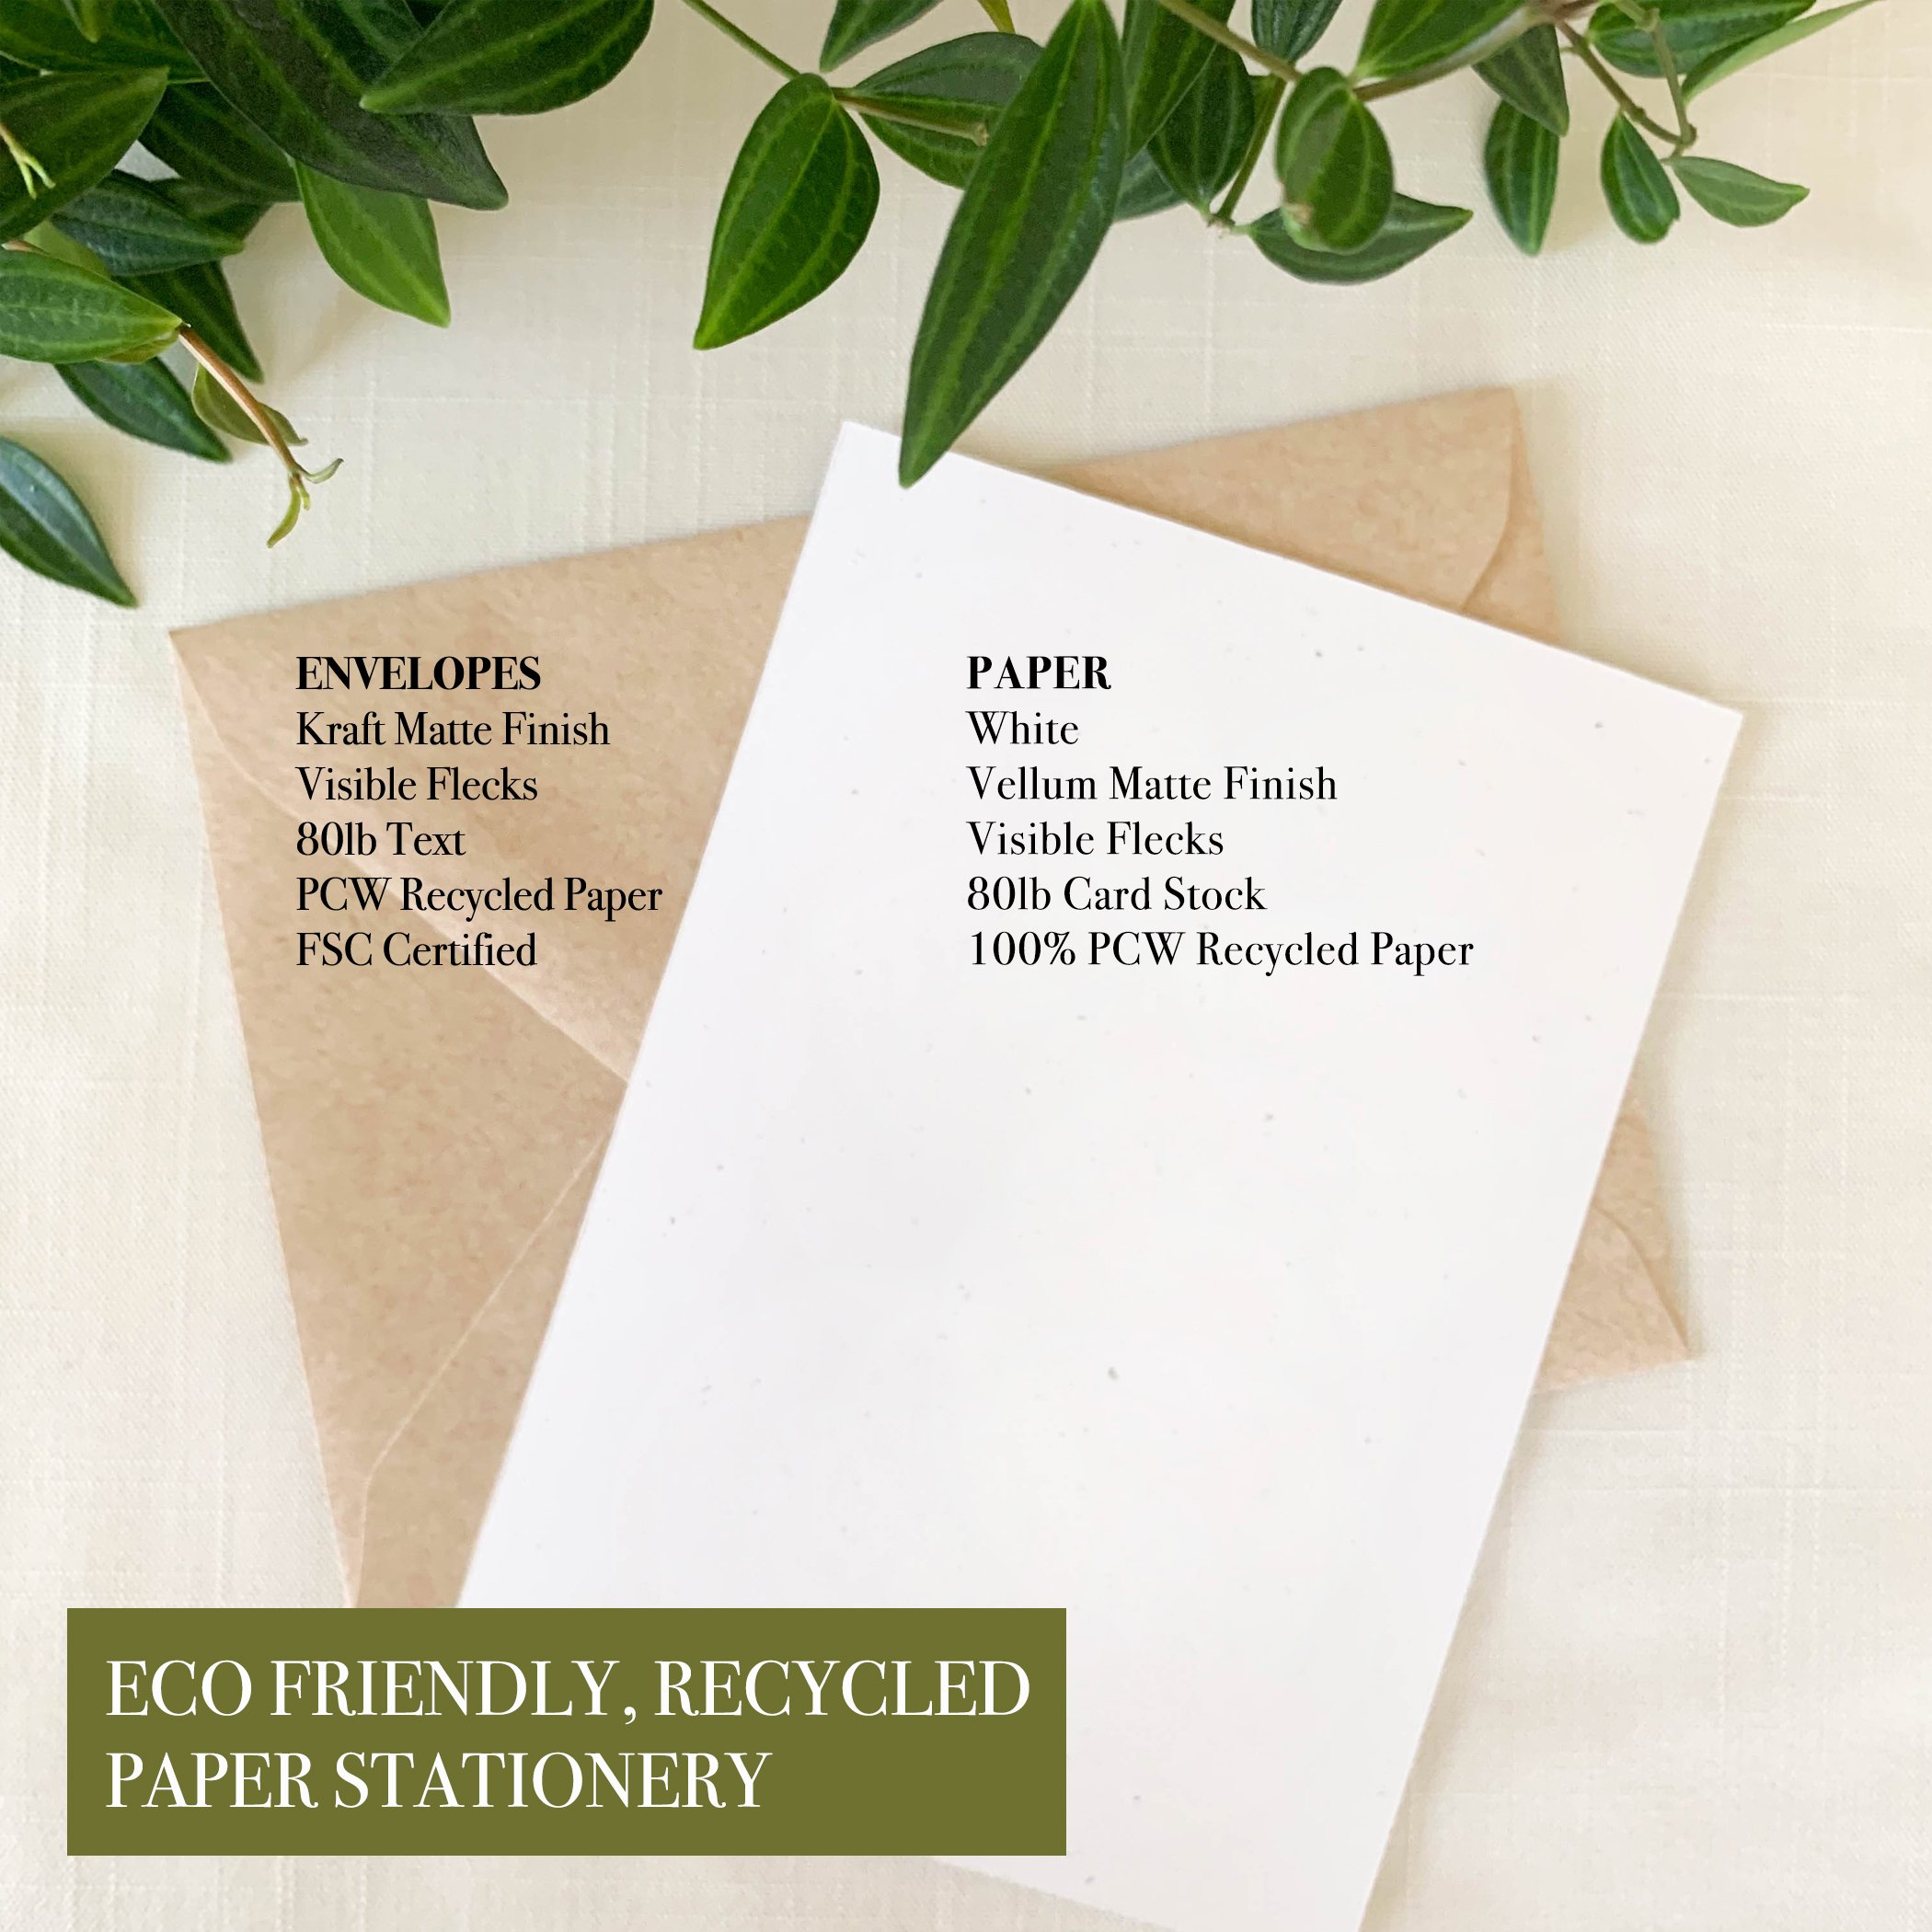
Branding is so important when you are setting up your business. It effects so many areas that I will be discussing in more detail below. Branding includes your logo, colors, fonts, packaging, design and more. It starts with picking your business name. Your name should reflect you and what you sell. You can include a tag line, which will explain more about what your are selling as well. Once you have a name and tagline set, it is on to designing a logo. As a stationery designer you can design your own logo, or work with an another designer. Your logo can help establish your color theme and fonts. This can than transfer to your packaging supplies, website design, and more. Other elements of your brand can be materials you use. For me, I decided to go eco-friendly, so all my products and packaging are made with recycled content. I represent this in my tagline, products and packaging. Branding is about anything special that represents you and what you want to your business to portray.

2) Stationery Paper
Paper is part of your branding. It tells the story of your stationery business. Are you using a thick, luxury cotton paper? Maybe it is recycled paper like I do? Or perhaps you are all about budget friendly, so the paper quality is standard? Whatever paper you select it supports the branded message you want to convey about your business to your buyers. Besides paper type and quality, do you want to carry more than one variation? Maybe 3-4, or perhaps 20 options? This lends into creating the look of your products. This would include envelope styles and colors. One option could be you carry one type of paper, but with 20 colored envelope selections. This all plays into how much inventory do you want to have on hand. The upside on this is you probably will have a greater discount on paper when ordering in bulk. But the downside is having a ton of envelope inventory. And what if a color does not sell well? Or maybe you make your products made to order, so you only order when you need it. The upside on this option is low inventory, but the downside is you pay more when ordering supplies in small quantities. You will need to decide what works for you and the stationery line you want to create.

3) Packaging
Packaging continues to tell your business story. It is the first thing your customer sees before viewing and touching what they have ordered. There are so many options out there with mailers, boxers, container packaging, ribbons, etc. You can really design a pretty packaging kit in your branded colors. Remember your packaging materials should be part of your overall costs when pricing your stationery and shipping fees. If you are selling budget friendly stationery you want to keep your packaging simple and clean, not too fussy. Maybe a ribbon tie in a self seal clear box or bag? If you are high-end luxury brand there are so many gift box options with a fancier ribbon and tissue paper to choose from. You can even have your logo printed on packaging materials if you want to spend a bit more. Next is your mailing box or envelope. There are many packaging websites to look through and find what suits you, your brand, and your budget. Lastly, it is about the details. Some other elements you can add into your packaging to make it special are a discount coupon card for repeat customers, an about me card, usage instructions card, or even a free greeting card. All of these items should be branded with your logo, fonts, colors and standard stationery paper.

4) Website or Marketplace Store
Next you need a way to sell your products. Setting up a website has become very easy with many website hosting companies like Shopify, SquareSpace, GoDaddy, Wix, and more. You can pick one of their basic e-commerce templates and customize to your colors, add a logo, and your products. Having a website does come with a somewhat costly yearly fee. However, when you sell something the money is all yours, besides taxes of course. The downside is you need to drive traffic to your website to be found, or pay for advertising. Social media sites are an option to help with this without paying advertising fees. The other option is to open a marketplace store. There are many marketplaces to sell on, including Etsy, GoImagine, Amazon, Michaels Marketplace, just to name a few. The downside of these is you are usually paying a fee every time your products sells, sometimes a monthly service fee, and you are competing with other shops on the same marketplace. Upside, is some of these bigger platforms have a ton of traffic coming to them already. But you do need to make sure you can be found in their search engines. Both options do require SEO work, but that is for another day. I highly recommend doing both. This way you are not always putting all your eggs in one basket. In person local fairs are a third great option.

5) Design Software
When designing your stationery products you are going to need some sort of computer program. Most popular, and if money allows, is Adobe using InDesign, Illustrator, and/or Photoshop. This is a yearly membership purchase and it can be costly for some if not used often. I find having all three programs are very beneficial. Photoshop is great for editing your product photos. However, it does takes time to get to know how to use these programs. As a graphic design major, I had the advantage of being trained in college on these already. Other options are design websites like Canva. A lot of people find these websites very easy to use. However, there can be some limitations on these types of programs with designing.

6) Printing
There are many ways you can have your products printed. When I first started my business I worked with a local printer. They would print and cut all my products for me. Depending on the amount of orders you receive you can work out a discounted price on their services. You can either supply them with the paper you want to use or you can see if they can get the paper directly. Another option is to buy a good printer for you to do the printing. This way you have a full control over everything. You need a printer that prints your designs well, and on the size and thickness of the paper you plan on using. You would need to purchase your own cutter, this way you can cut anything to size if needed. This is the option I have been currently doing. Lastly, the other option is print-on-demand (POD). There are so many online companies that offer this. Plus most will ship directly to your customer too. The downside is that you do not see what is actually being shipped to your customer. Errors do occasionally happen.

7) Sanner
This is great to have if you happen to design your stationery from original artwork. Not all artwork is always created on a computer. Many stationery designers draw and paint their artwork. A scanner is an easy way to get a good quality image of your artwork to use in your design programs.

8) Phone Or Camera To Take Product Photos
You are going to need to take photos of your products to put onto your website or marketplace store. I used to use a DSLR camera, but cell phone cameras have improved so much. In some cases the quality is the same. Plus, I find the whole process much easier with taking photos with my phone and downloading them on to my computer for editing. Product photos are another great way to represent your branding. Your backgrounds should be consistent and simple. Keep props to minimal. Too many props can make a photo busy and hard to see what you are selling. You want the customer to know what they are receiving. Photographing in natural light is best. A light box can be very useful especially when just shooting on white. I find using the similar props with a bit of greenery through out all my photos gives a unified look and feel when viewing products on my website. Basically, everything should be coordinated in some way.

9) General Office Supplies & Book Keeping
With any type of business you need the basics. Stapler, copy paper, pens, pencils, shipping labels, weight scale, folders, calculator, business number, mailing list, and computer — just to name a few.

10) Legal Paper Work, Book Keeping & Taxes
Lastly, you should always register your business with your state and town. You will need to set up all legal paperwork and tax information. Each state and town has different requirements, so do your research. Then you need to decided on how you are going to keep track of your money for your business. This includes all your expenses (paper supplies, printing costs, shipping supplies, program fees, office supplies, sales tax, etc.). If you are good with numbers maybe keep it all organized with an Excel Document or Google Sheet. Breaking down each category of expenses and sales received along with Gross Income (total of all your sales) and your Net Income (total you made after expenses deducted). This the process I have set up for myself. Or you can spend the money on QuickBooks or a similar program. Whatever you decide it should be easy for you to use. A good tip is to try and log everything in weekly or monthly to save yourself time and headaches during tax season.

I know there is so much more I can touch on, but I will save that for another day. Hopefully this gives you the basics to start. I wish you much success in your business.

How I Started My Stationery Business

Art has always been part of my life. I went to school for art and graduated with a BFA with a study in both Graphic Design and Painting. At the time I mainly painted in oils and acrylics. Once I graduated I started working as a Graphic Designer and then moved up to being an Art Director for many years. Invitation and stationery design really caught my interest when designing my own wedding invitations. When the invitation creation process started, I realized how many options I had in front of me. With such an abundance of ideas, and the passion to do more, I decided to start my own business.

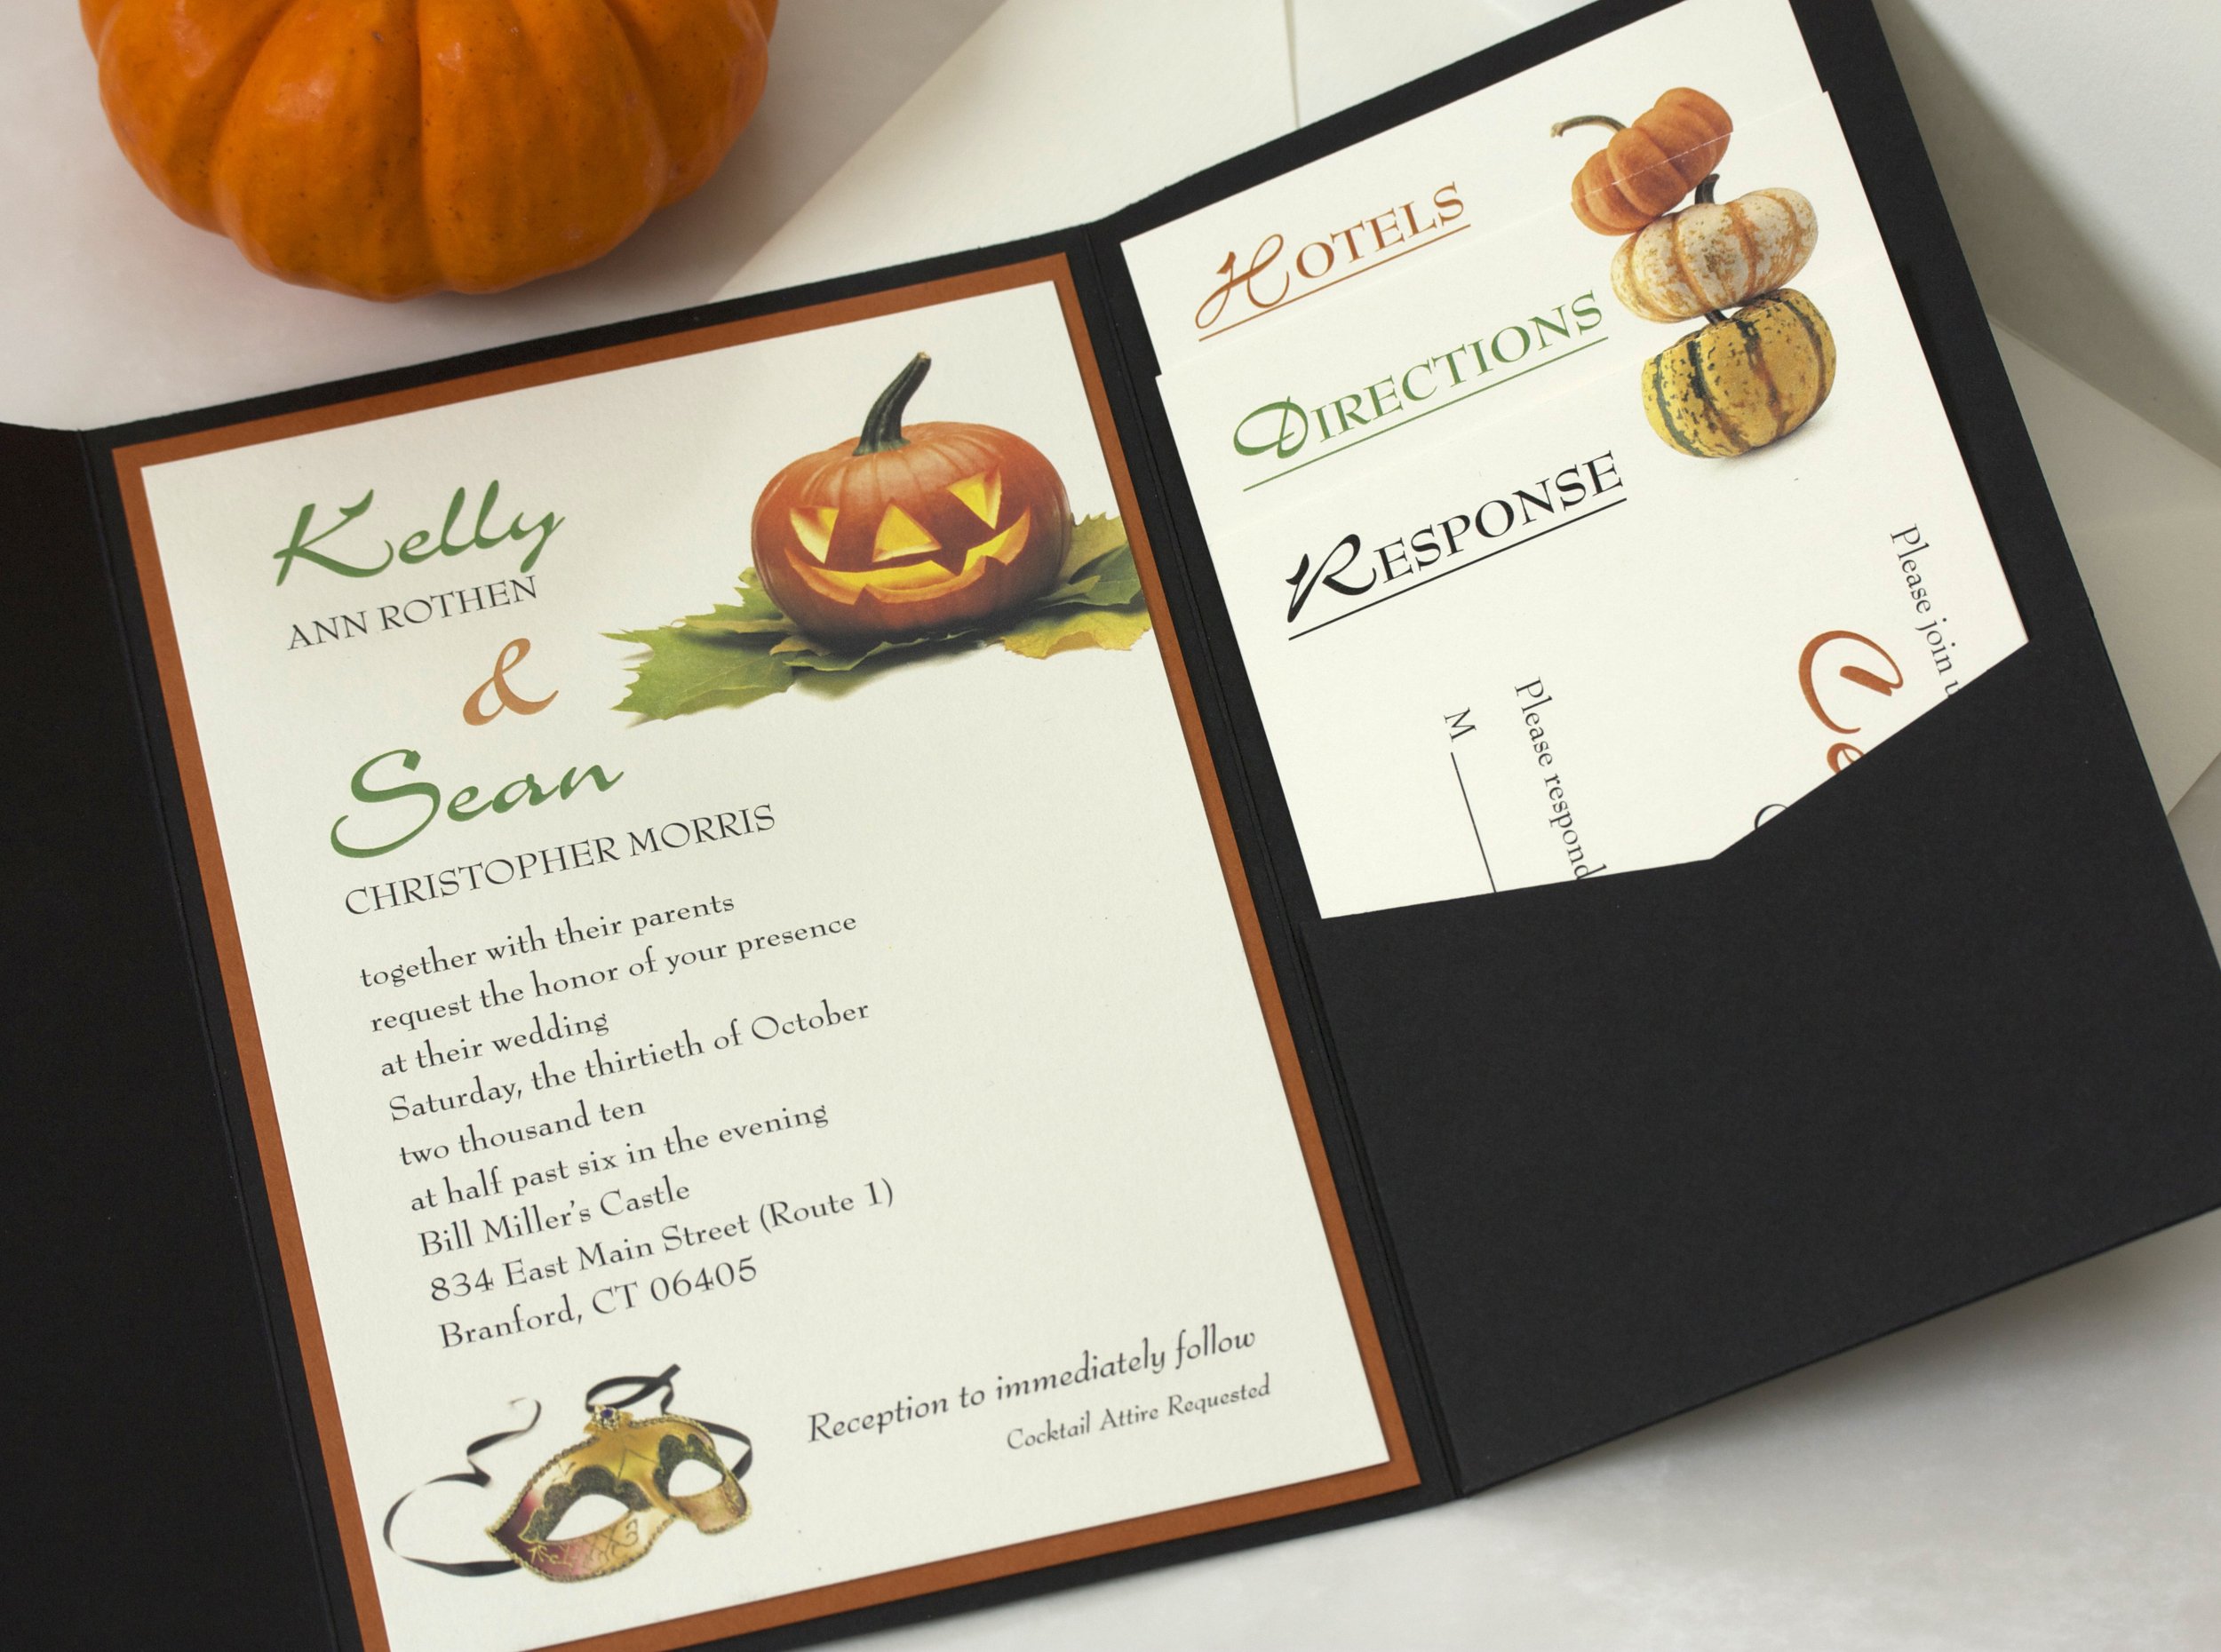
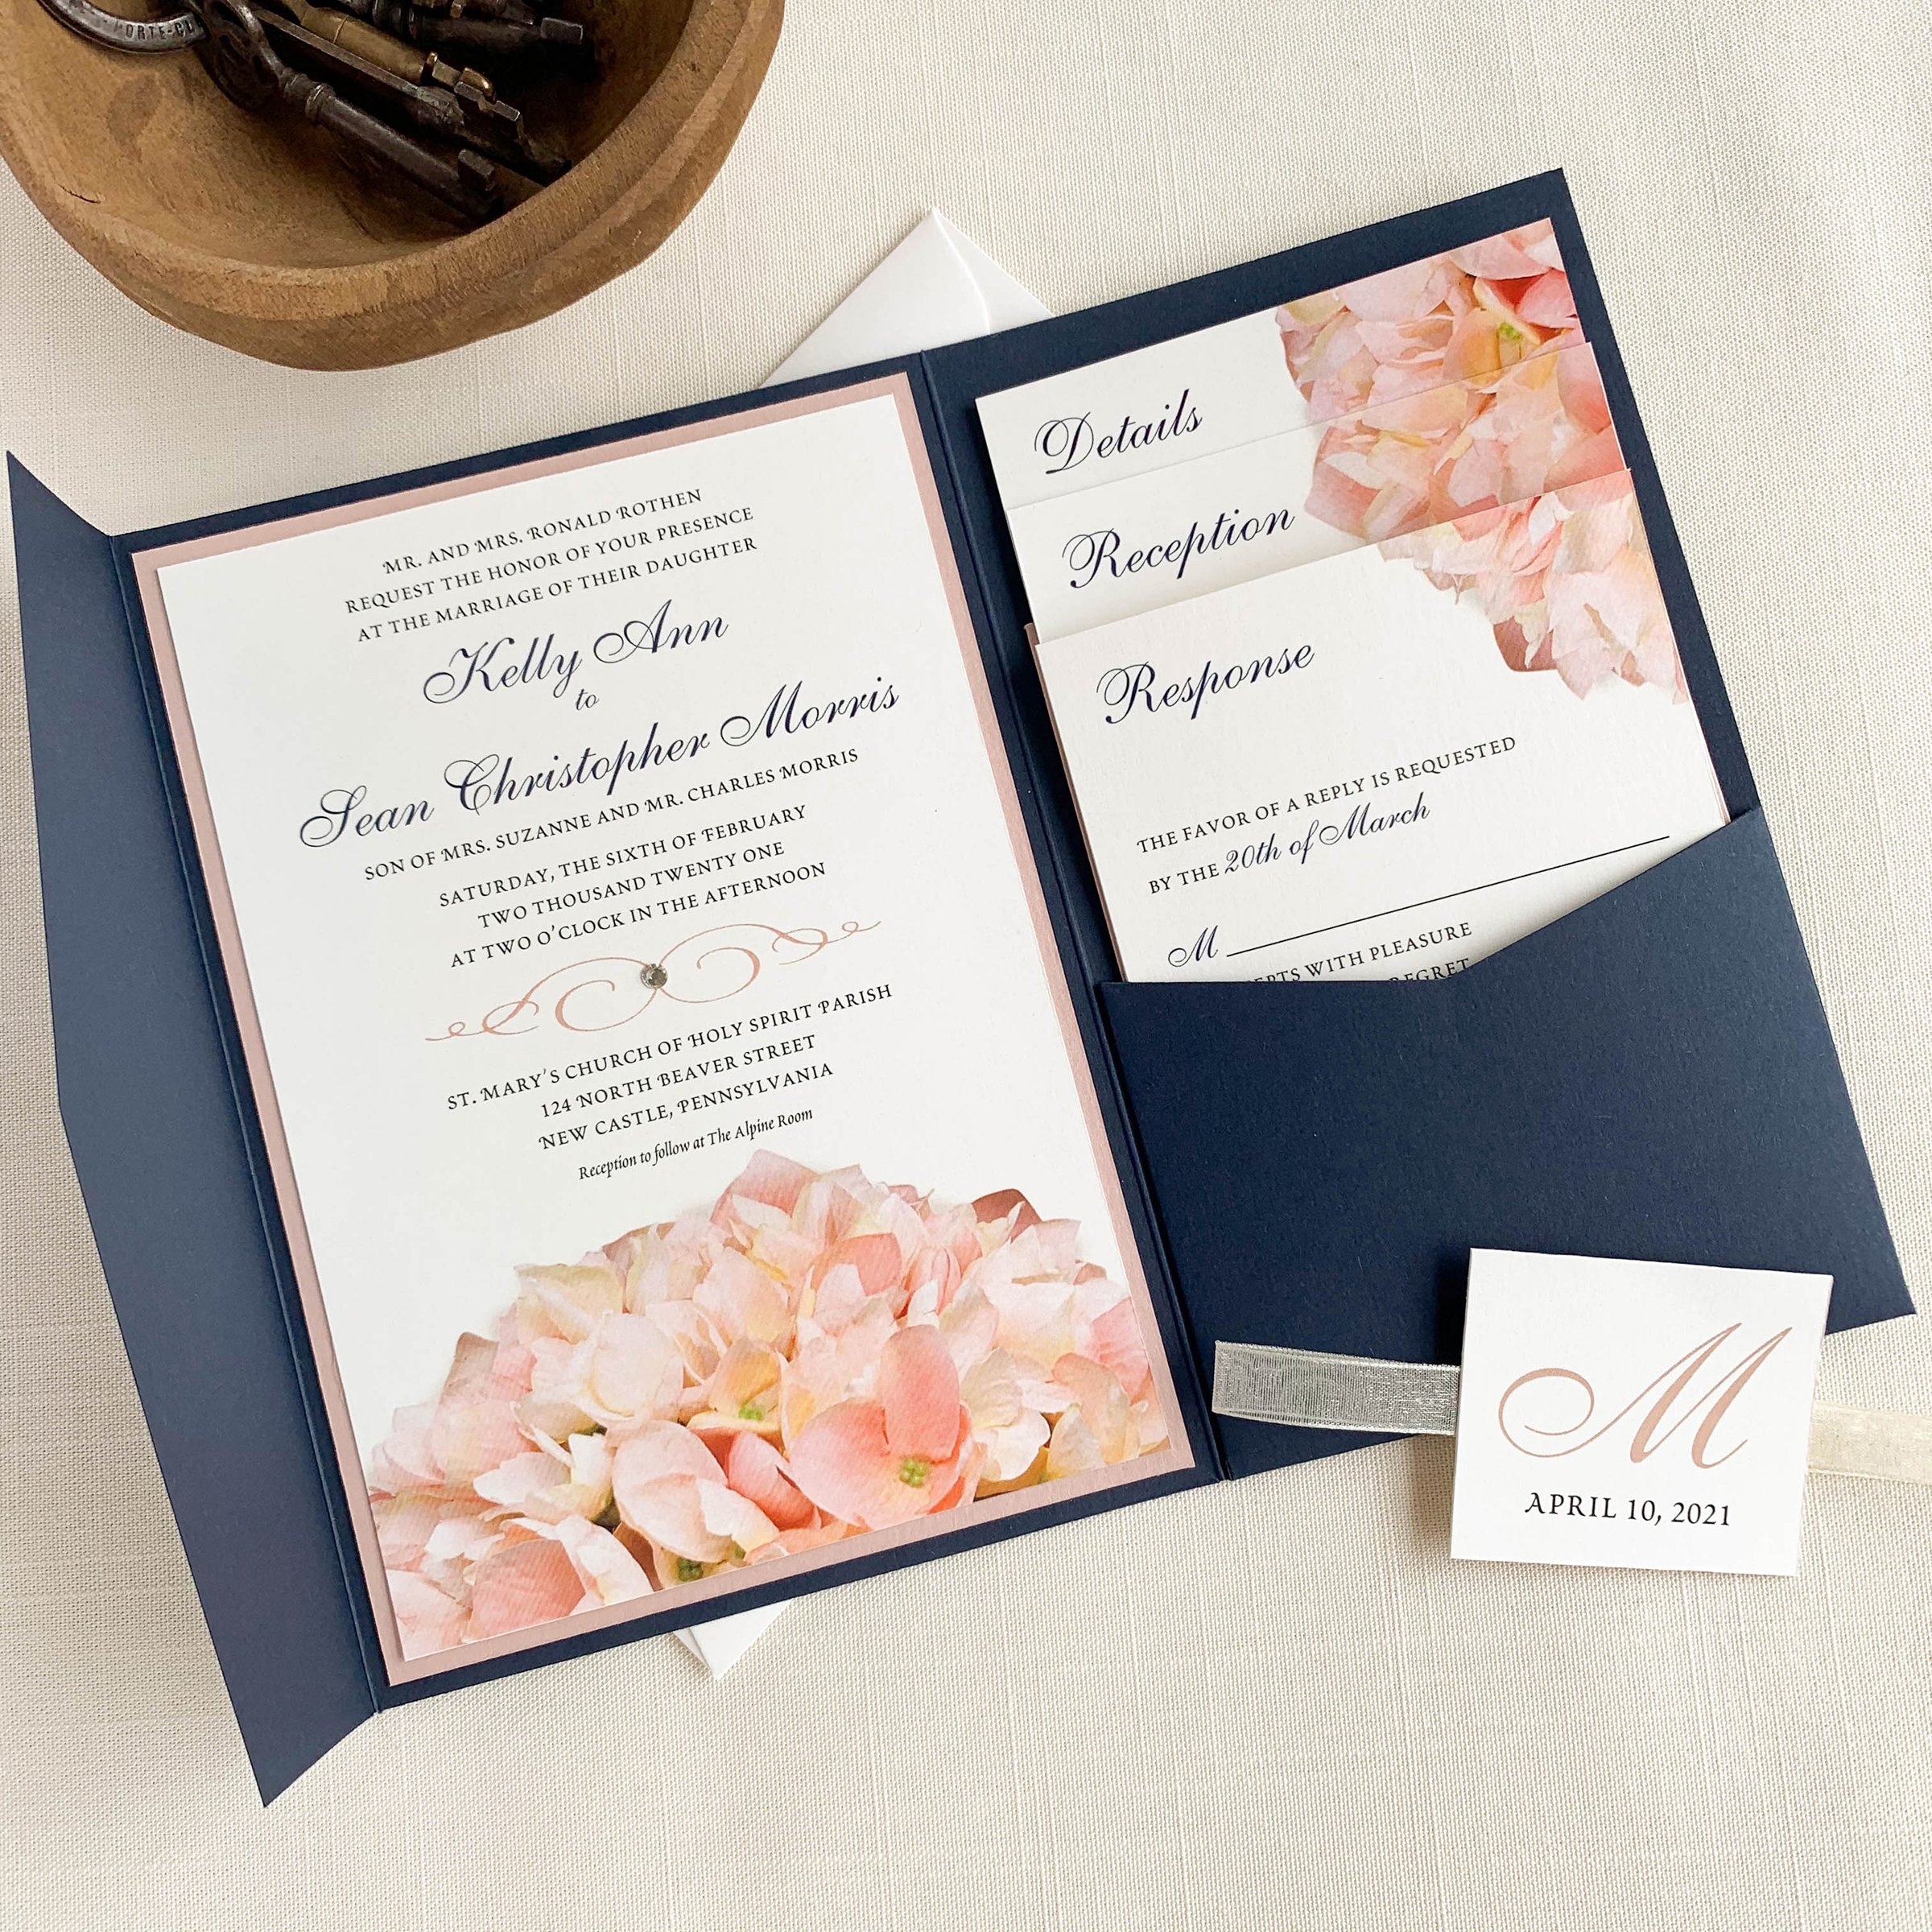
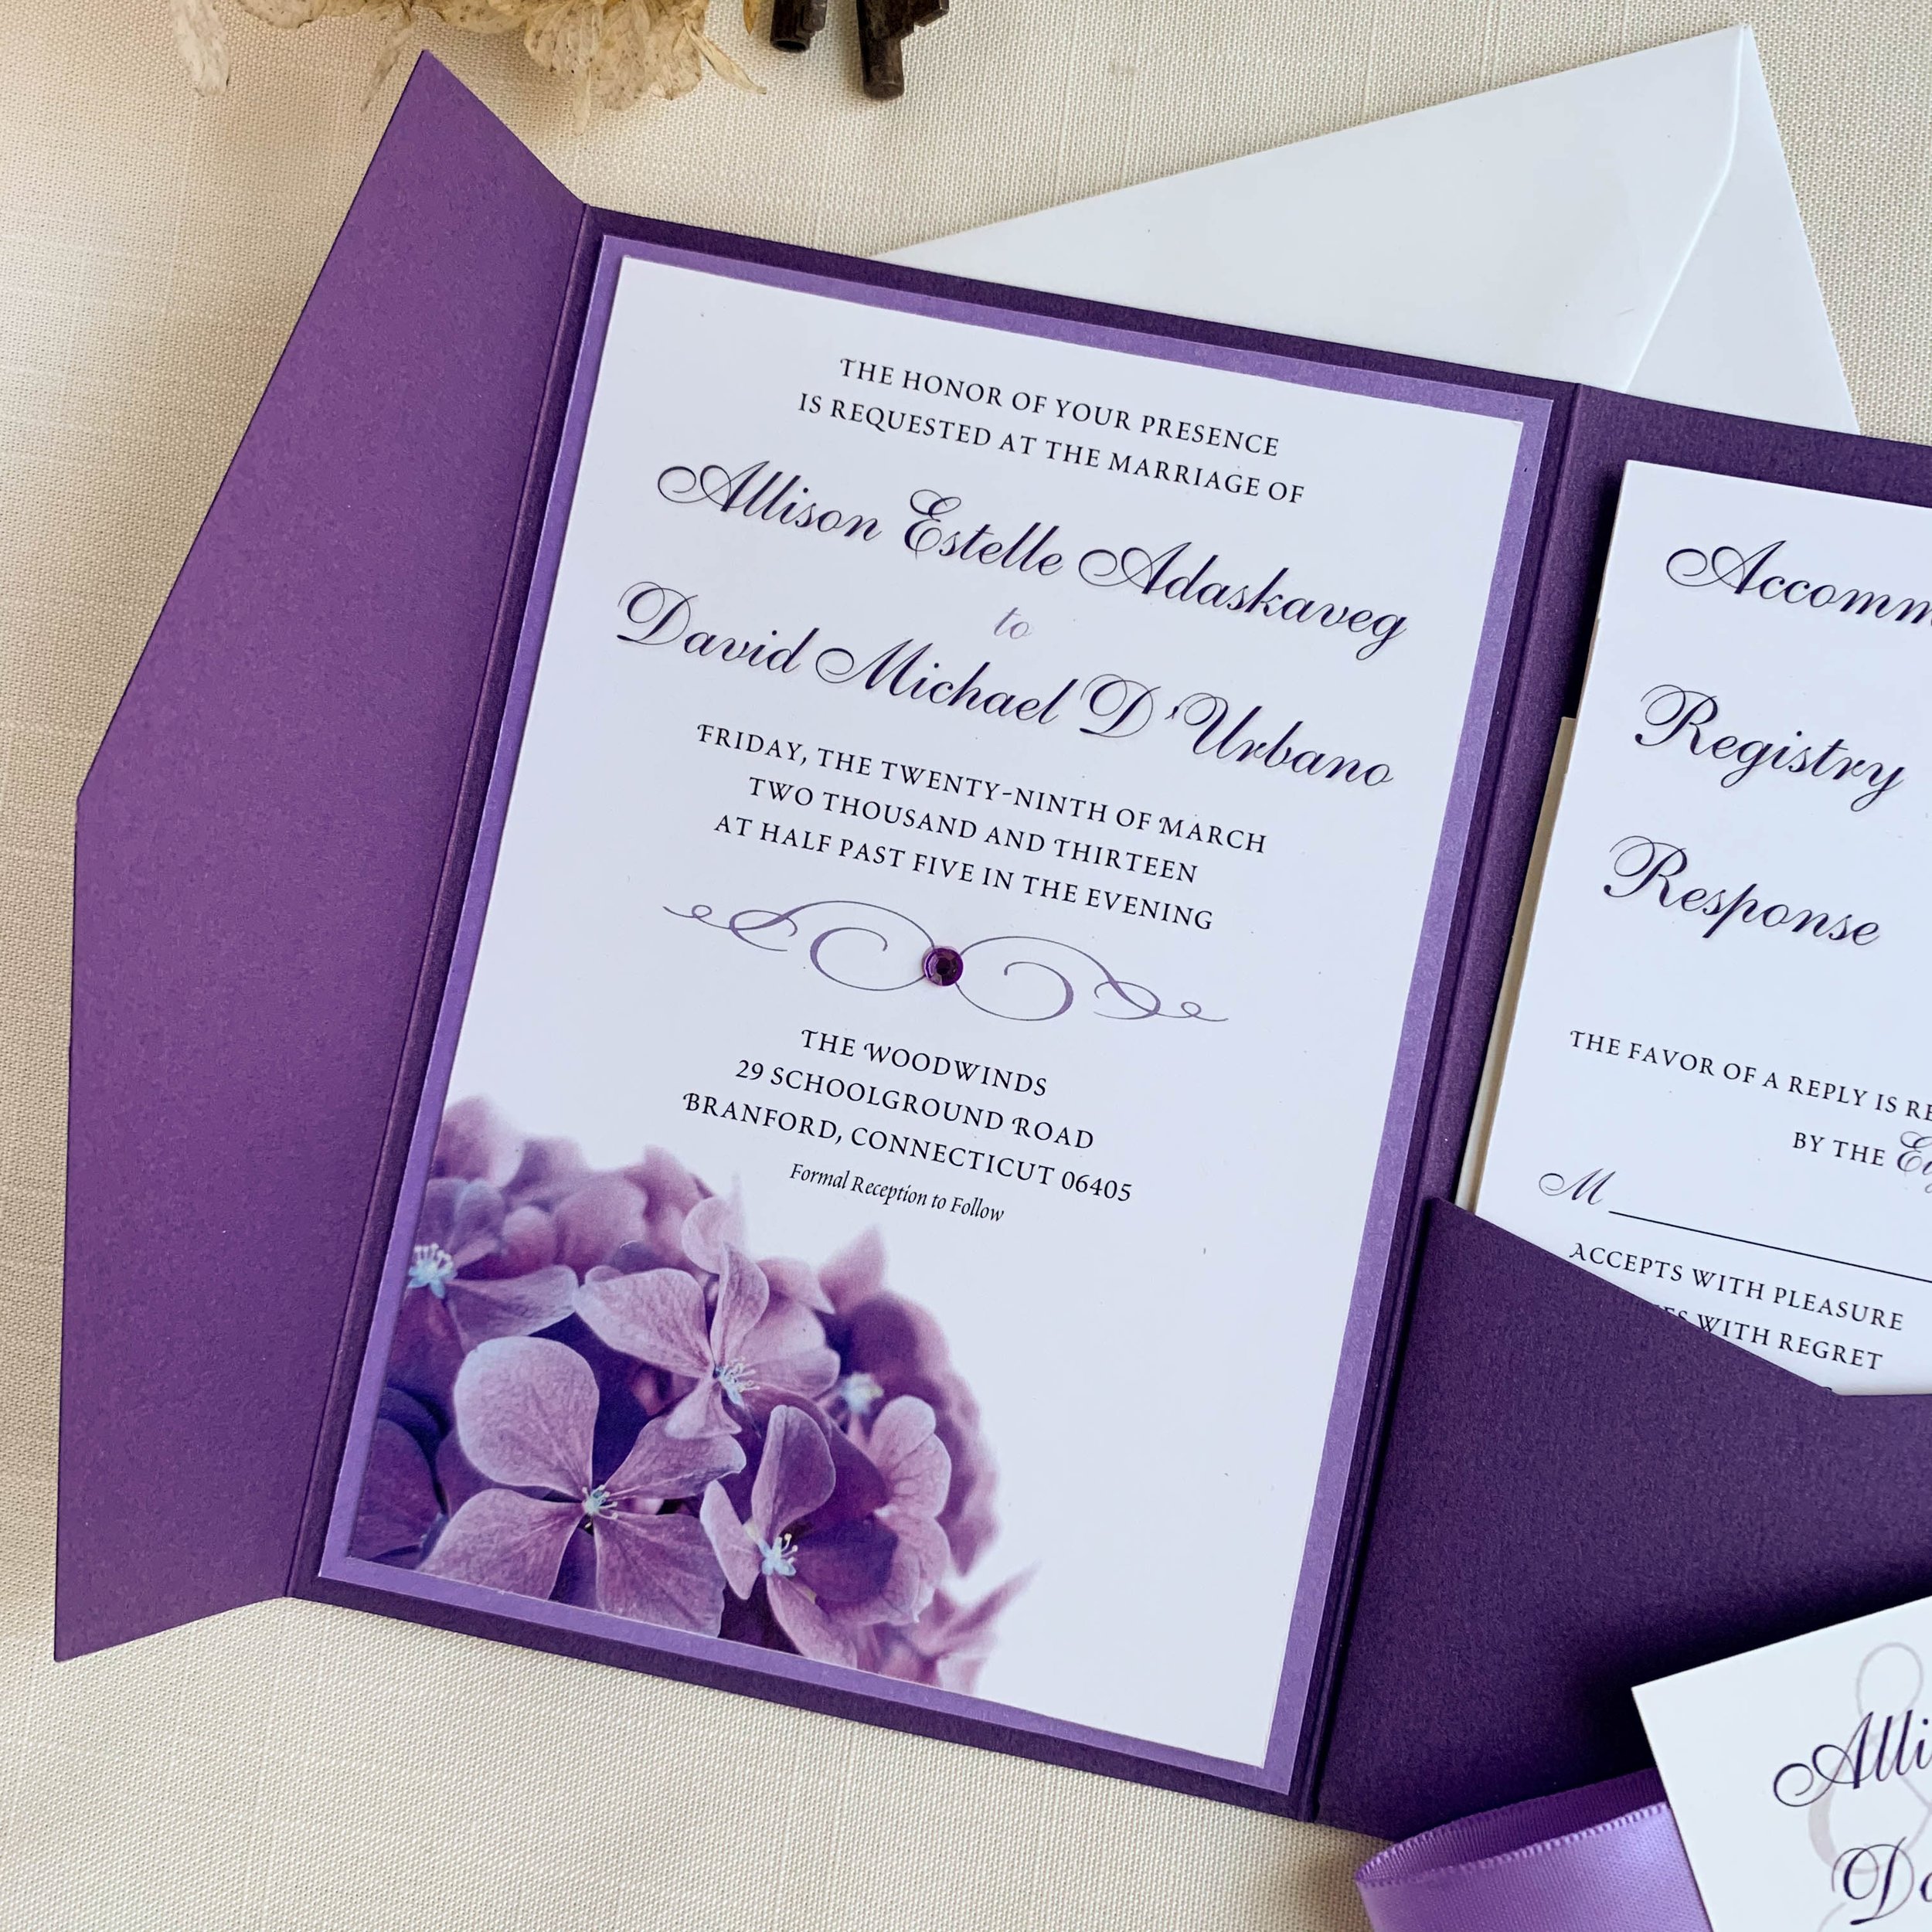
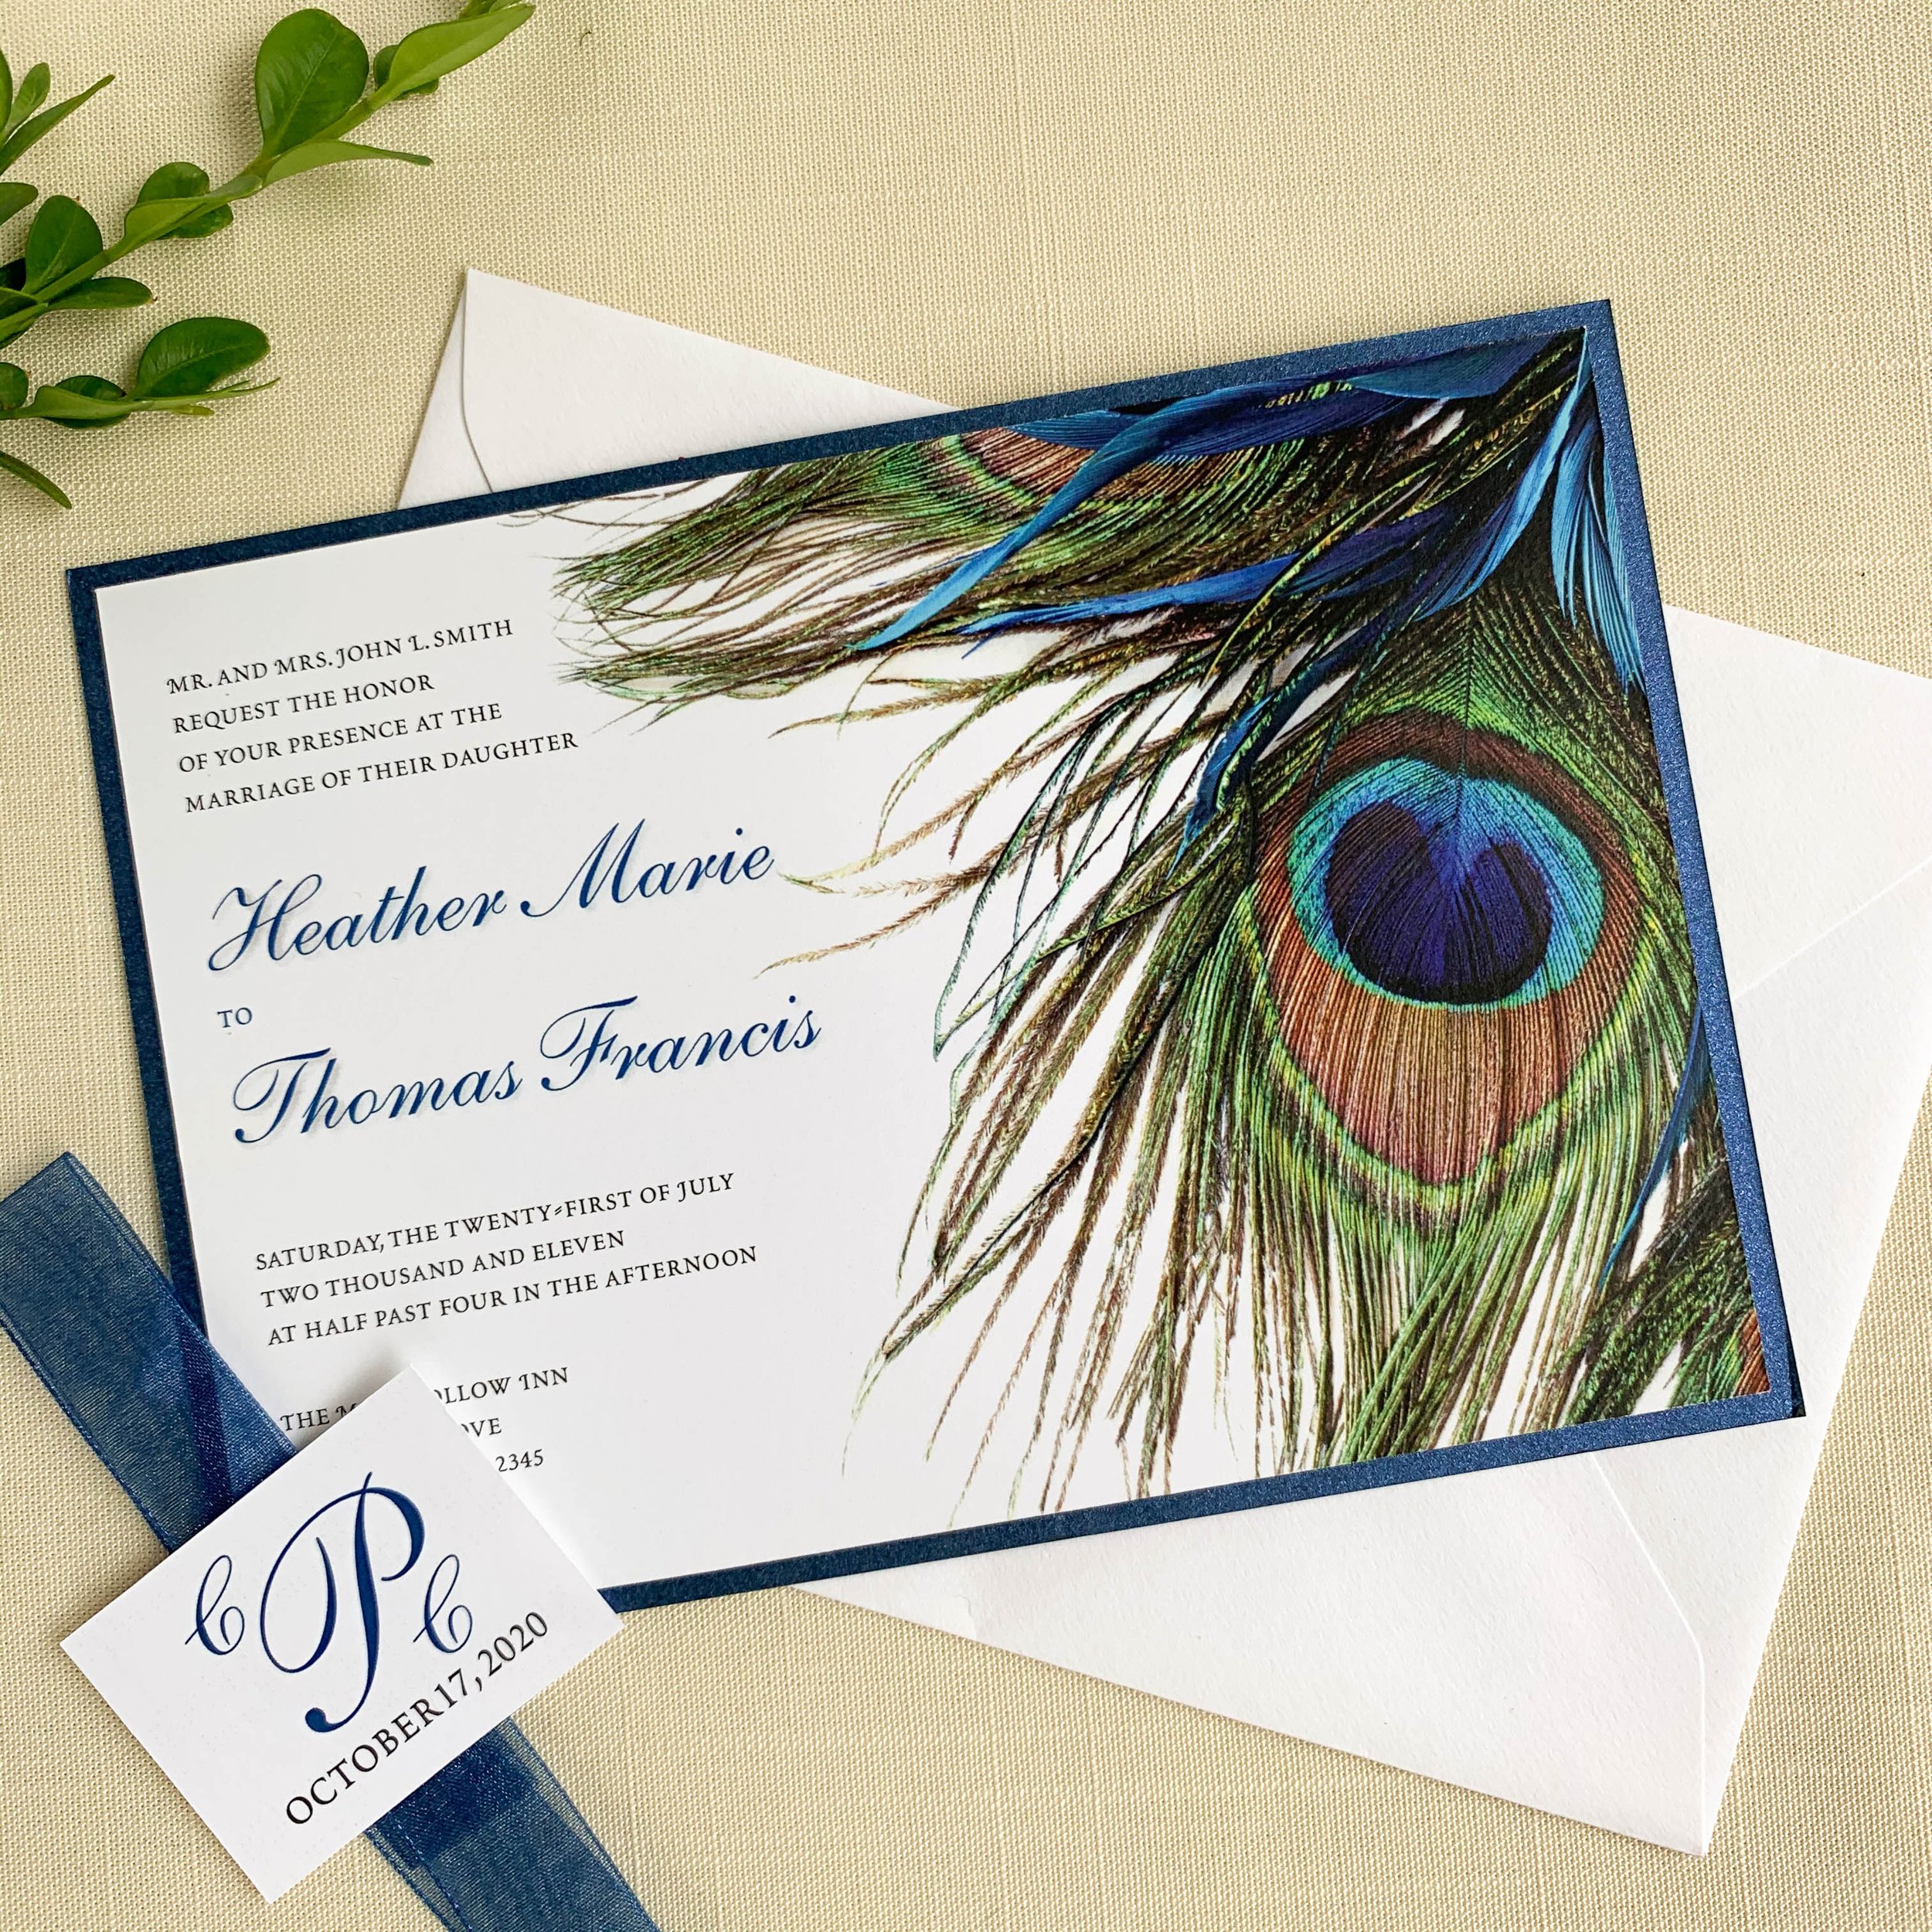
My very first client was a co-worker. Her wedding was just a couple months before mine. When showing her all the different items I was designing for my wedding, she asked me if I could design items for her that match her wedding theme. I created menus, escort cards and tags for her and she loved them. A year later while on maternity leave, it was the perfect time for me to start creating new invitation designs and open my Etsy Shop. I knew one day I wanted to be self employed home with my girls, so this was my first step. In the beginning I purchased royalty free images for all my designs, but knew in the future I would love to be able to feature my own artwork. Here is a sampling of some my first invitation designs.
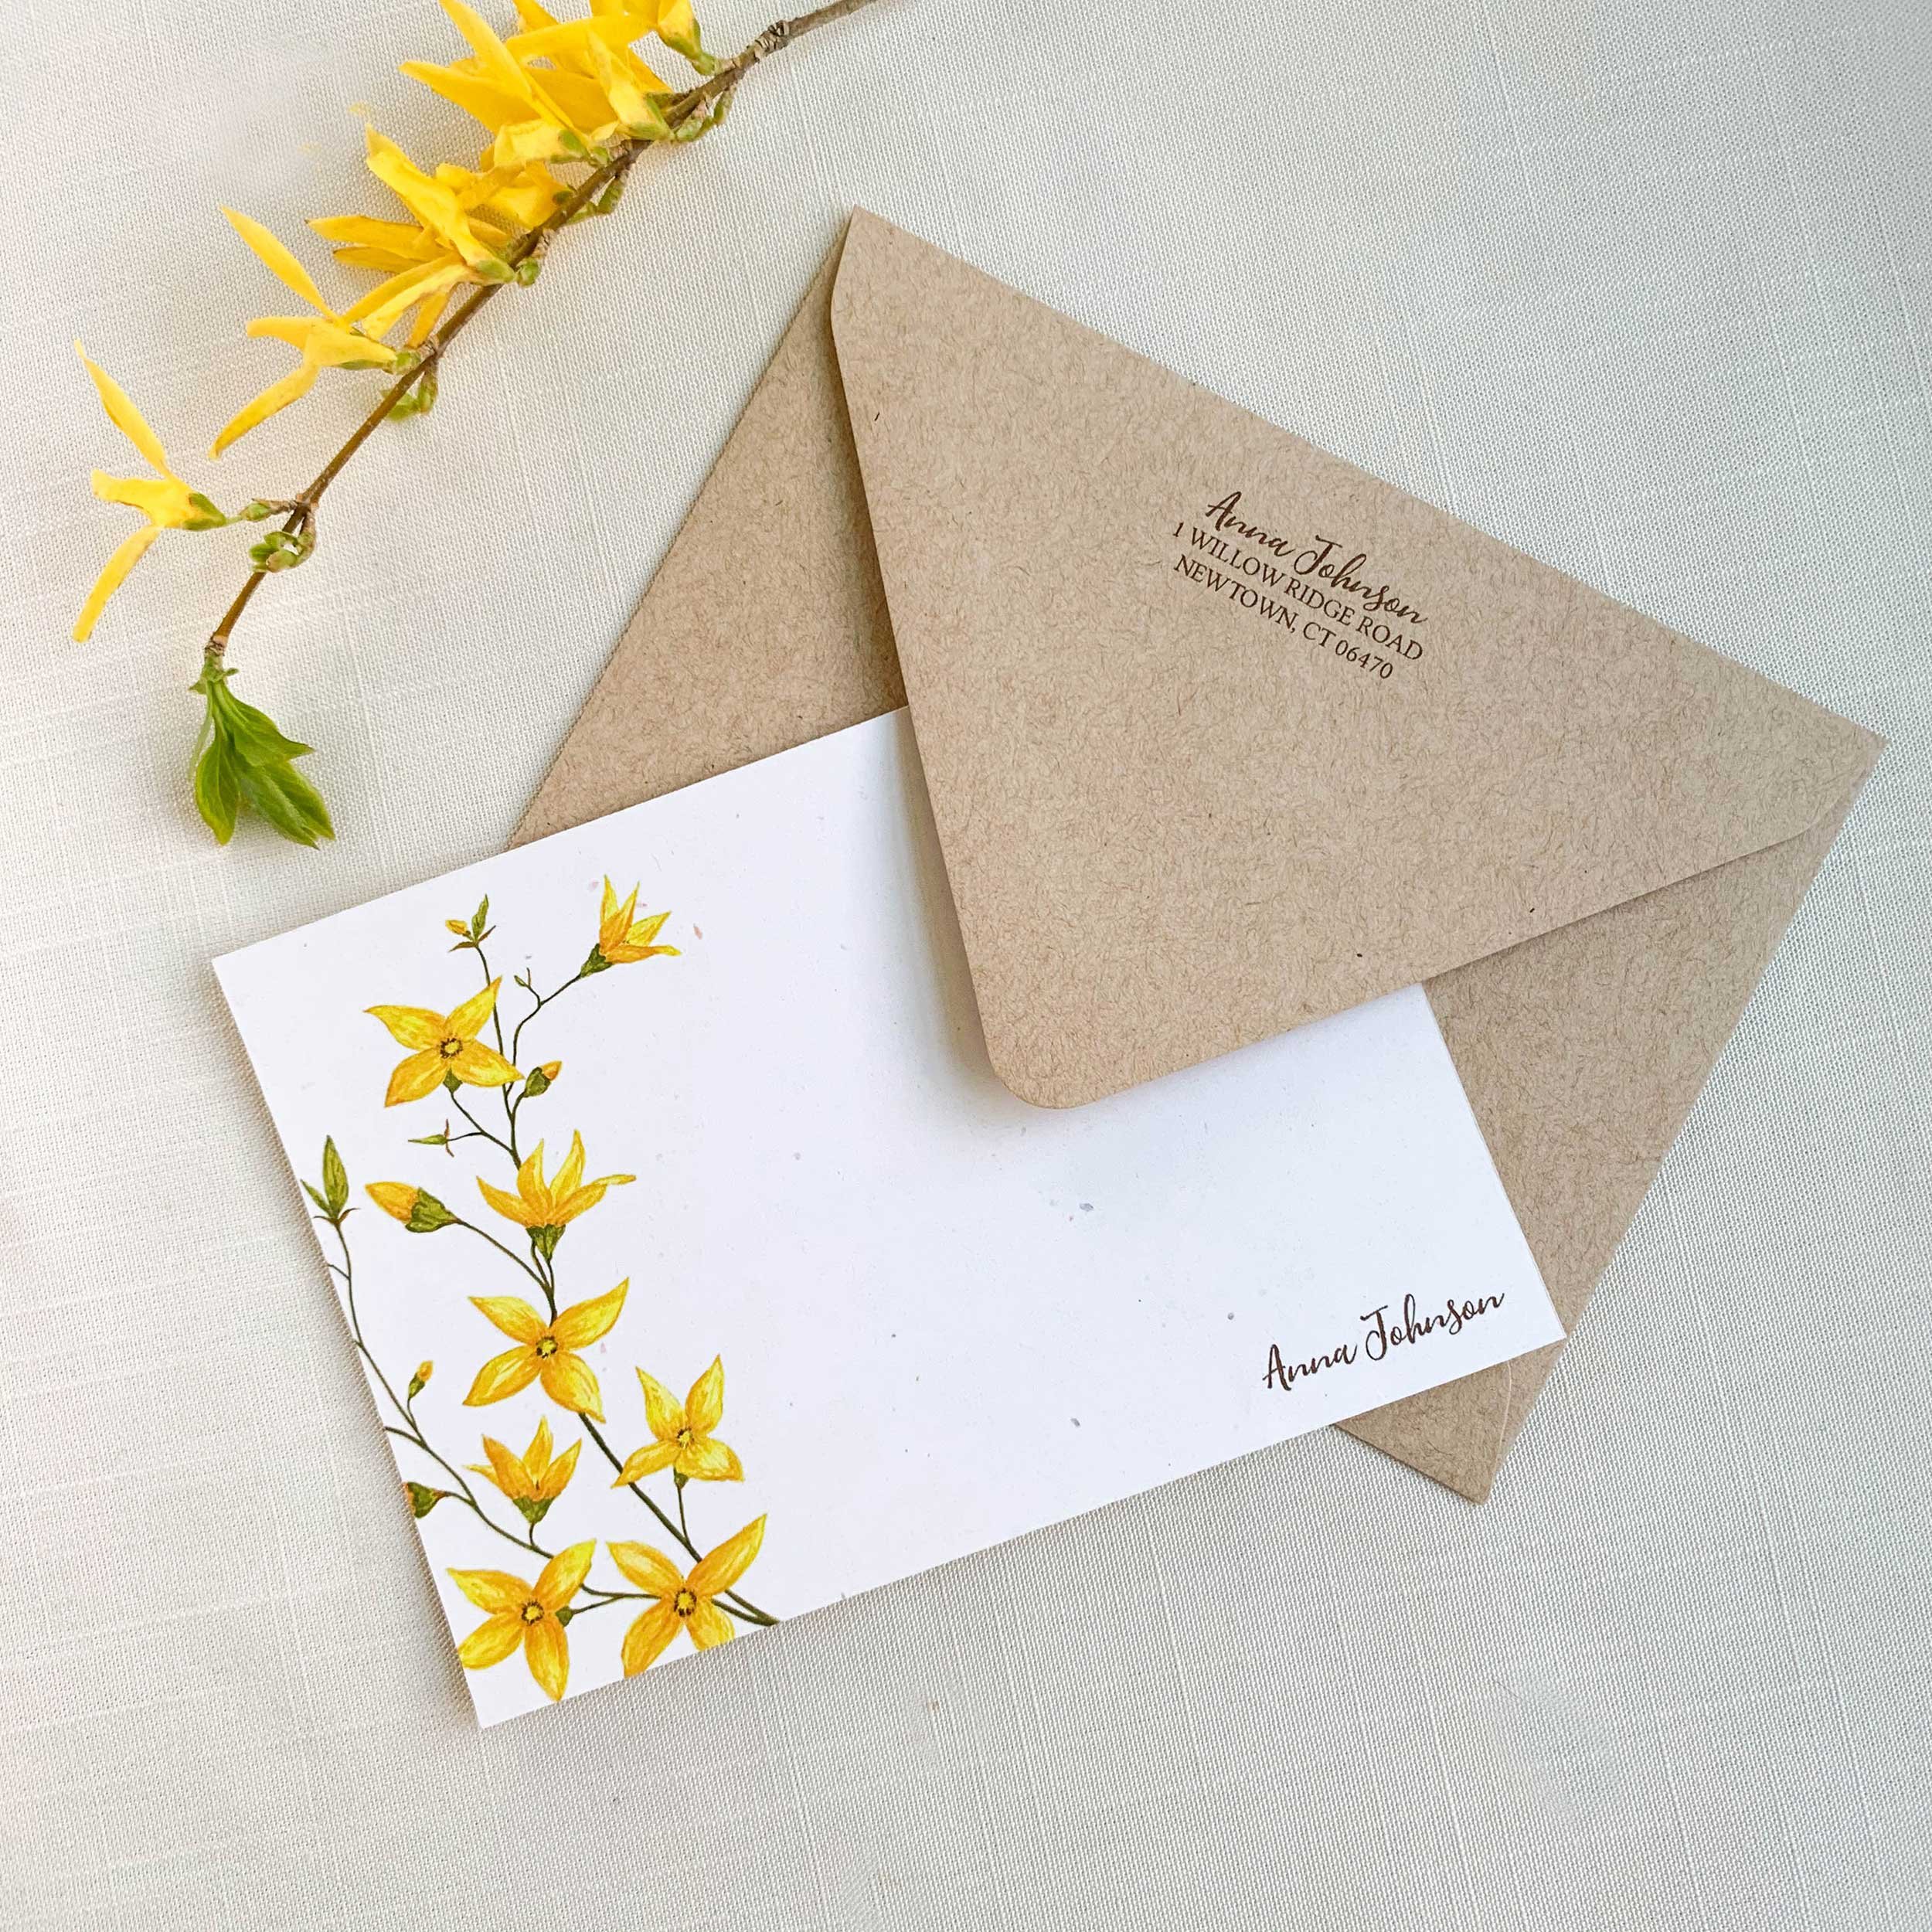
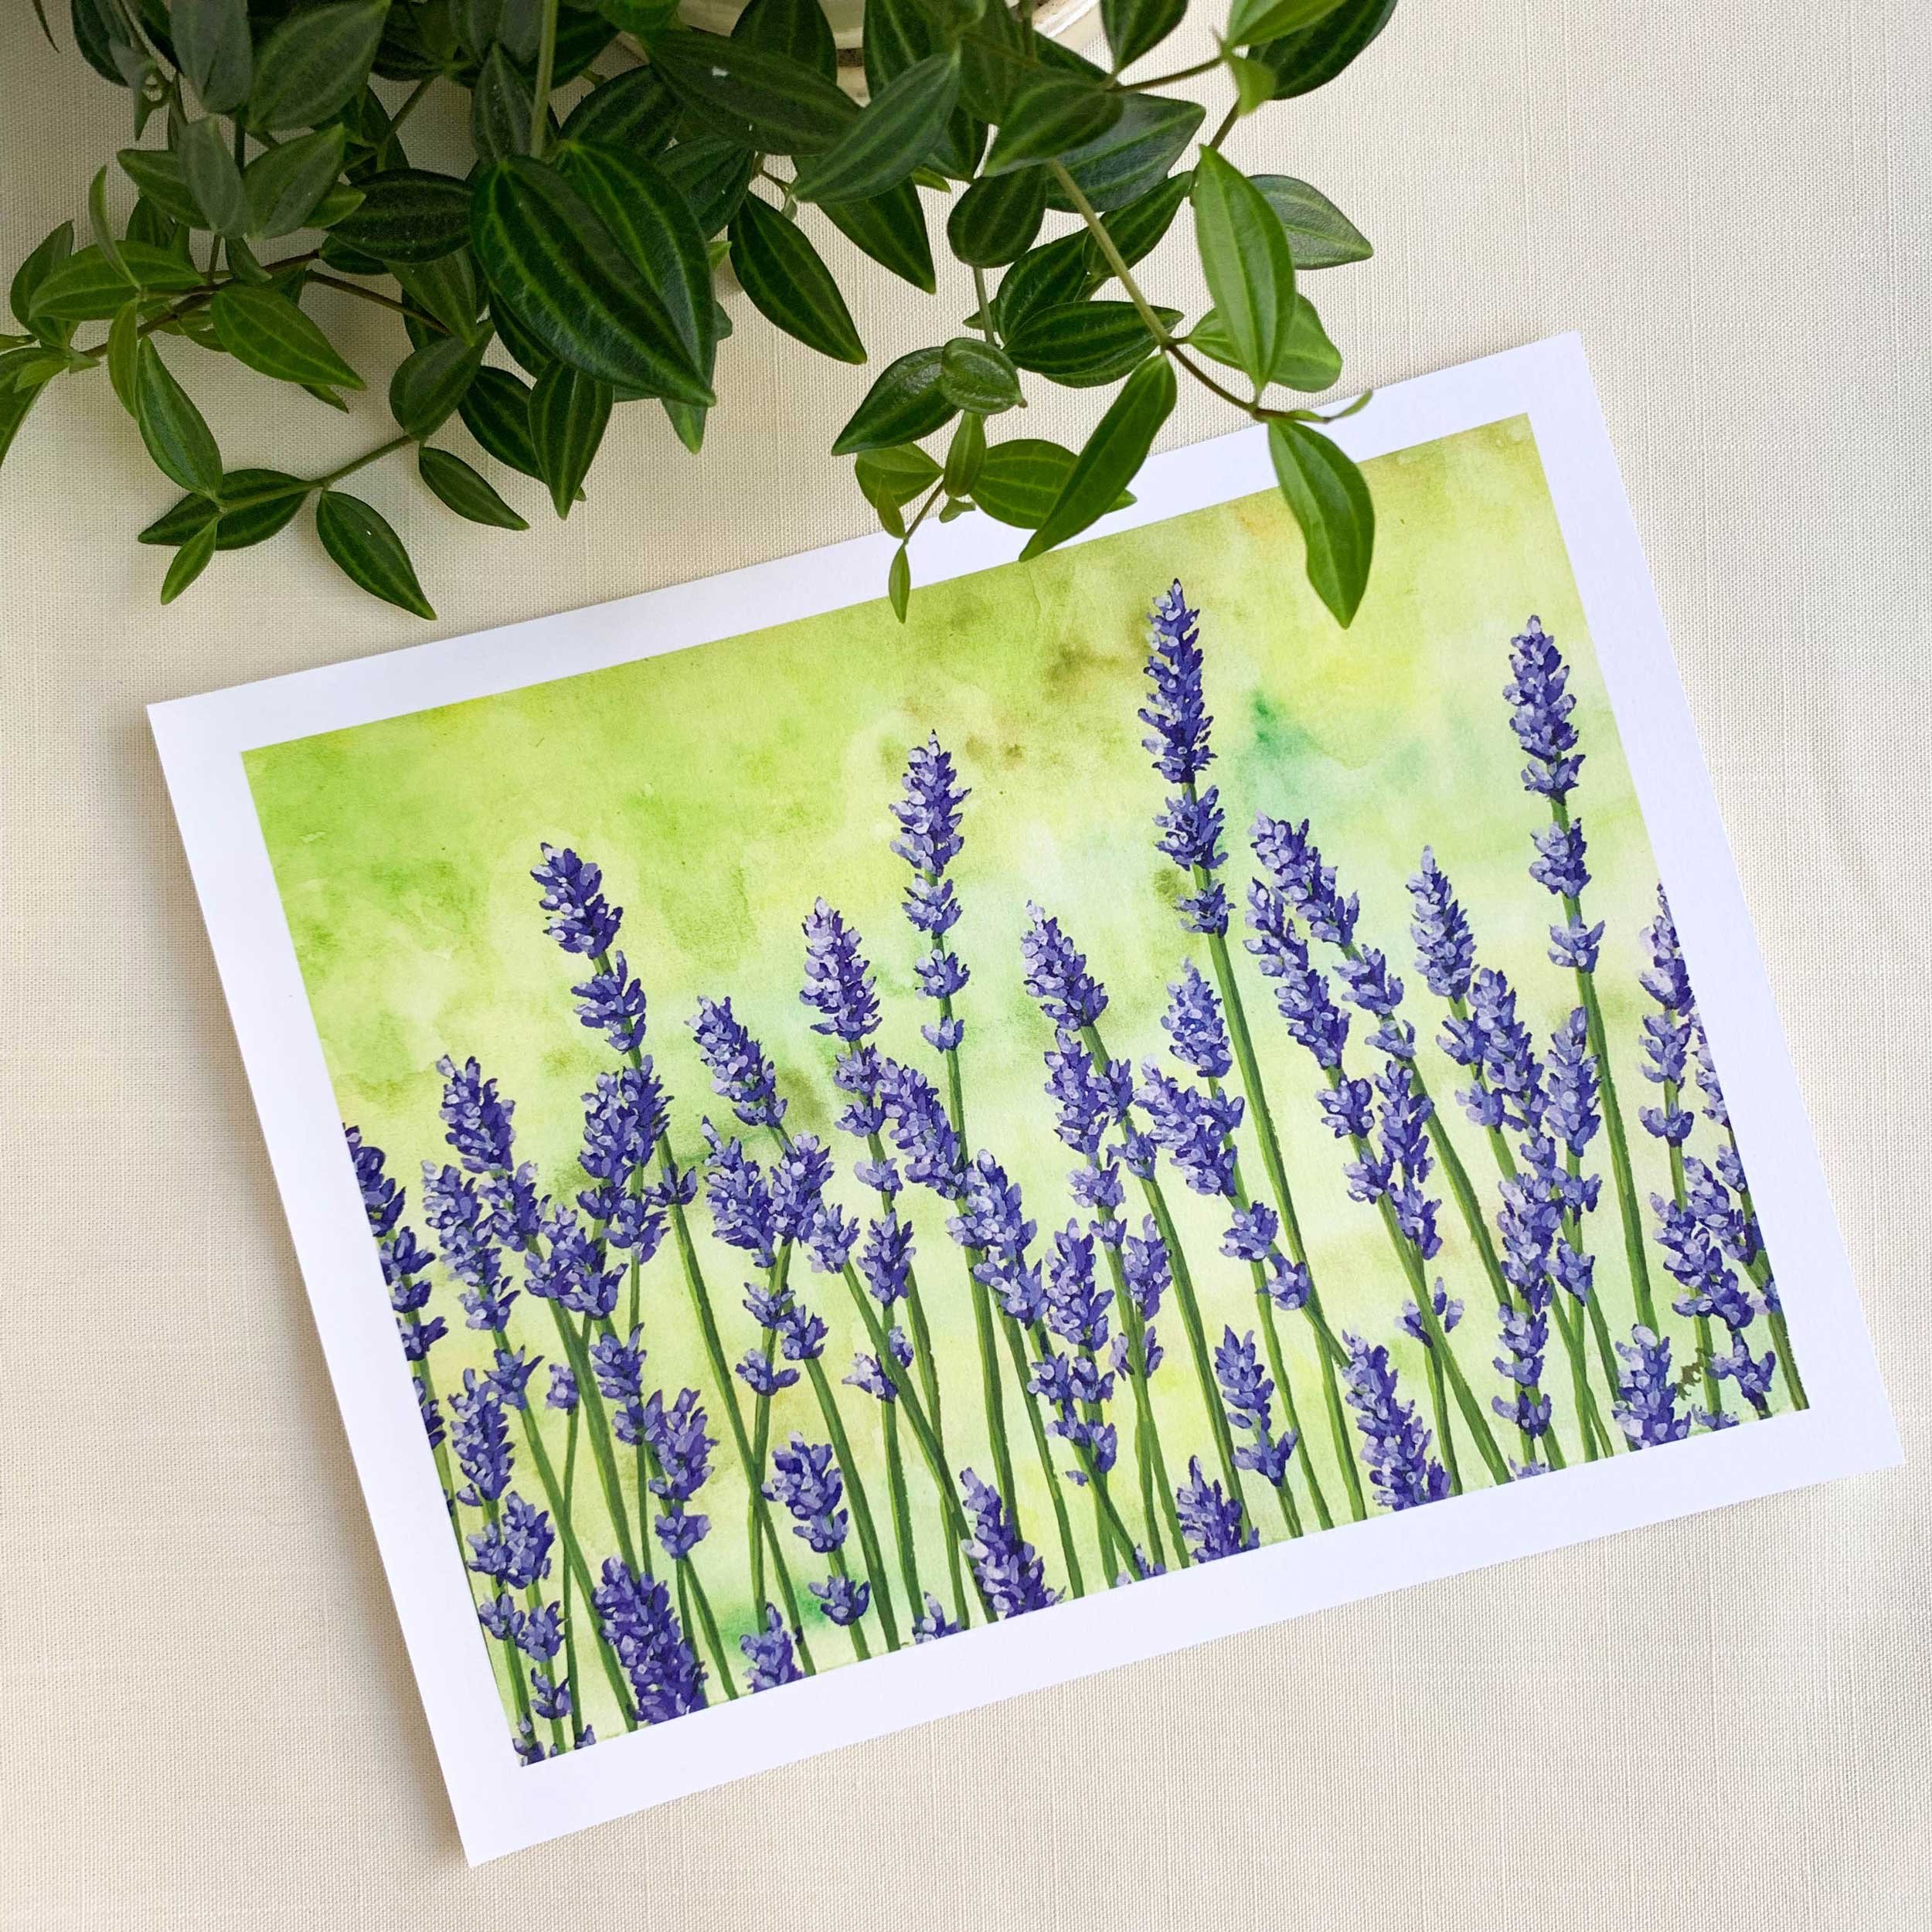
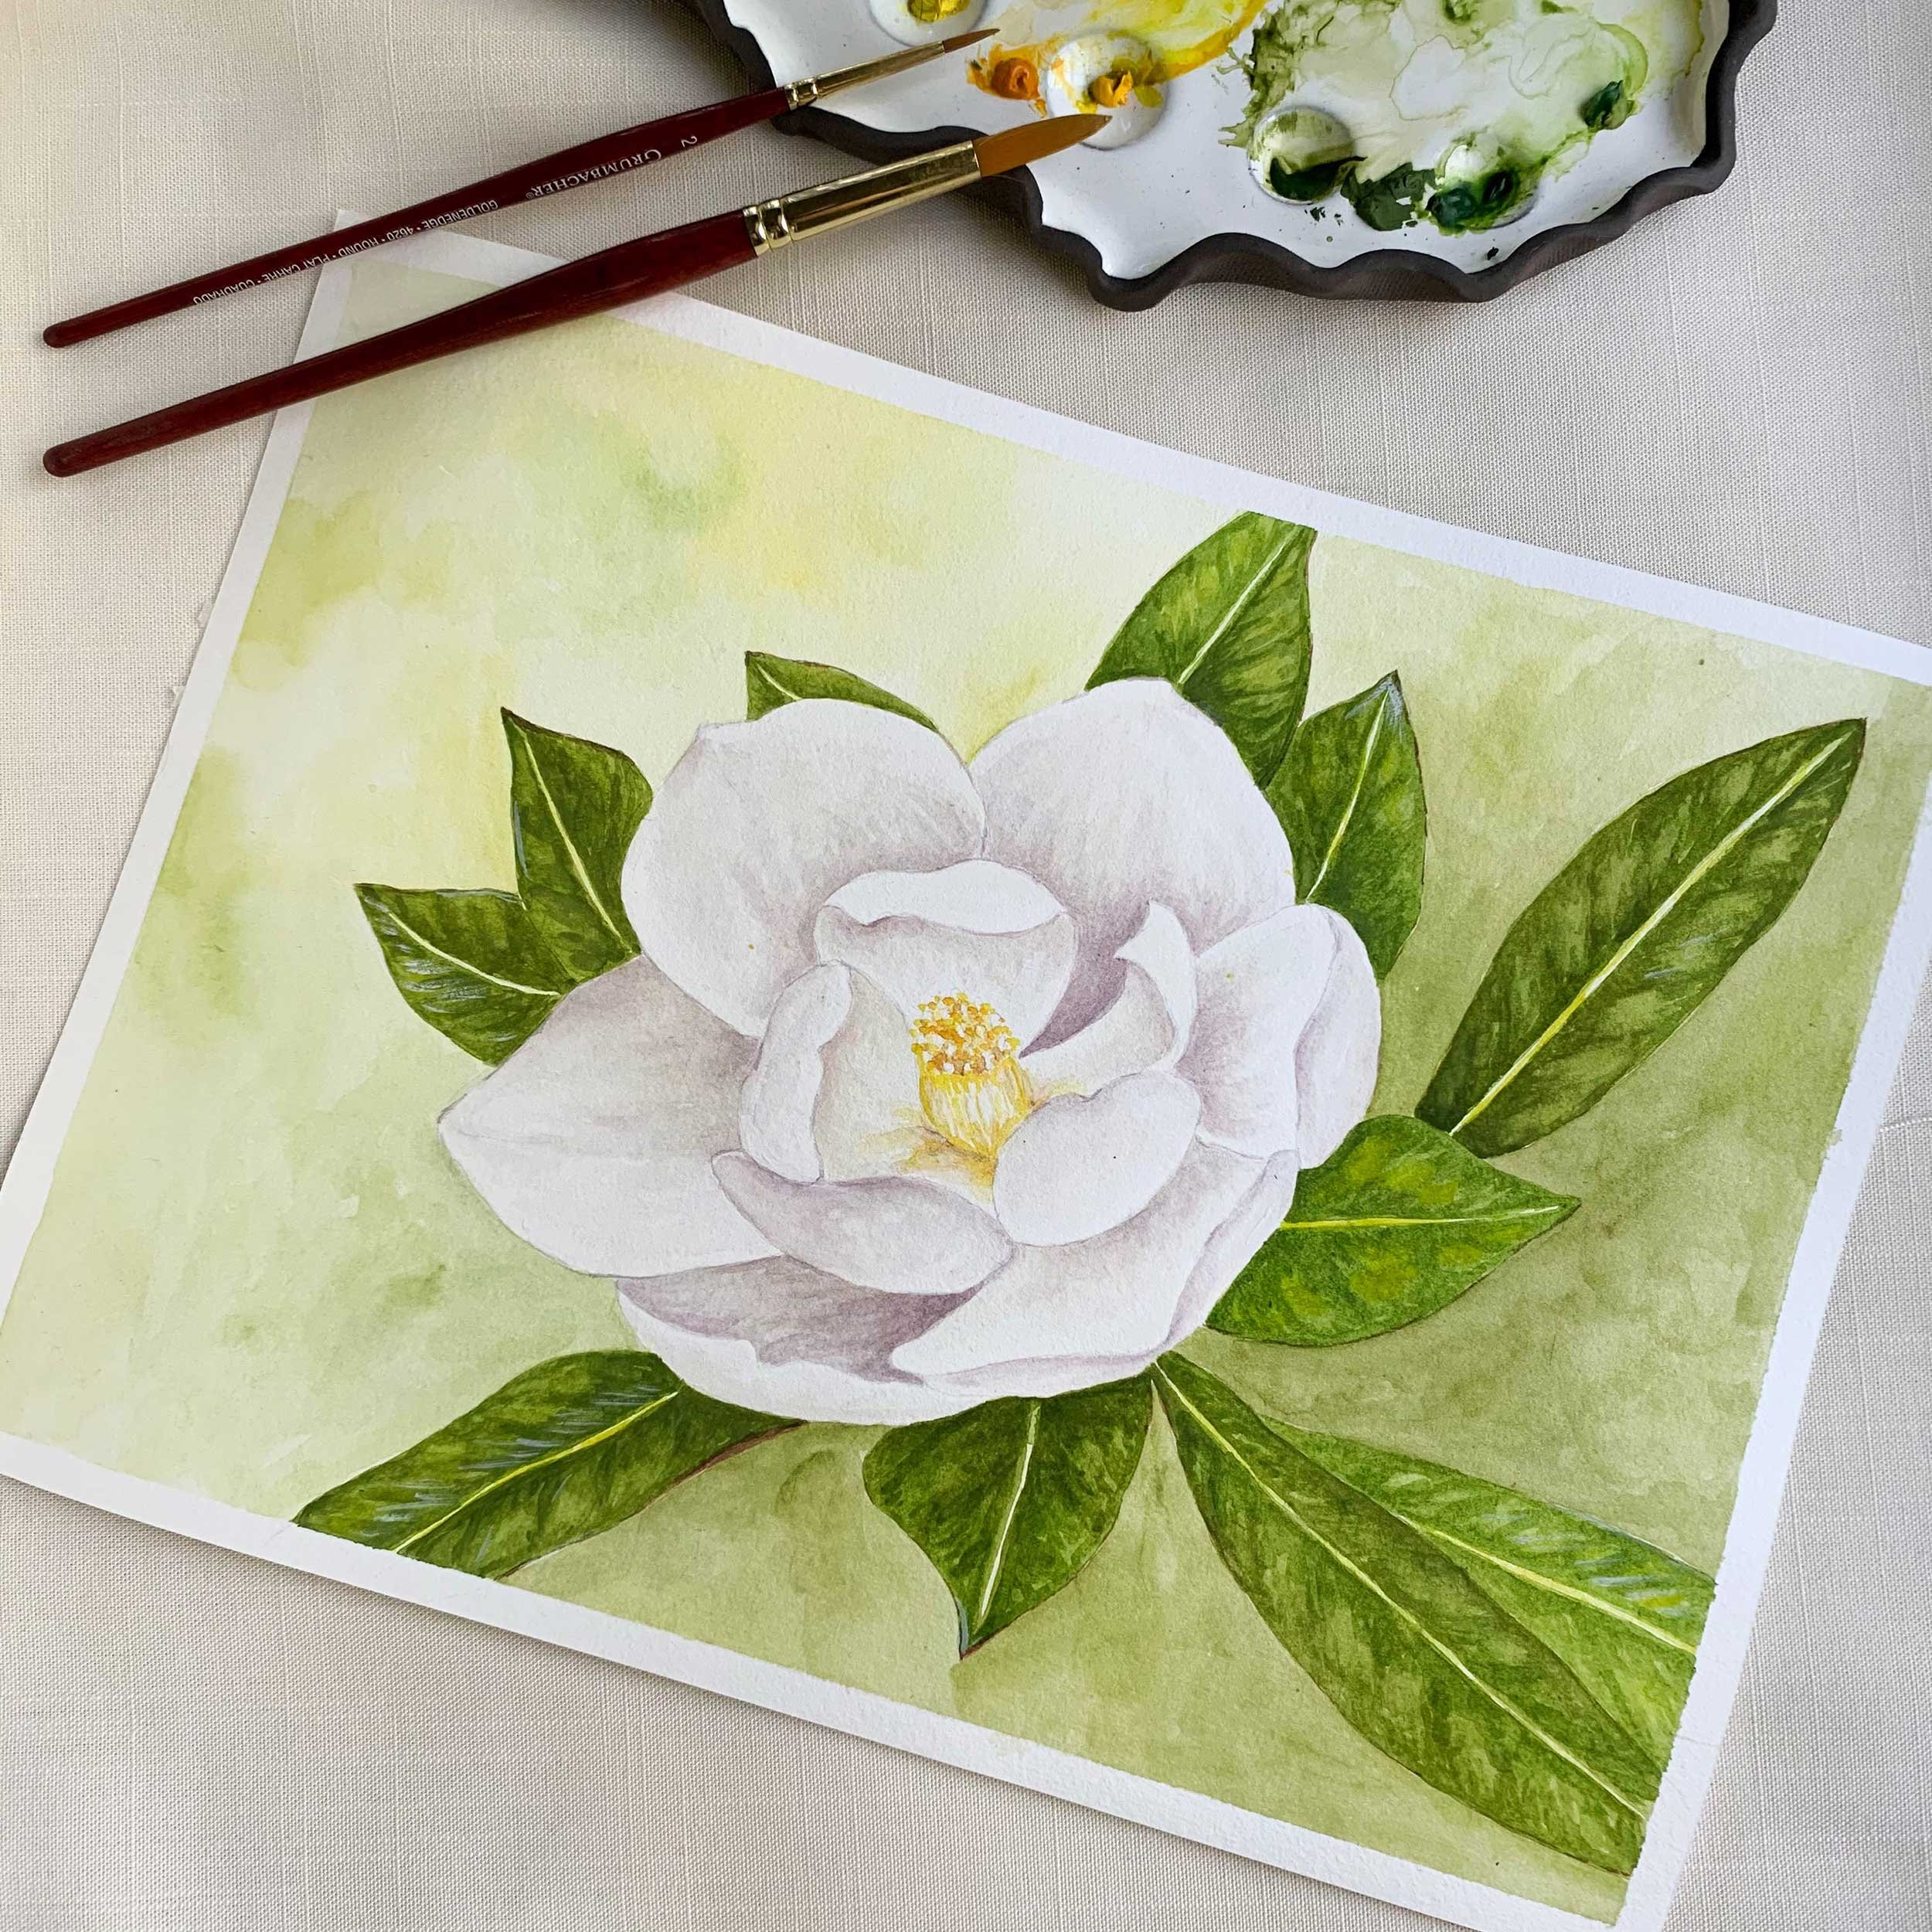
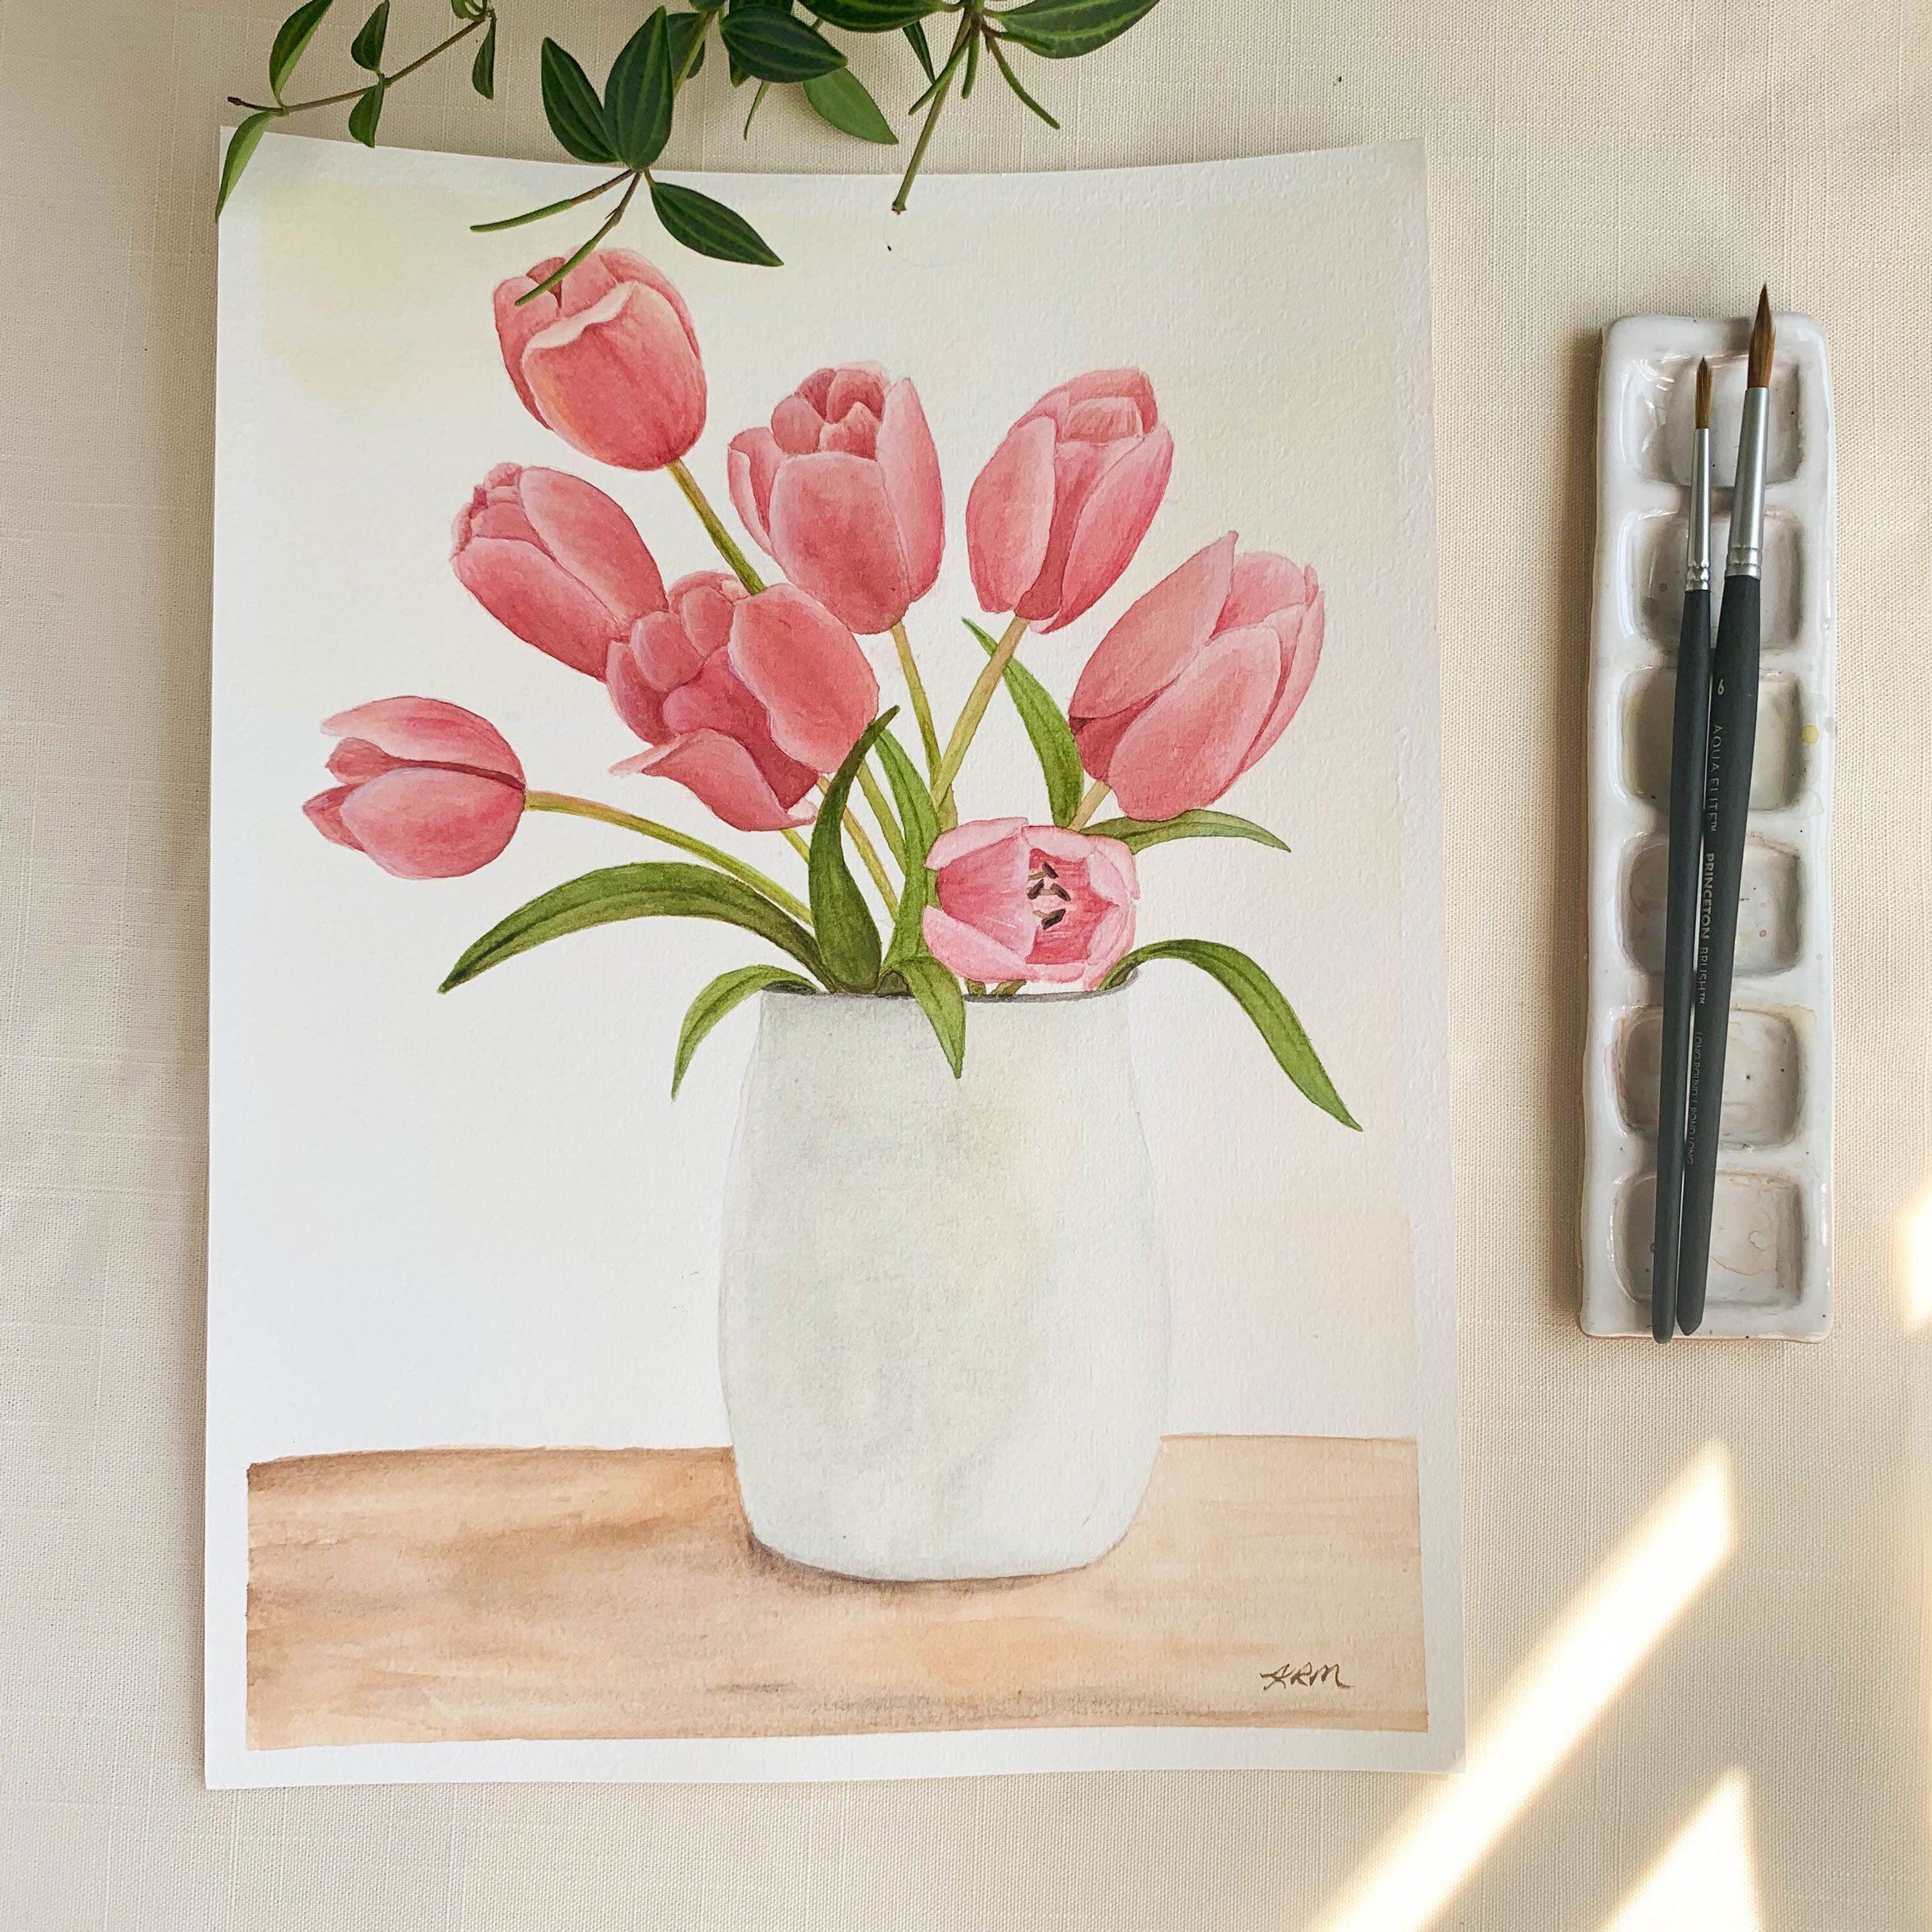
As I grew the business my favorite part was designing bespoke wedding invitations for local brides and grooms. Many of these custom designs became my best sellers throughout the years. Then Covid hit and the wedding industry was at a stand still. It was the great time for me to get back into painting. I really had not painted since before my daughters were born. And in the back of my head I had always wanted to try watercolors again. I had taken a watercolor class in my high school years and loved it. With the down time of my invitation business, it was the perfect opportunity to start painting and creating my own line of stationery products. I love nature and flowers, so I first kept my paintings simple with just a branch or sprig of flowers on a white background. These were perfect to use in designing notecards, thank you cards and greeting cards. This is also when I had decided to go eco friendly and started my search for the perfect recycled paper to use for my new products.

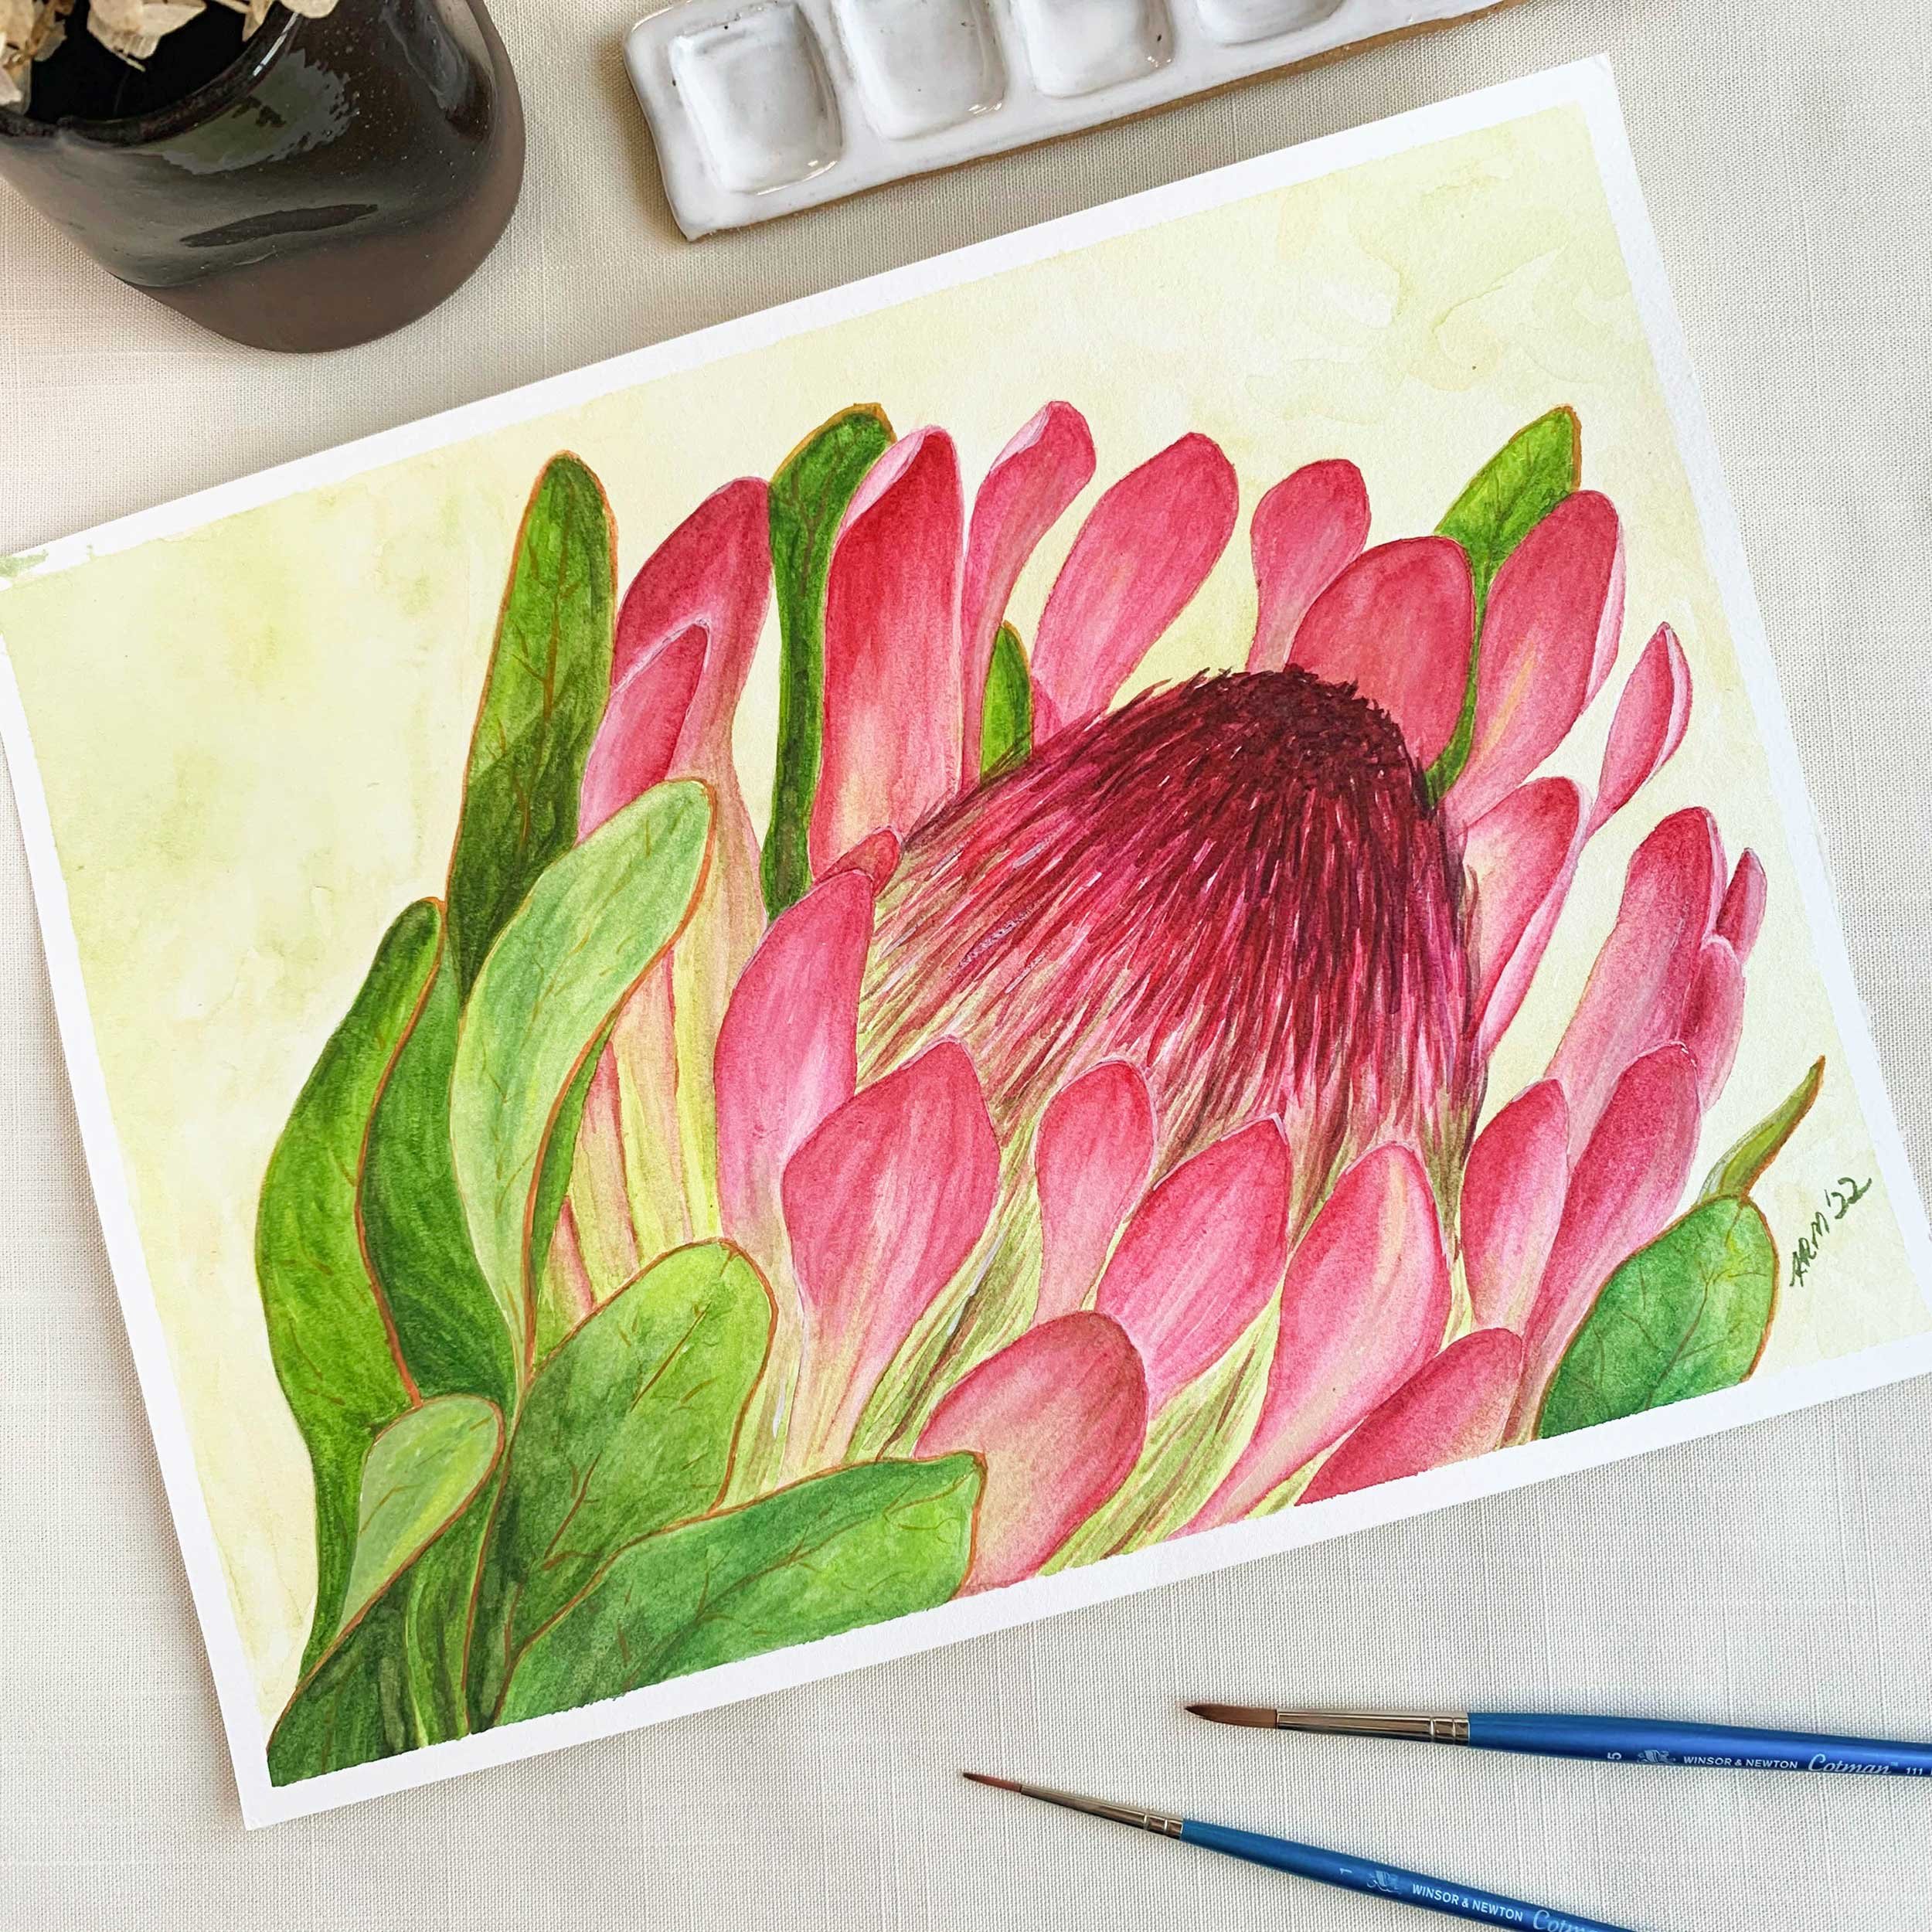
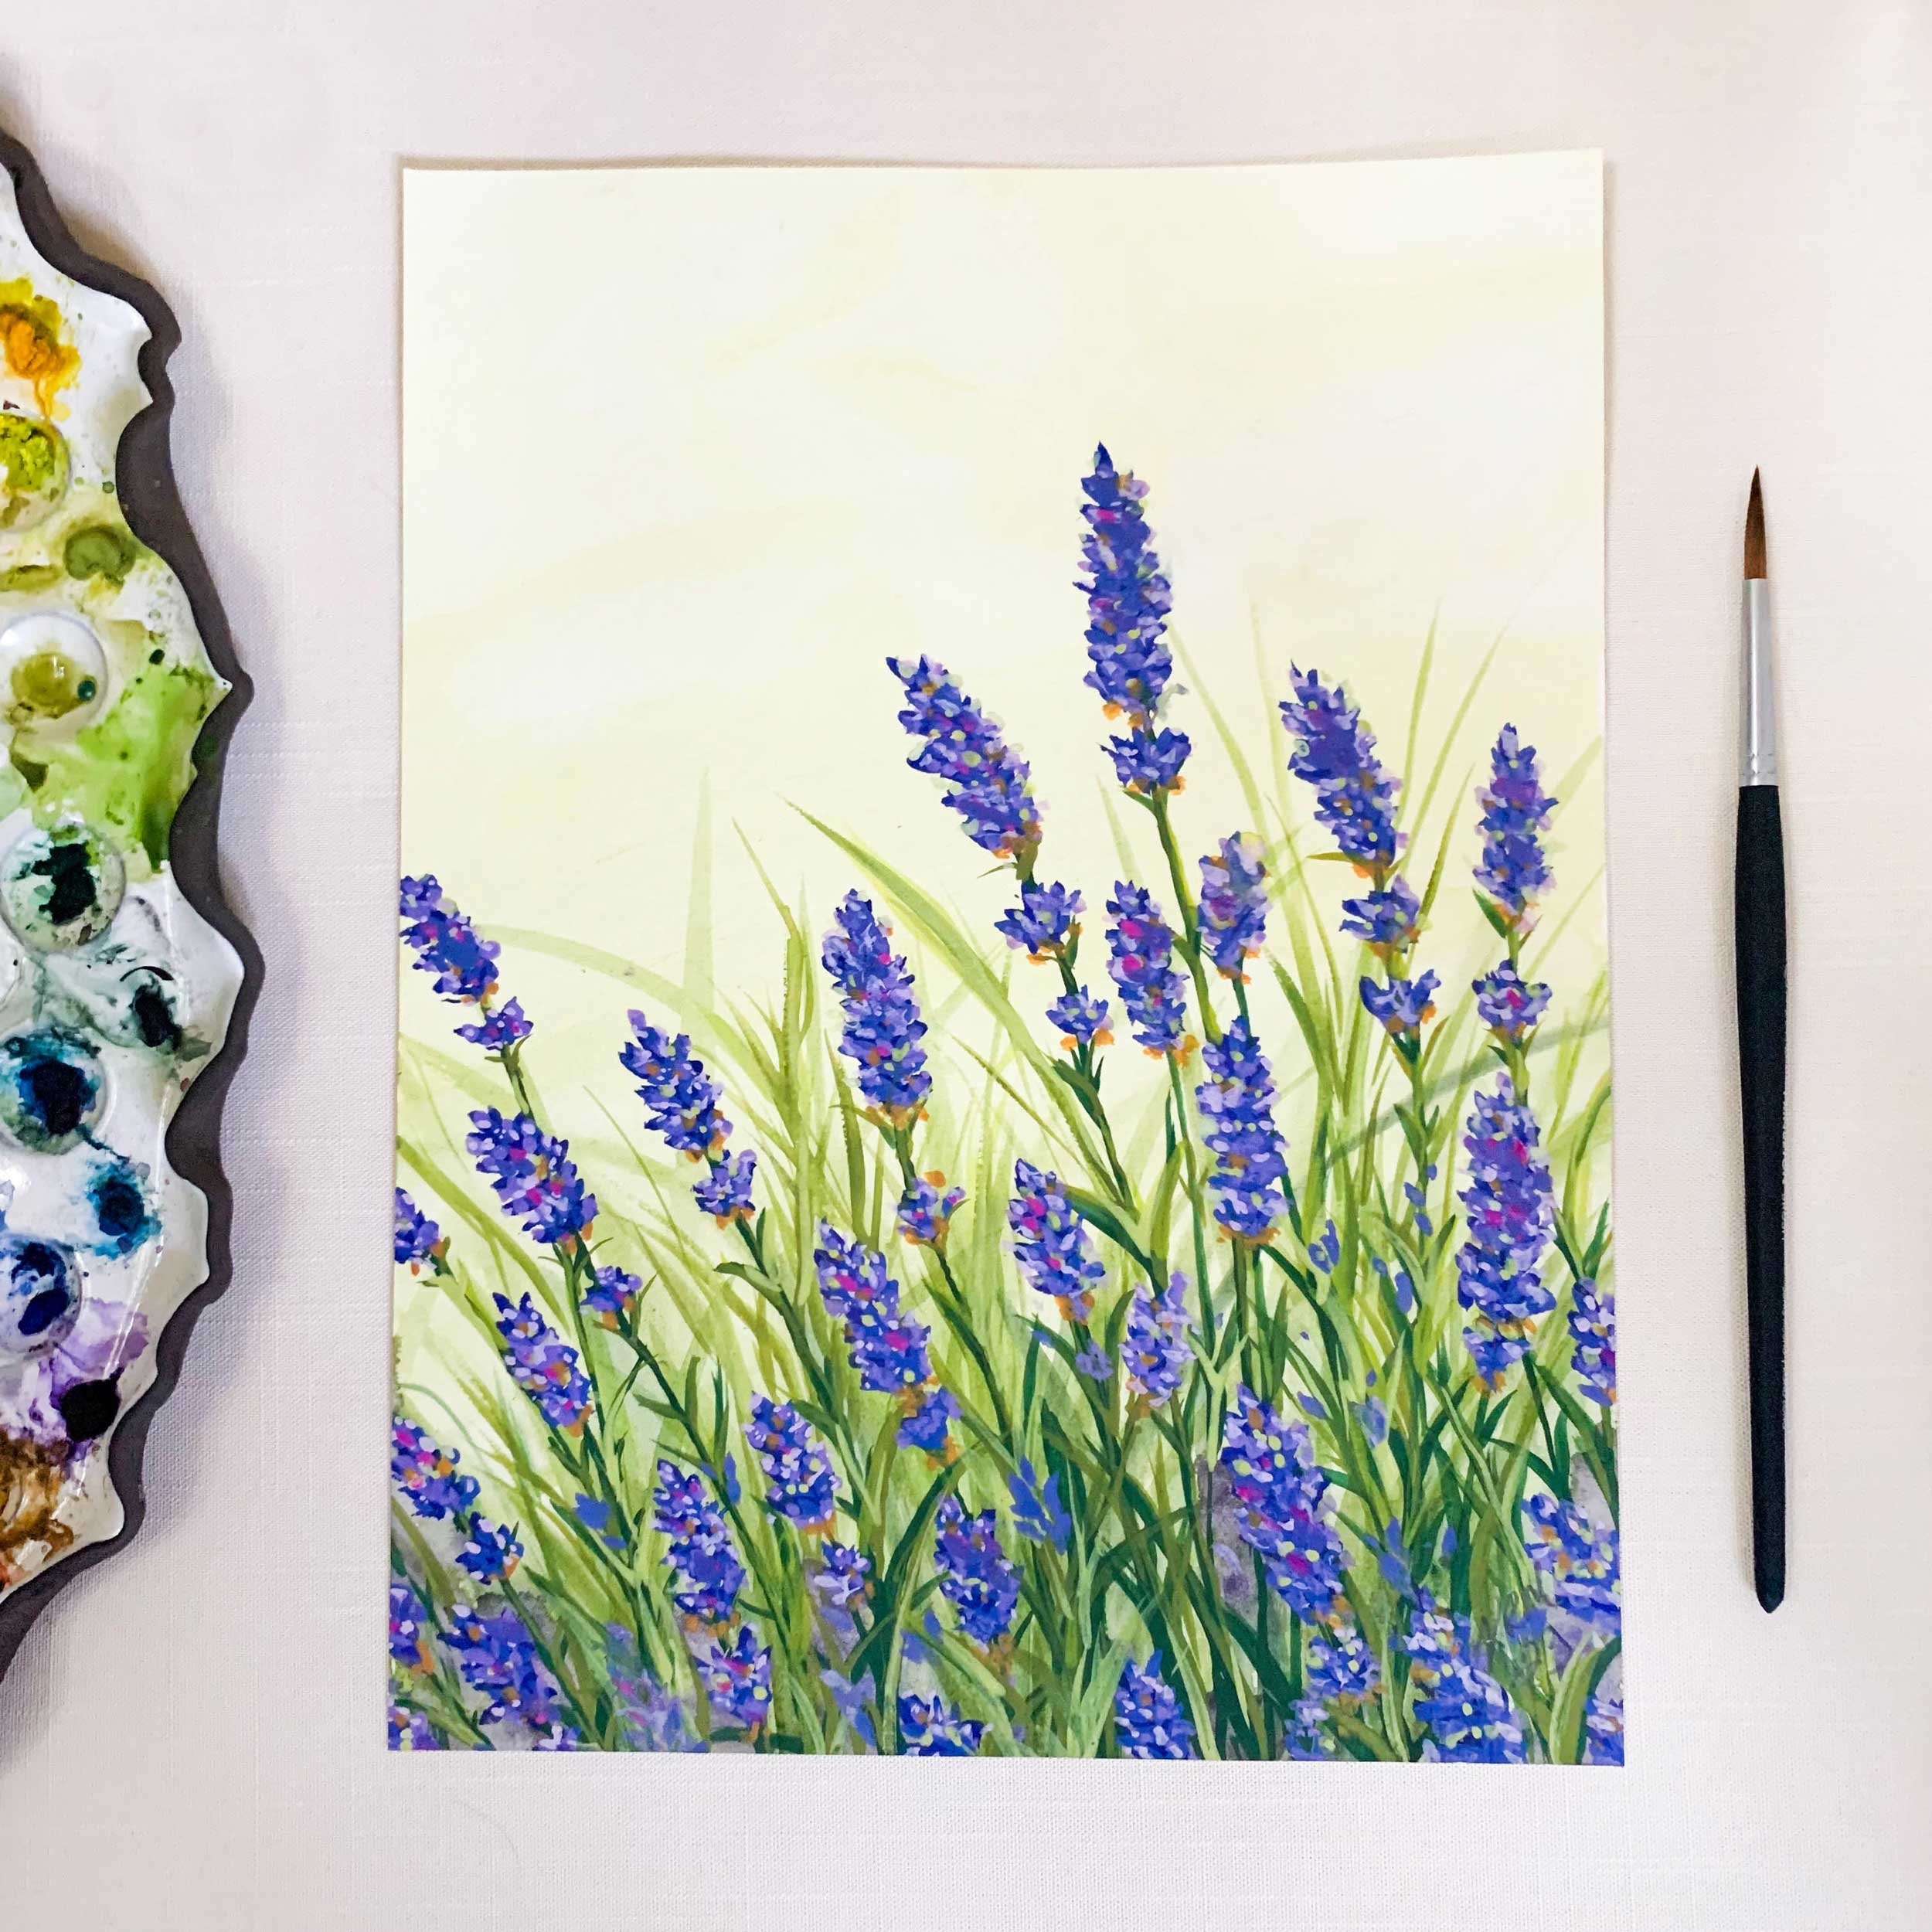
As I grew more comfortable with watercolors, I started to push my boundaries a bit and started painting more still life and florals with backgrounds.

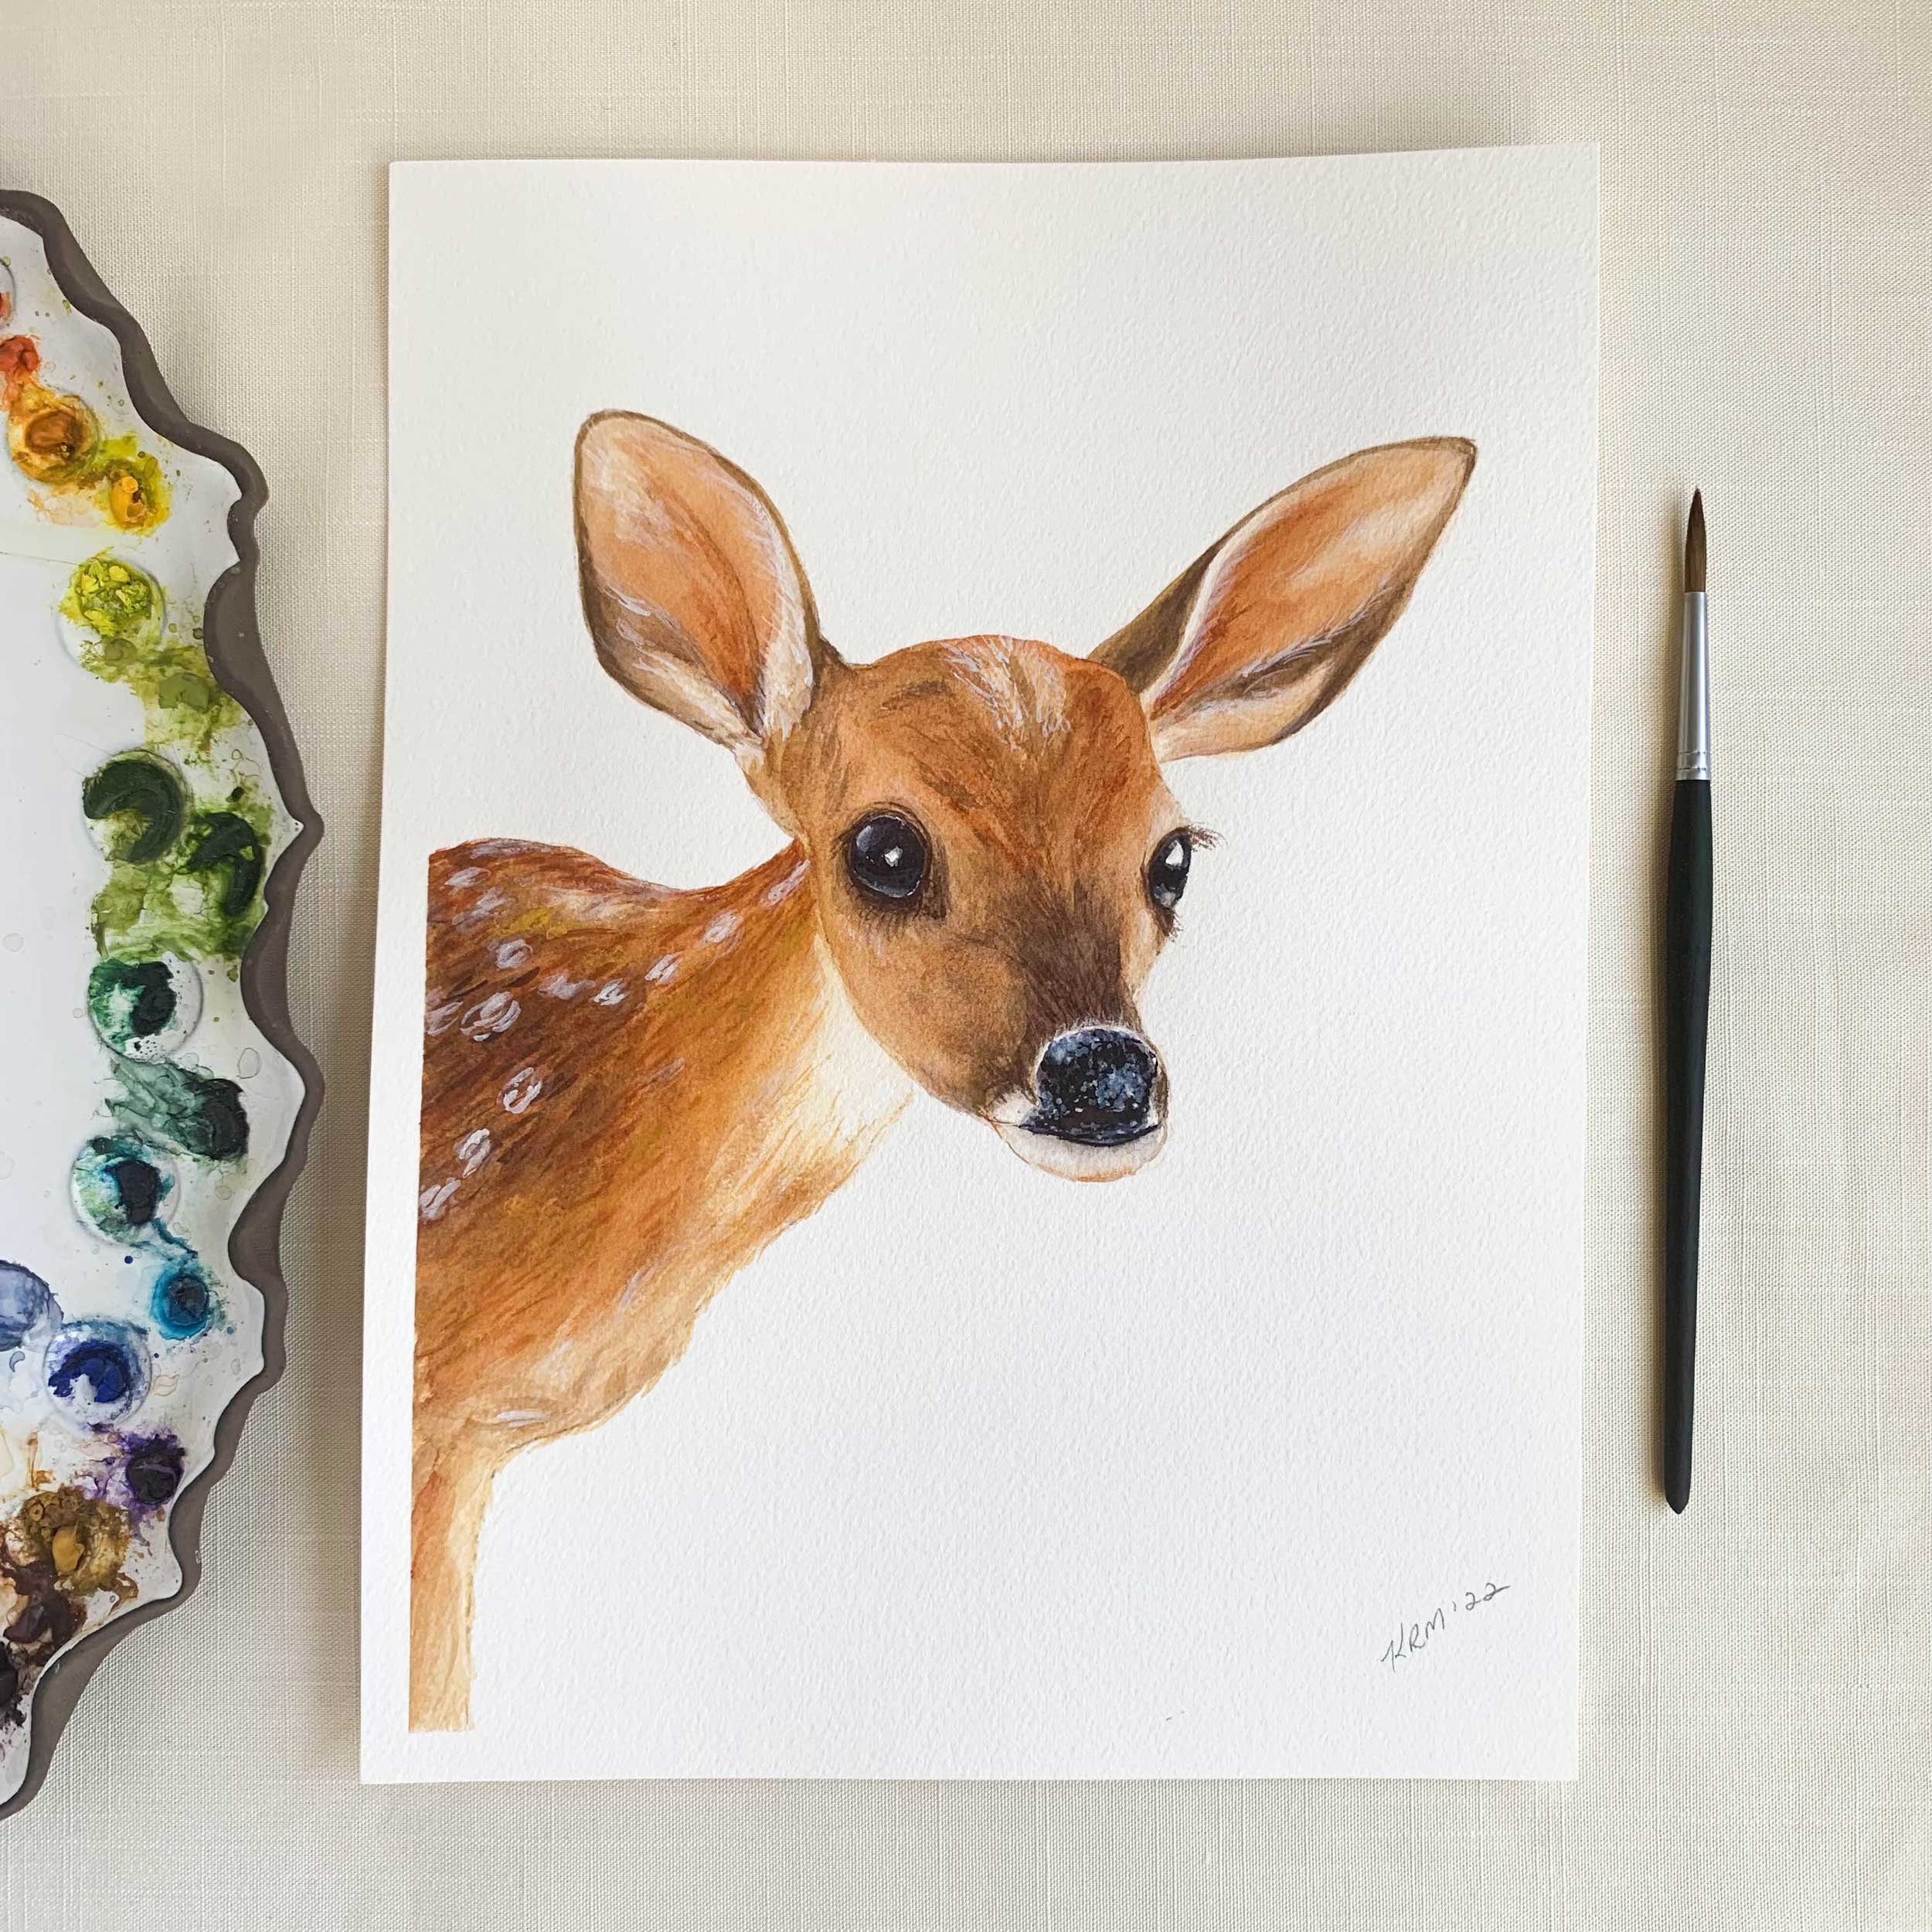
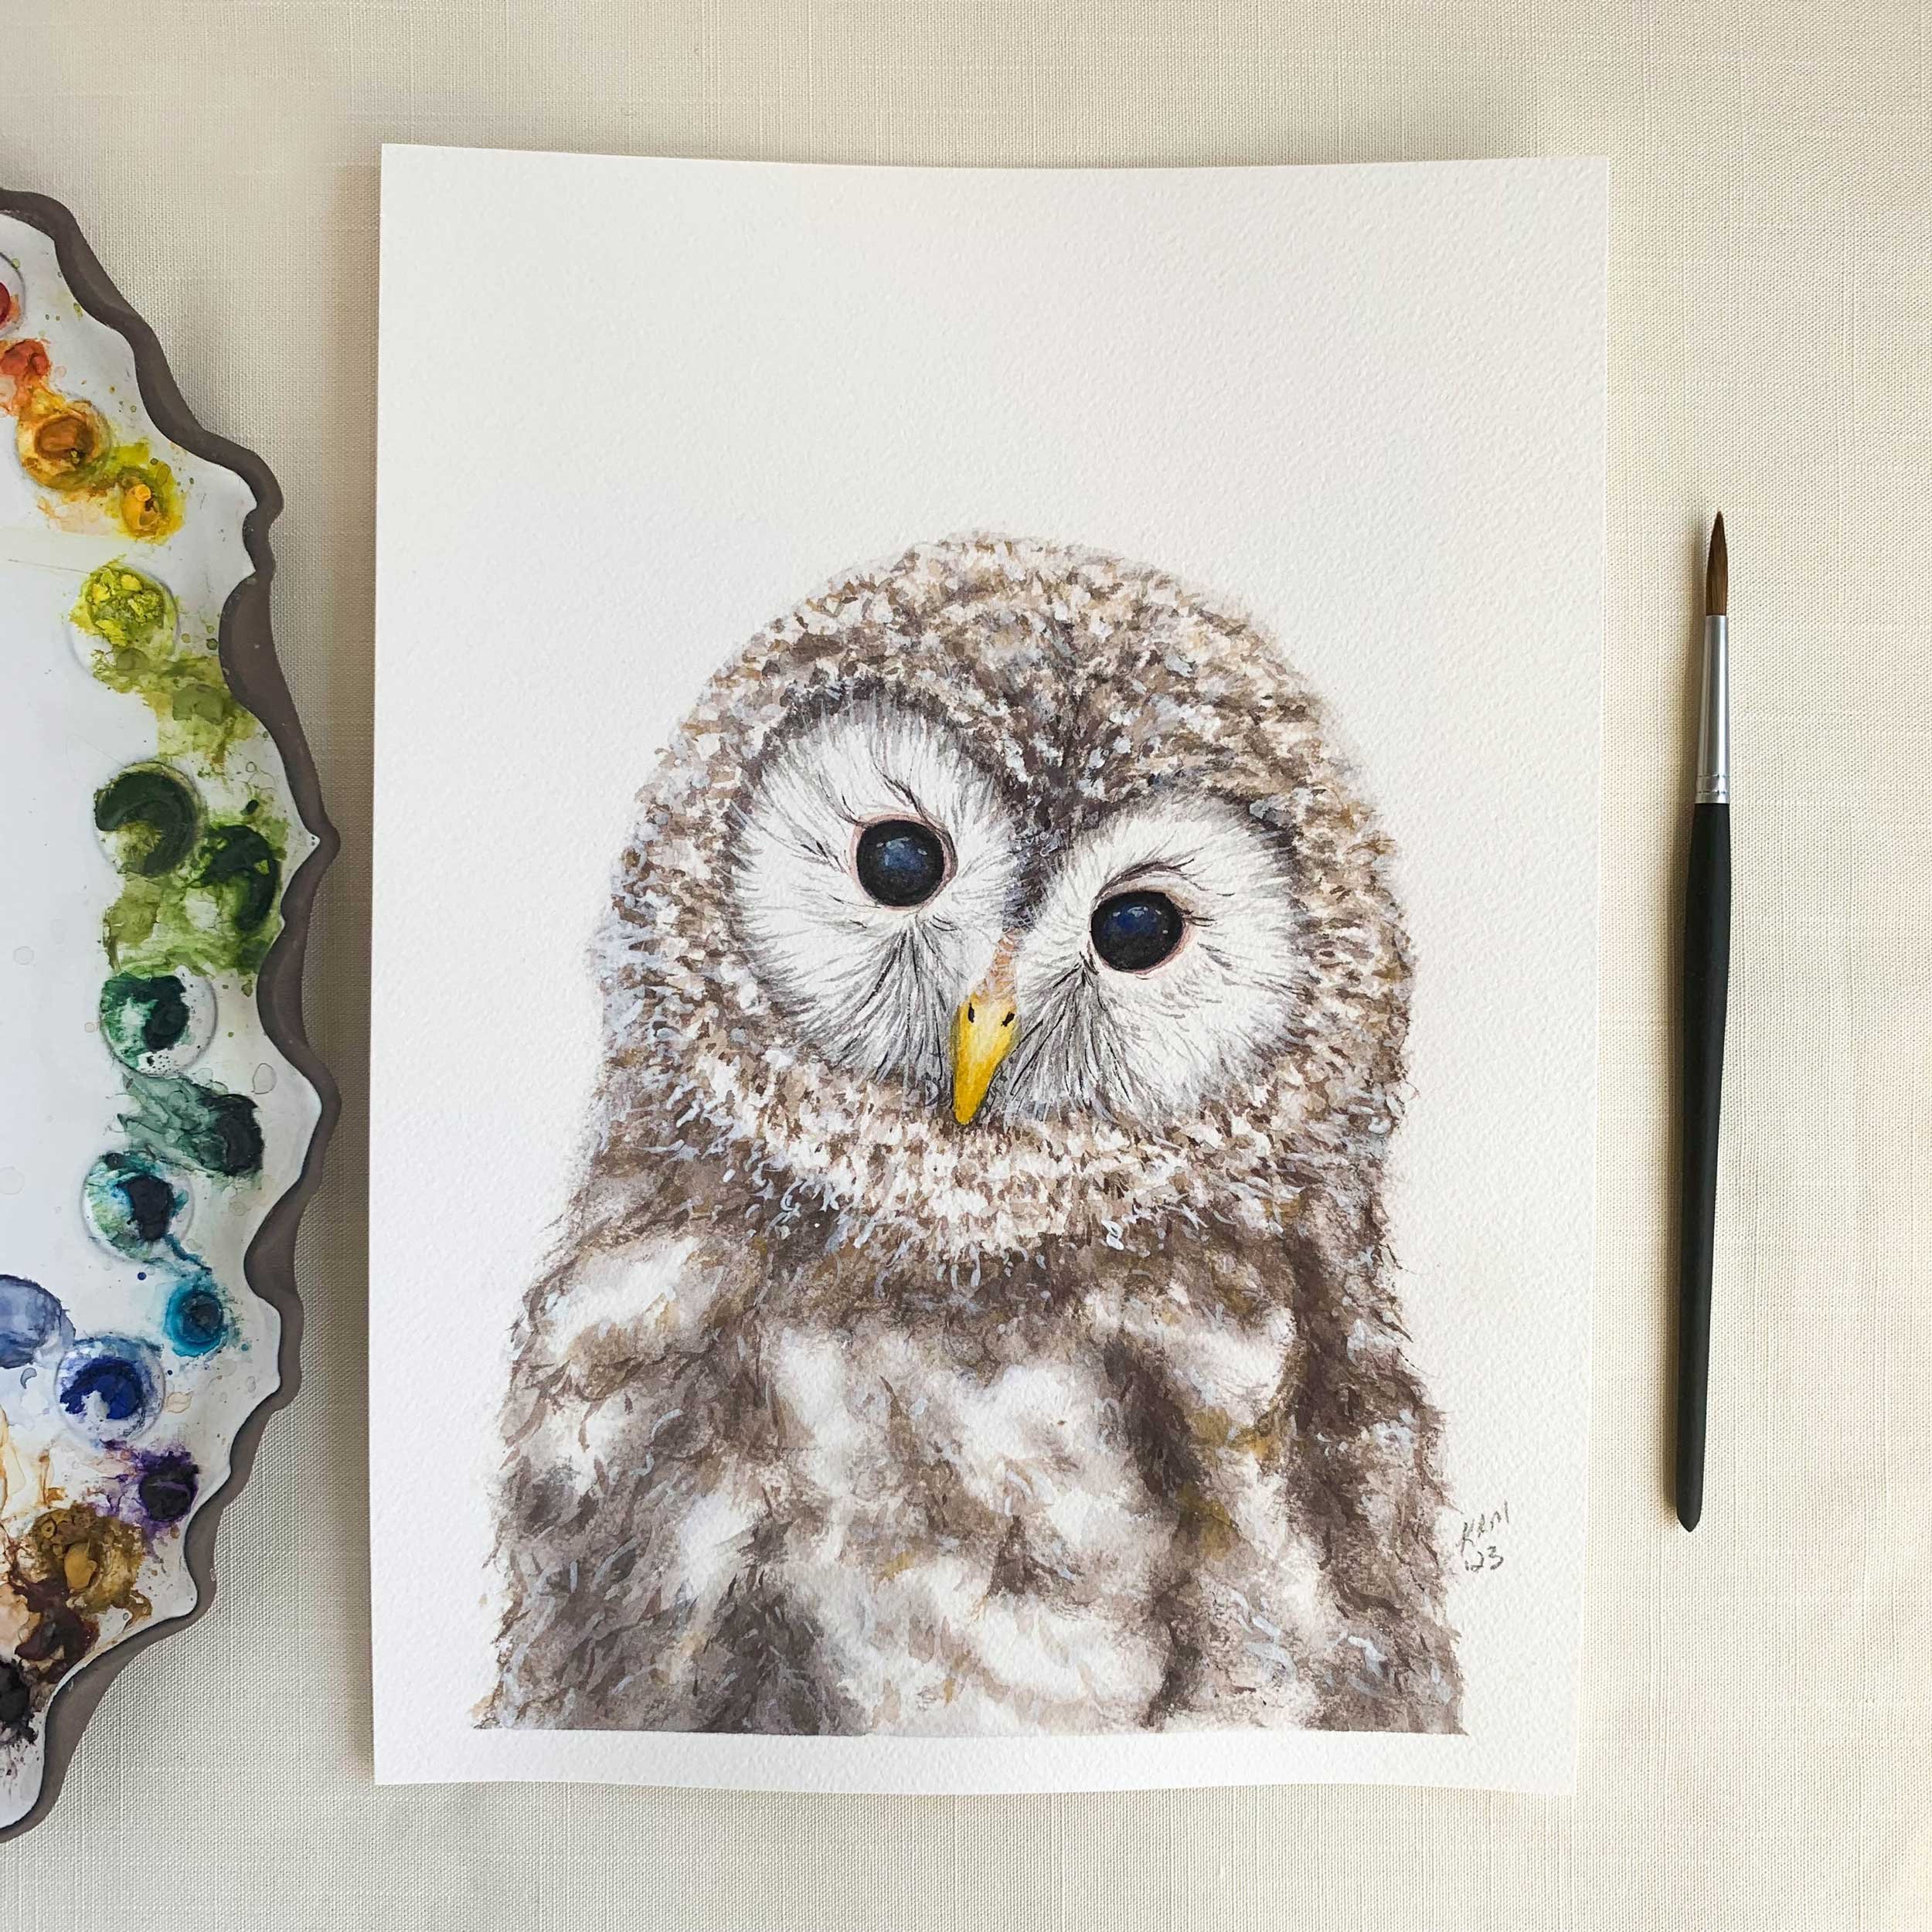
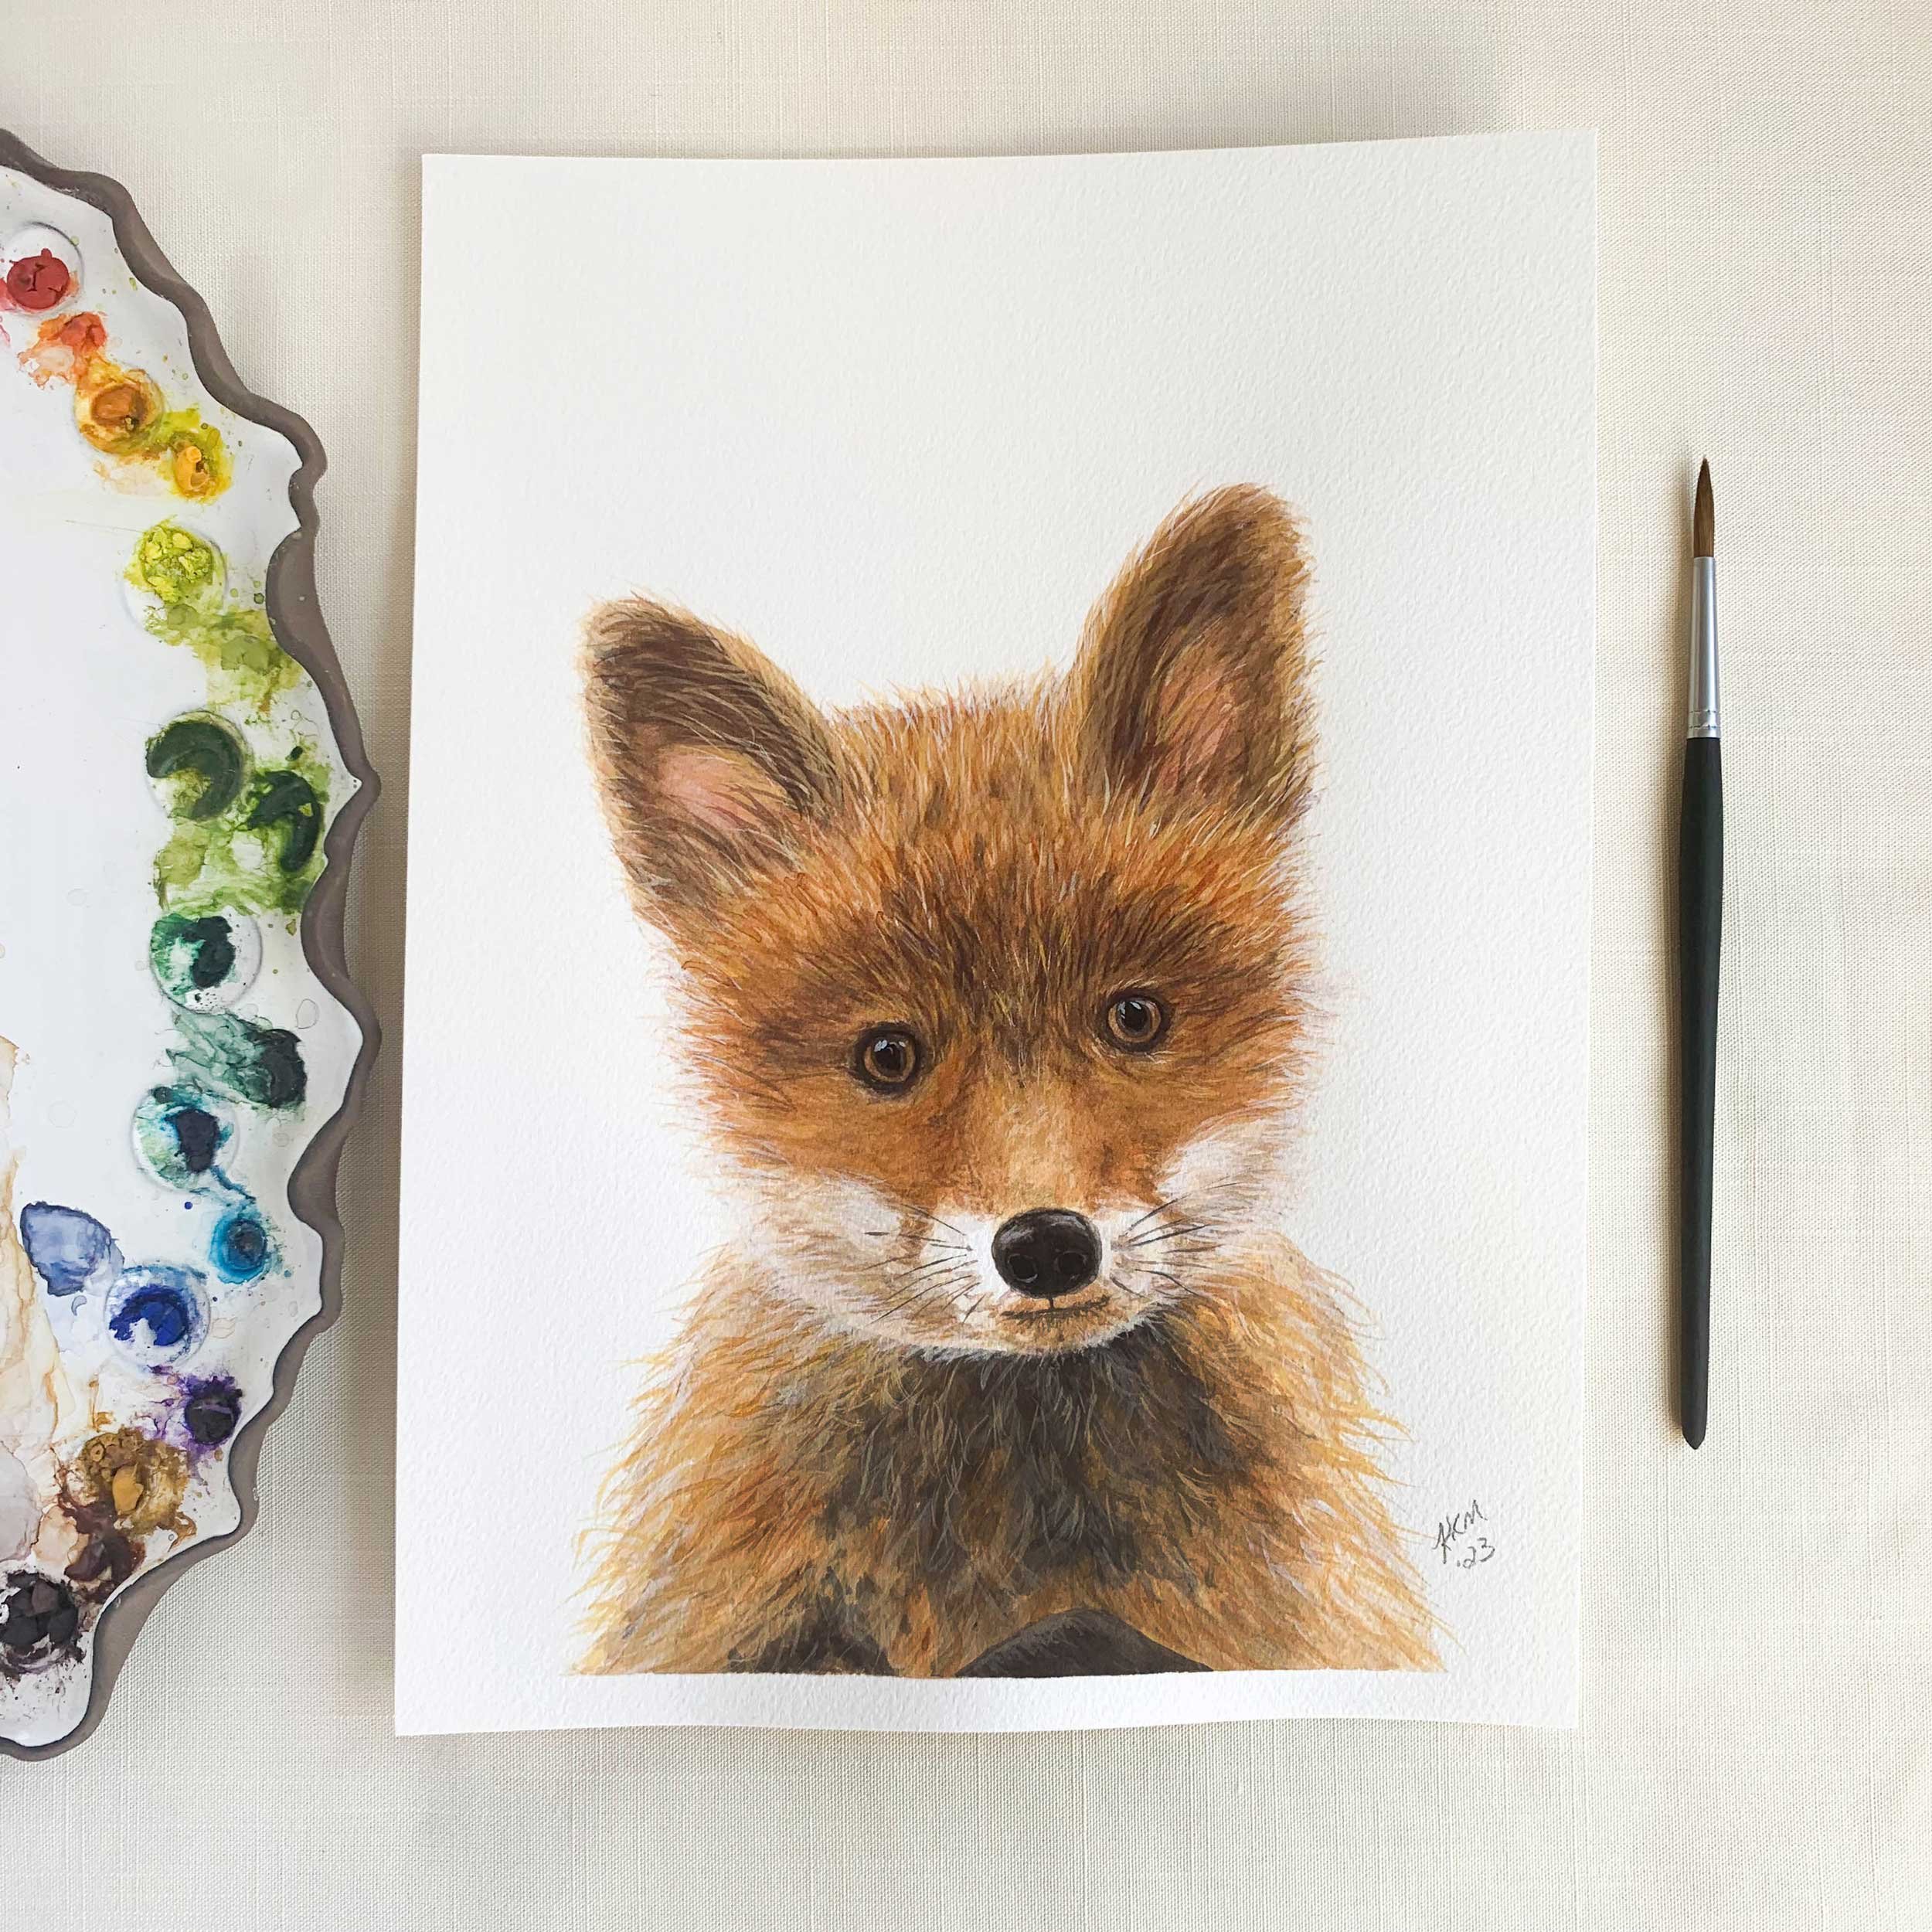
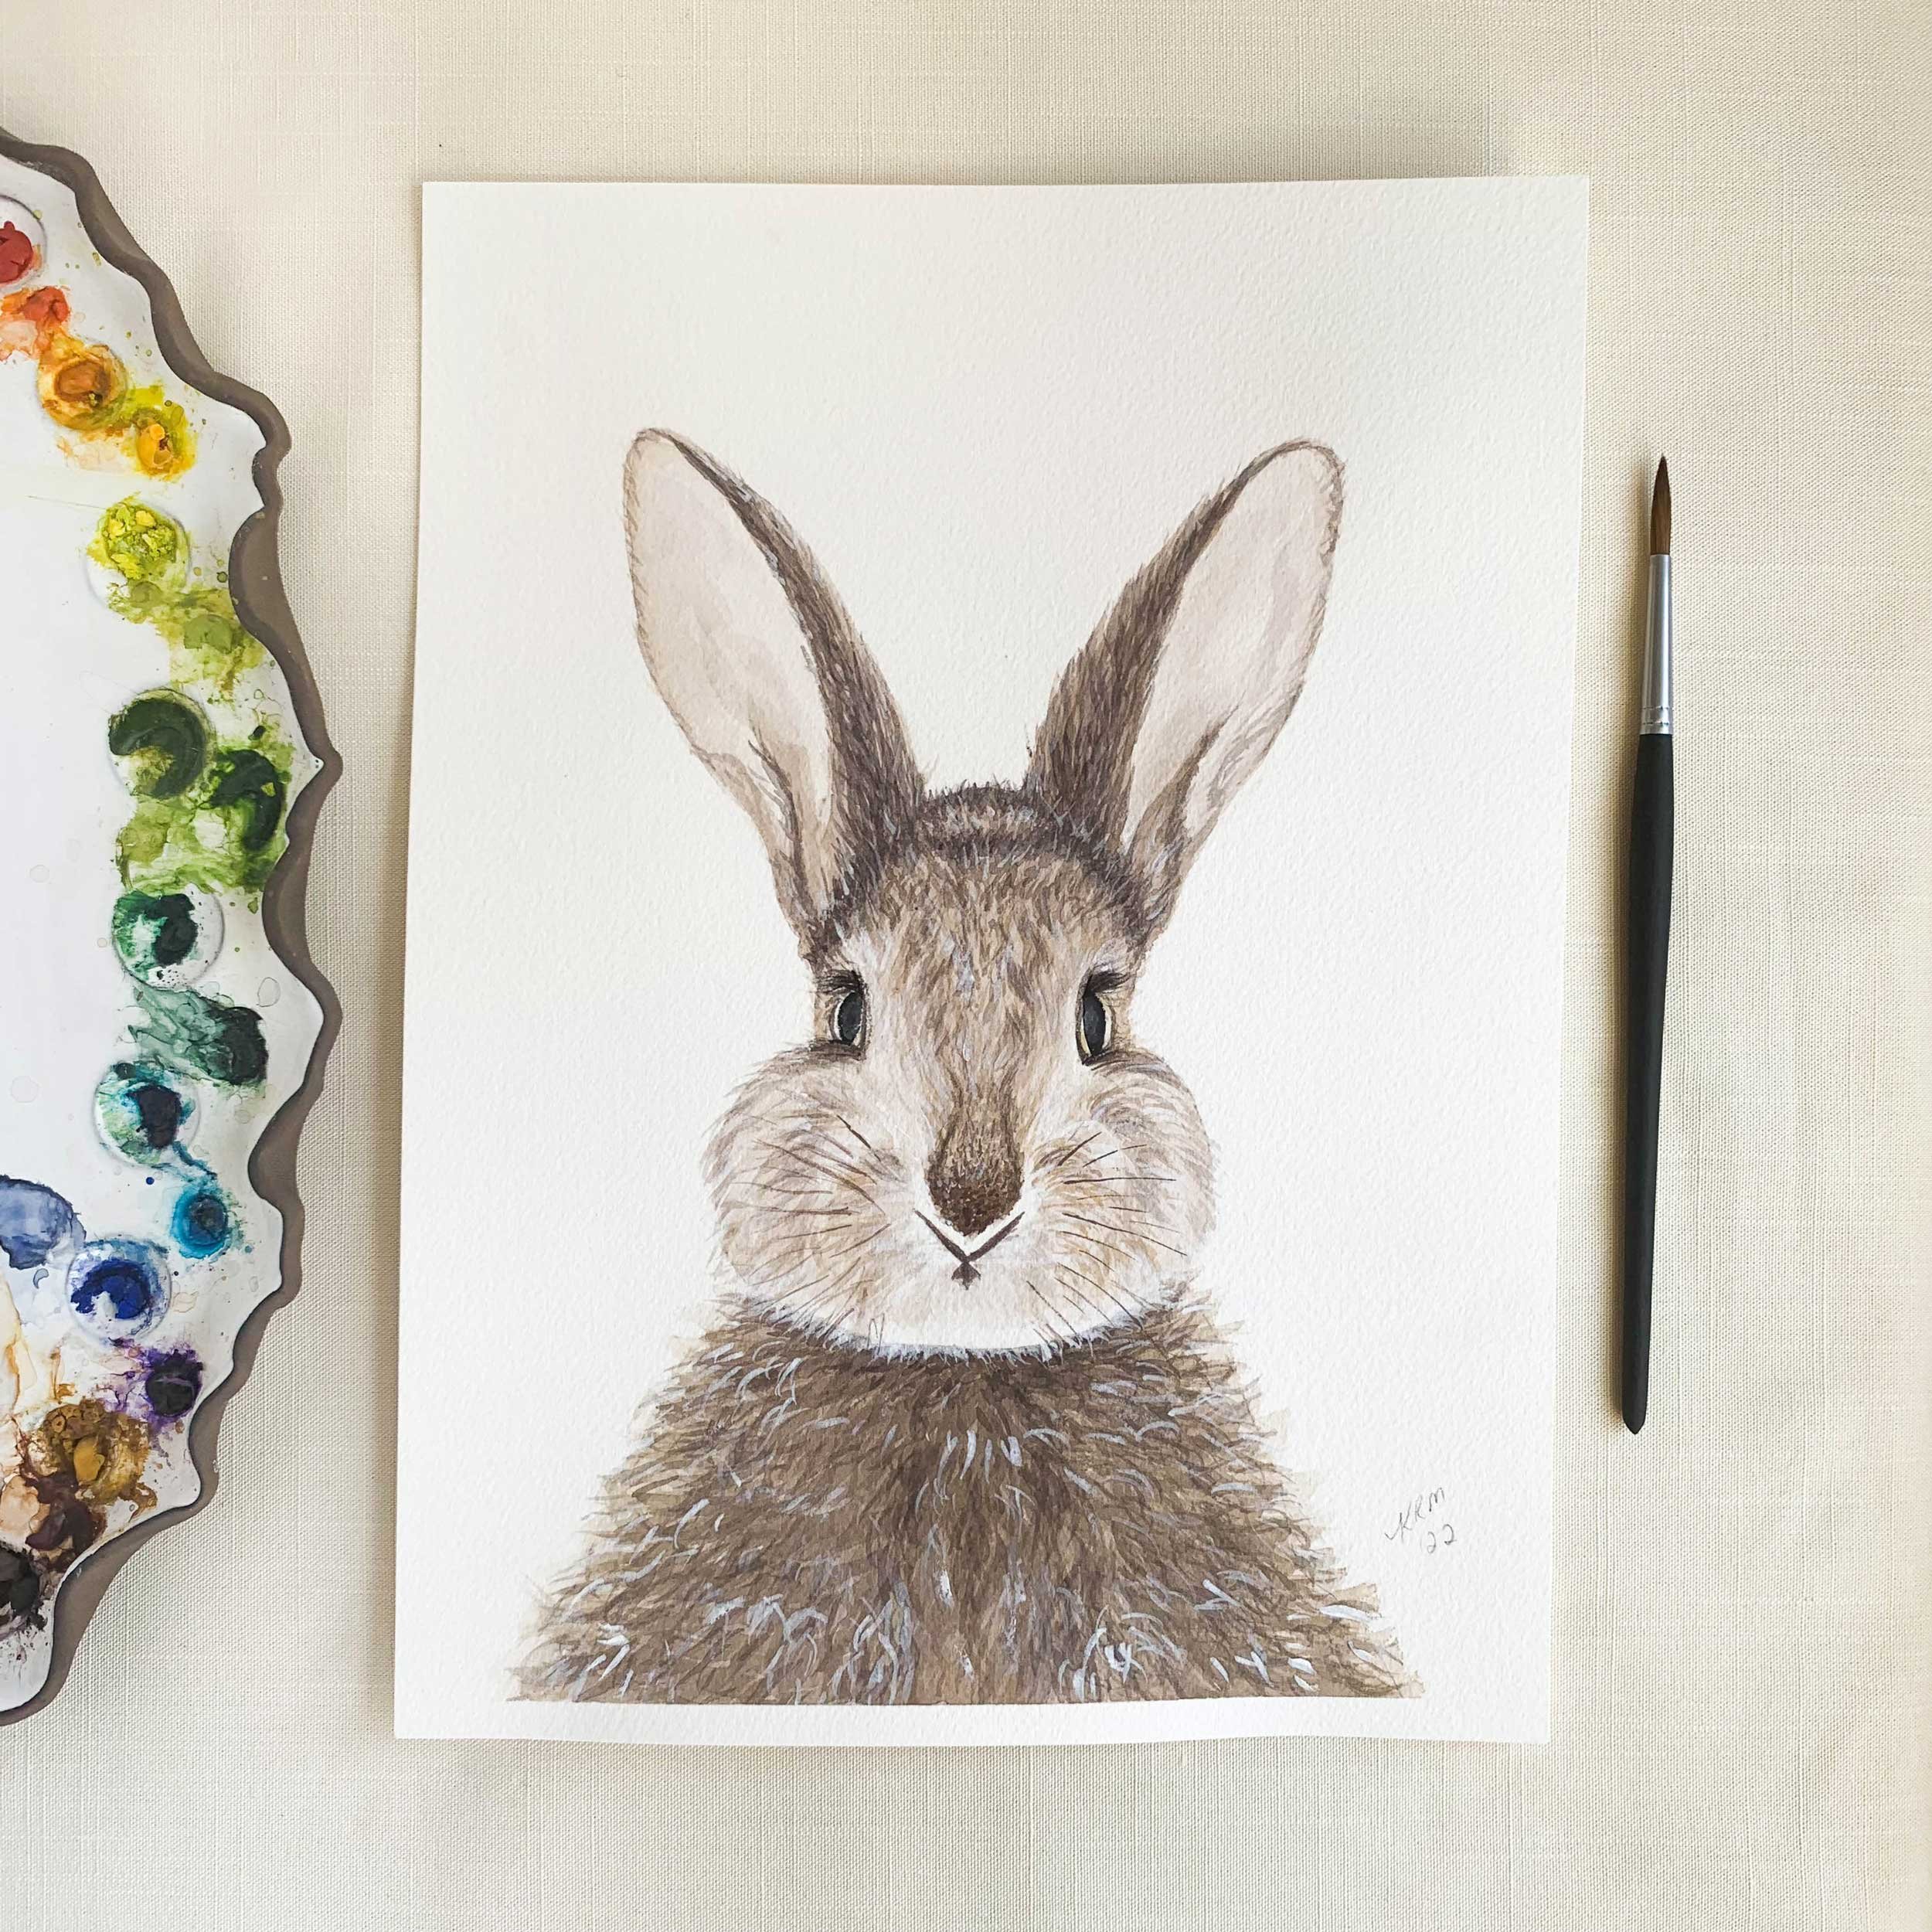
And at the end of 2022, while working on my new holiday collection, I finally tried my first animal, a baby deer. From there the nursery collection was born.

In the Fall of 2022 I also decided to start selling at some local artisan fairs. It is very interesting to see how my best sellers online did not do as well in person, where as other designs did very well. Being able to talk directly to the public about your artwork can be an eye opener. It gave me a better perspective about my work and what direction I want to go in. My animal stationery has been such a big hit that I am working on a bunch of new animals. Plus, I want to further my landscape painting and play around more with using gouache paints. As I move forward in a new year some advise that I received from an online small business coach was to pick your word of the year. I think this year it will be “progress”.